OK, so I have been absent a bit lately - again.
i have signed up with Leah Piken Kolidas over at creative every day for art every day month. I thought I needed to challenge myself both to blog and to stitch every day, so that is what I am doing.
Today, I finished the free motion on a quilt I was working on at the start of the month.
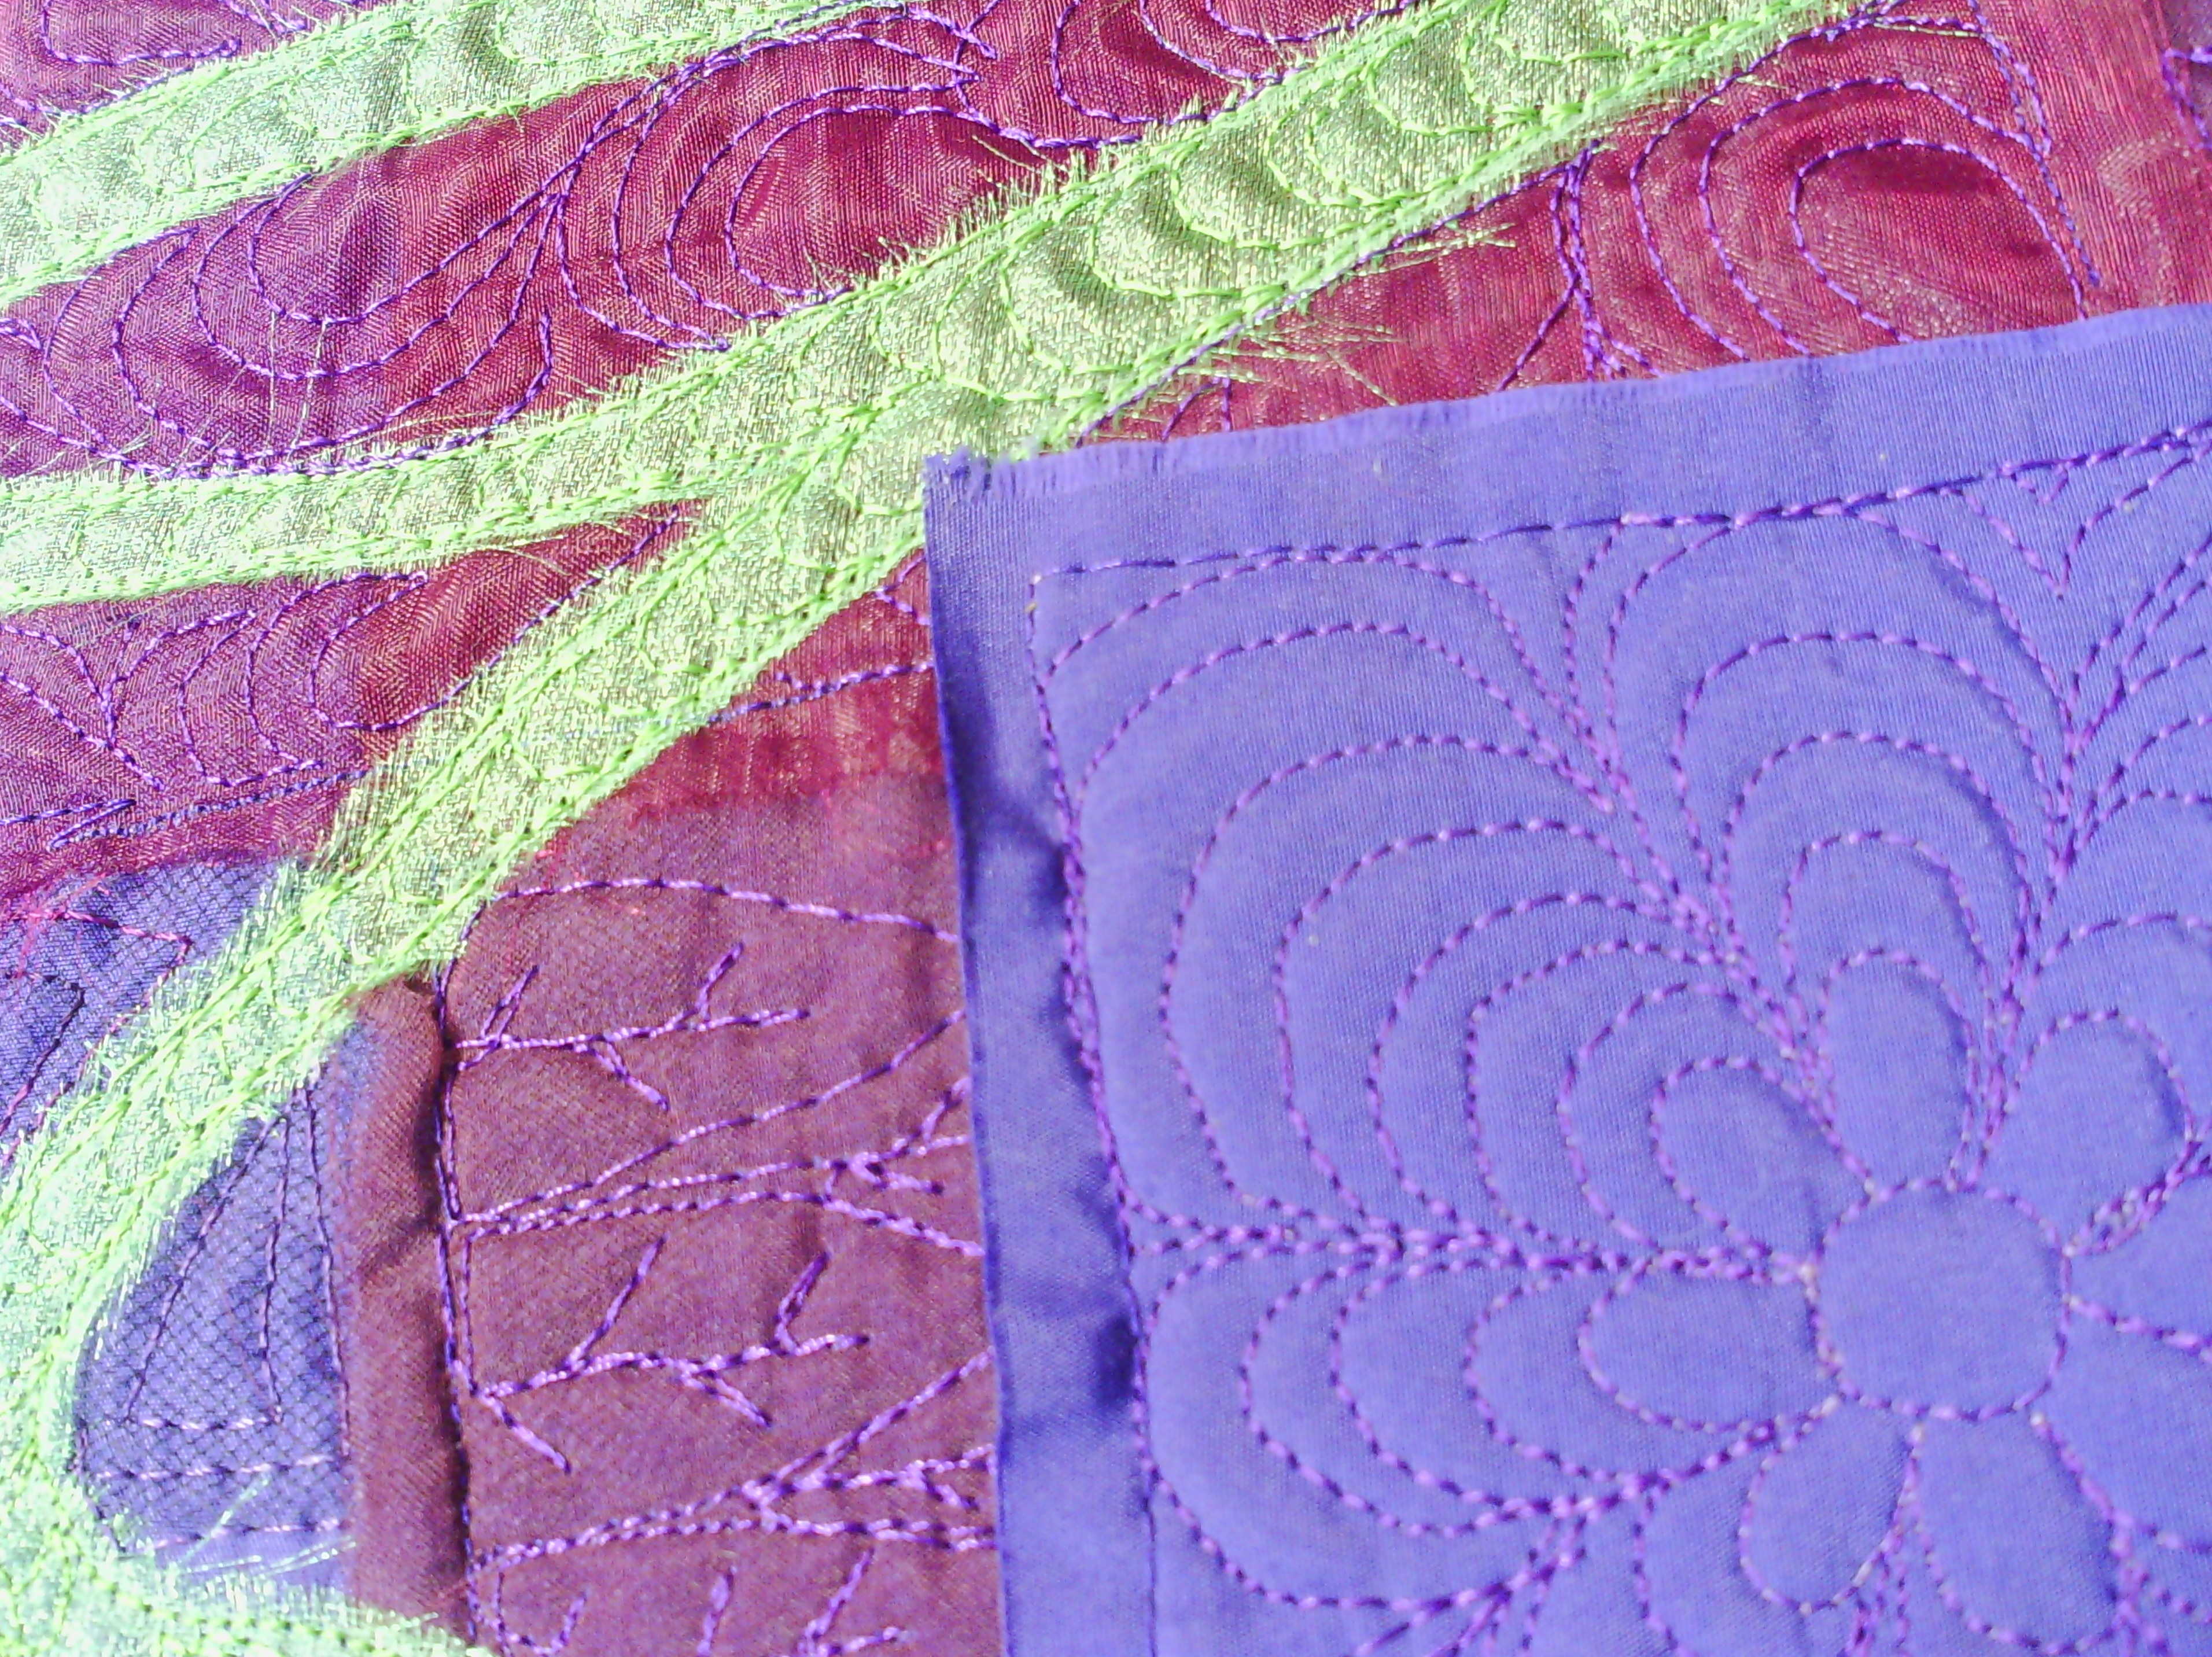
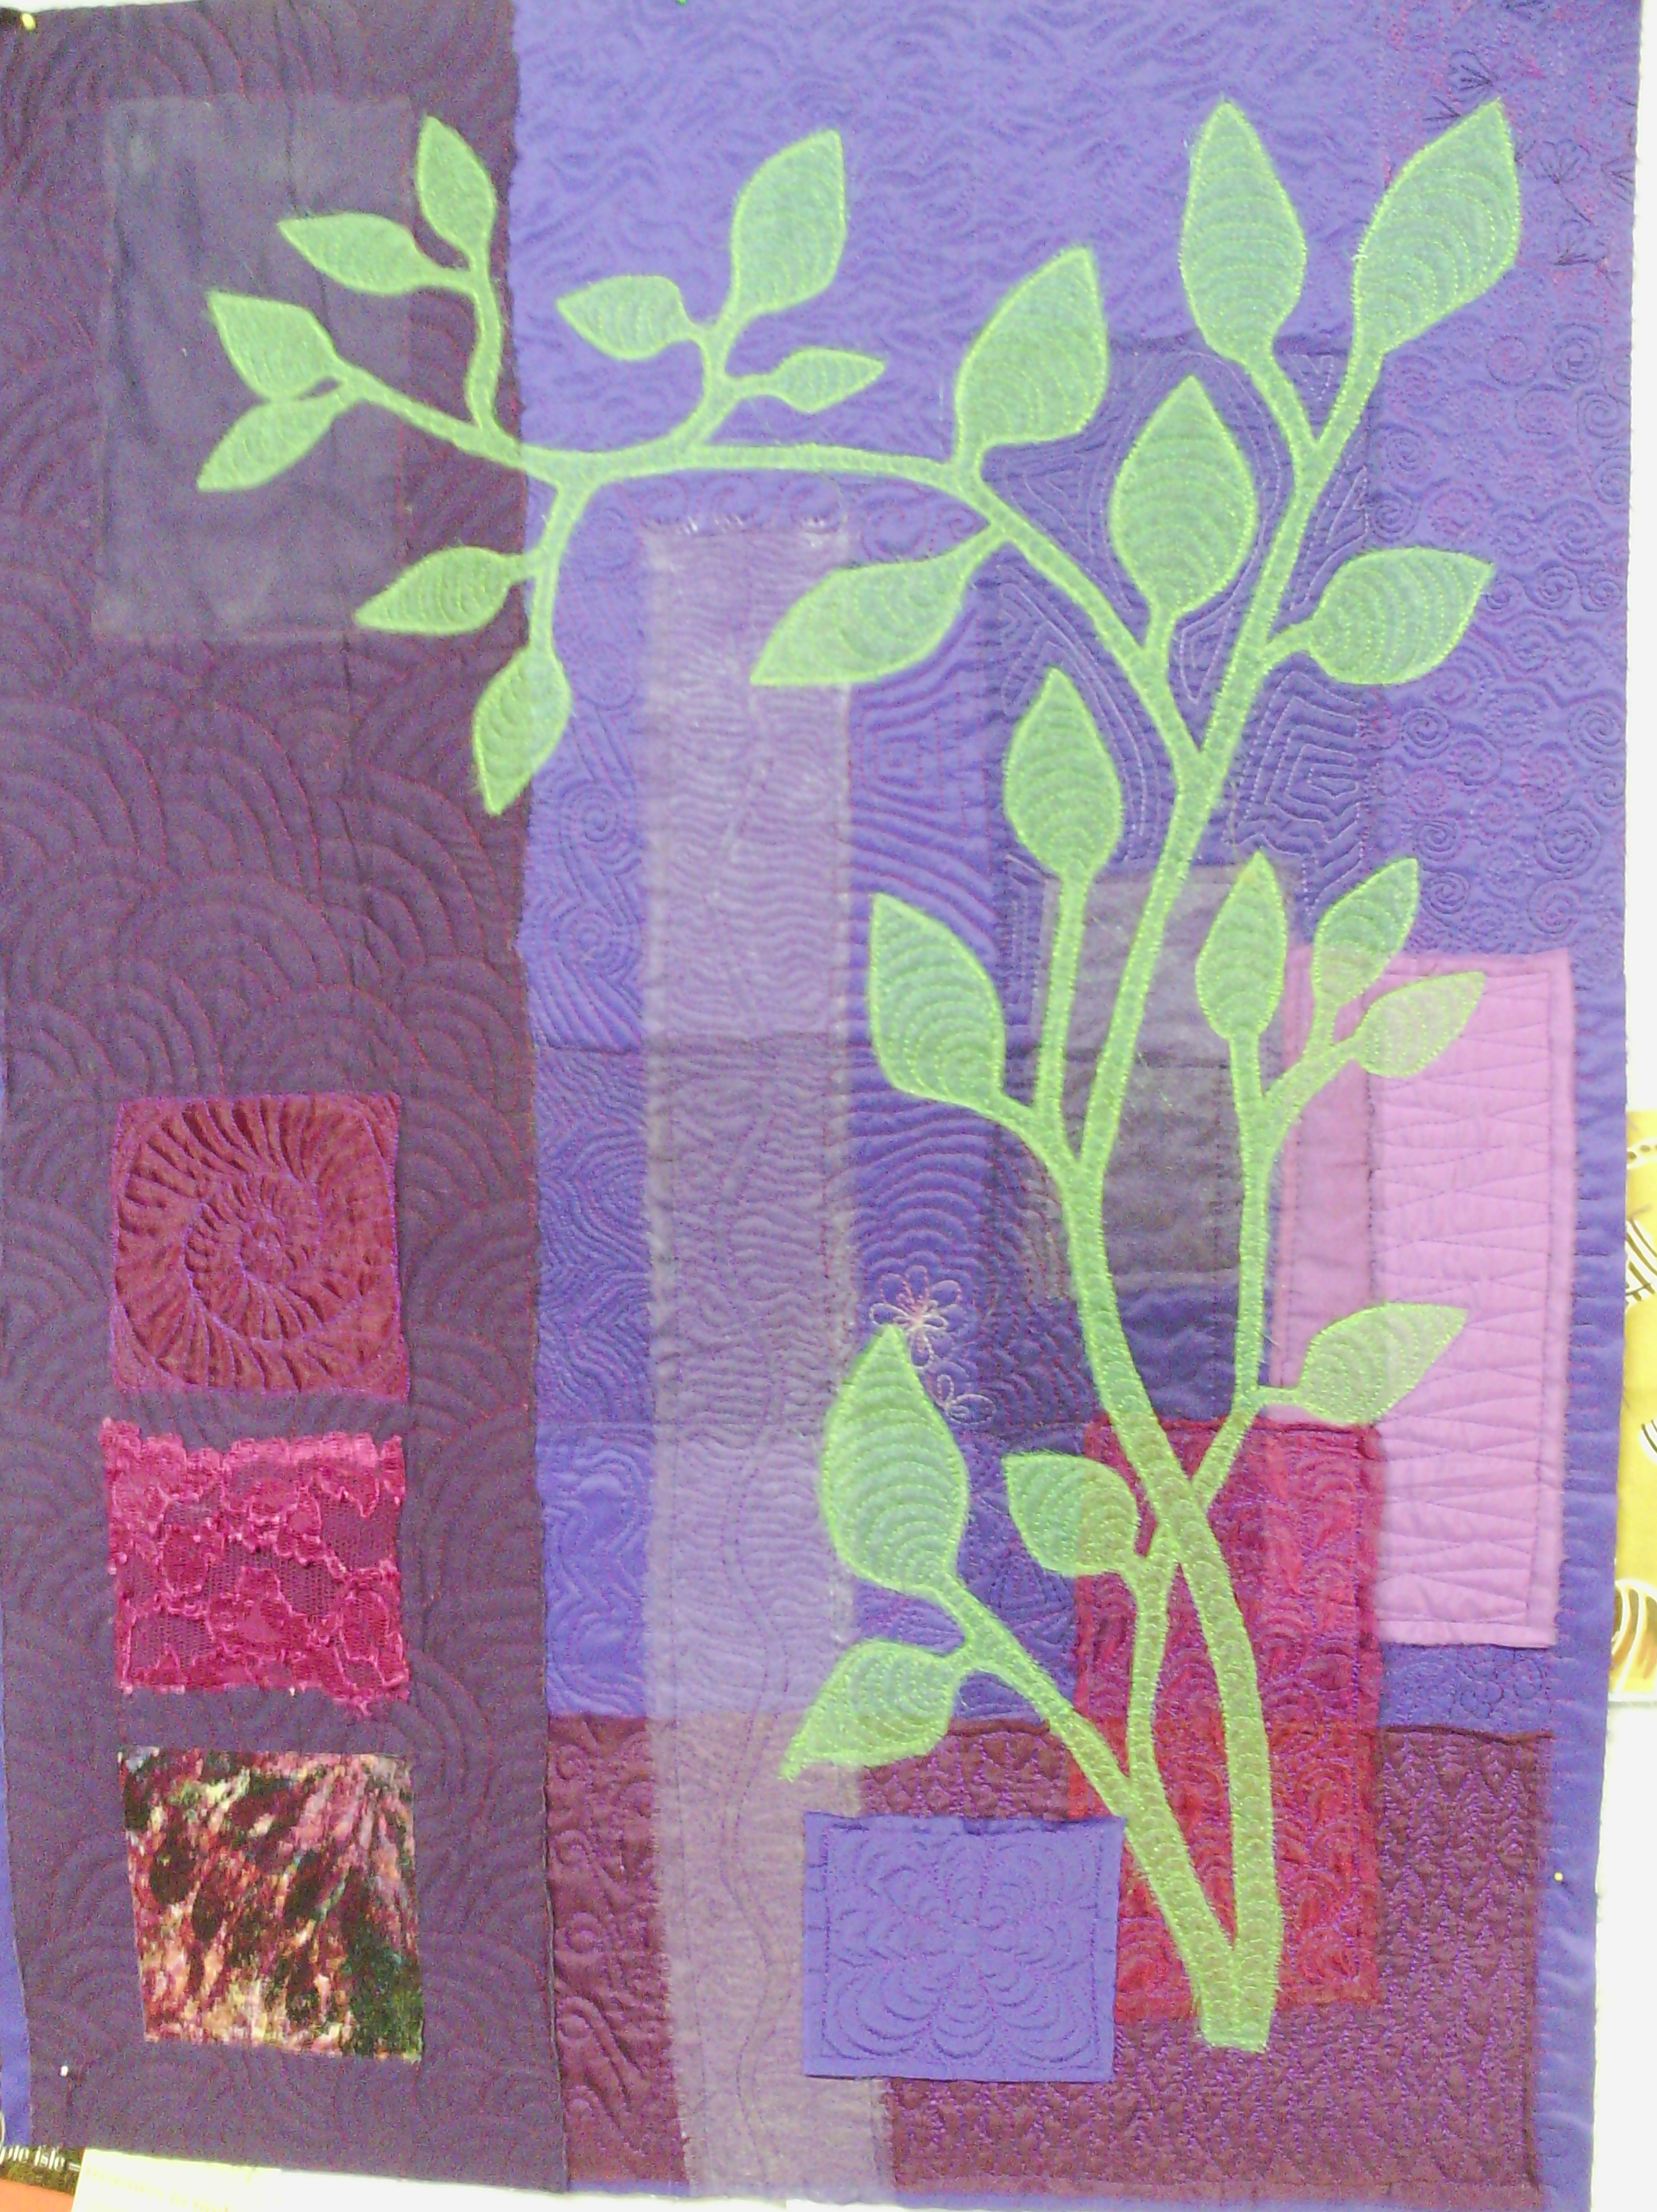
Here is a shot of the whole quilt and I don't think there is any cotton fabric in it! It is all my favourite organzas and satins and lots of other stuff. Tomorrow is our local monthly quilting day, so I intend to square it up and bind it then. Oh, the size is approximately A1 or about 85 by 55 cm or 33x23 in.
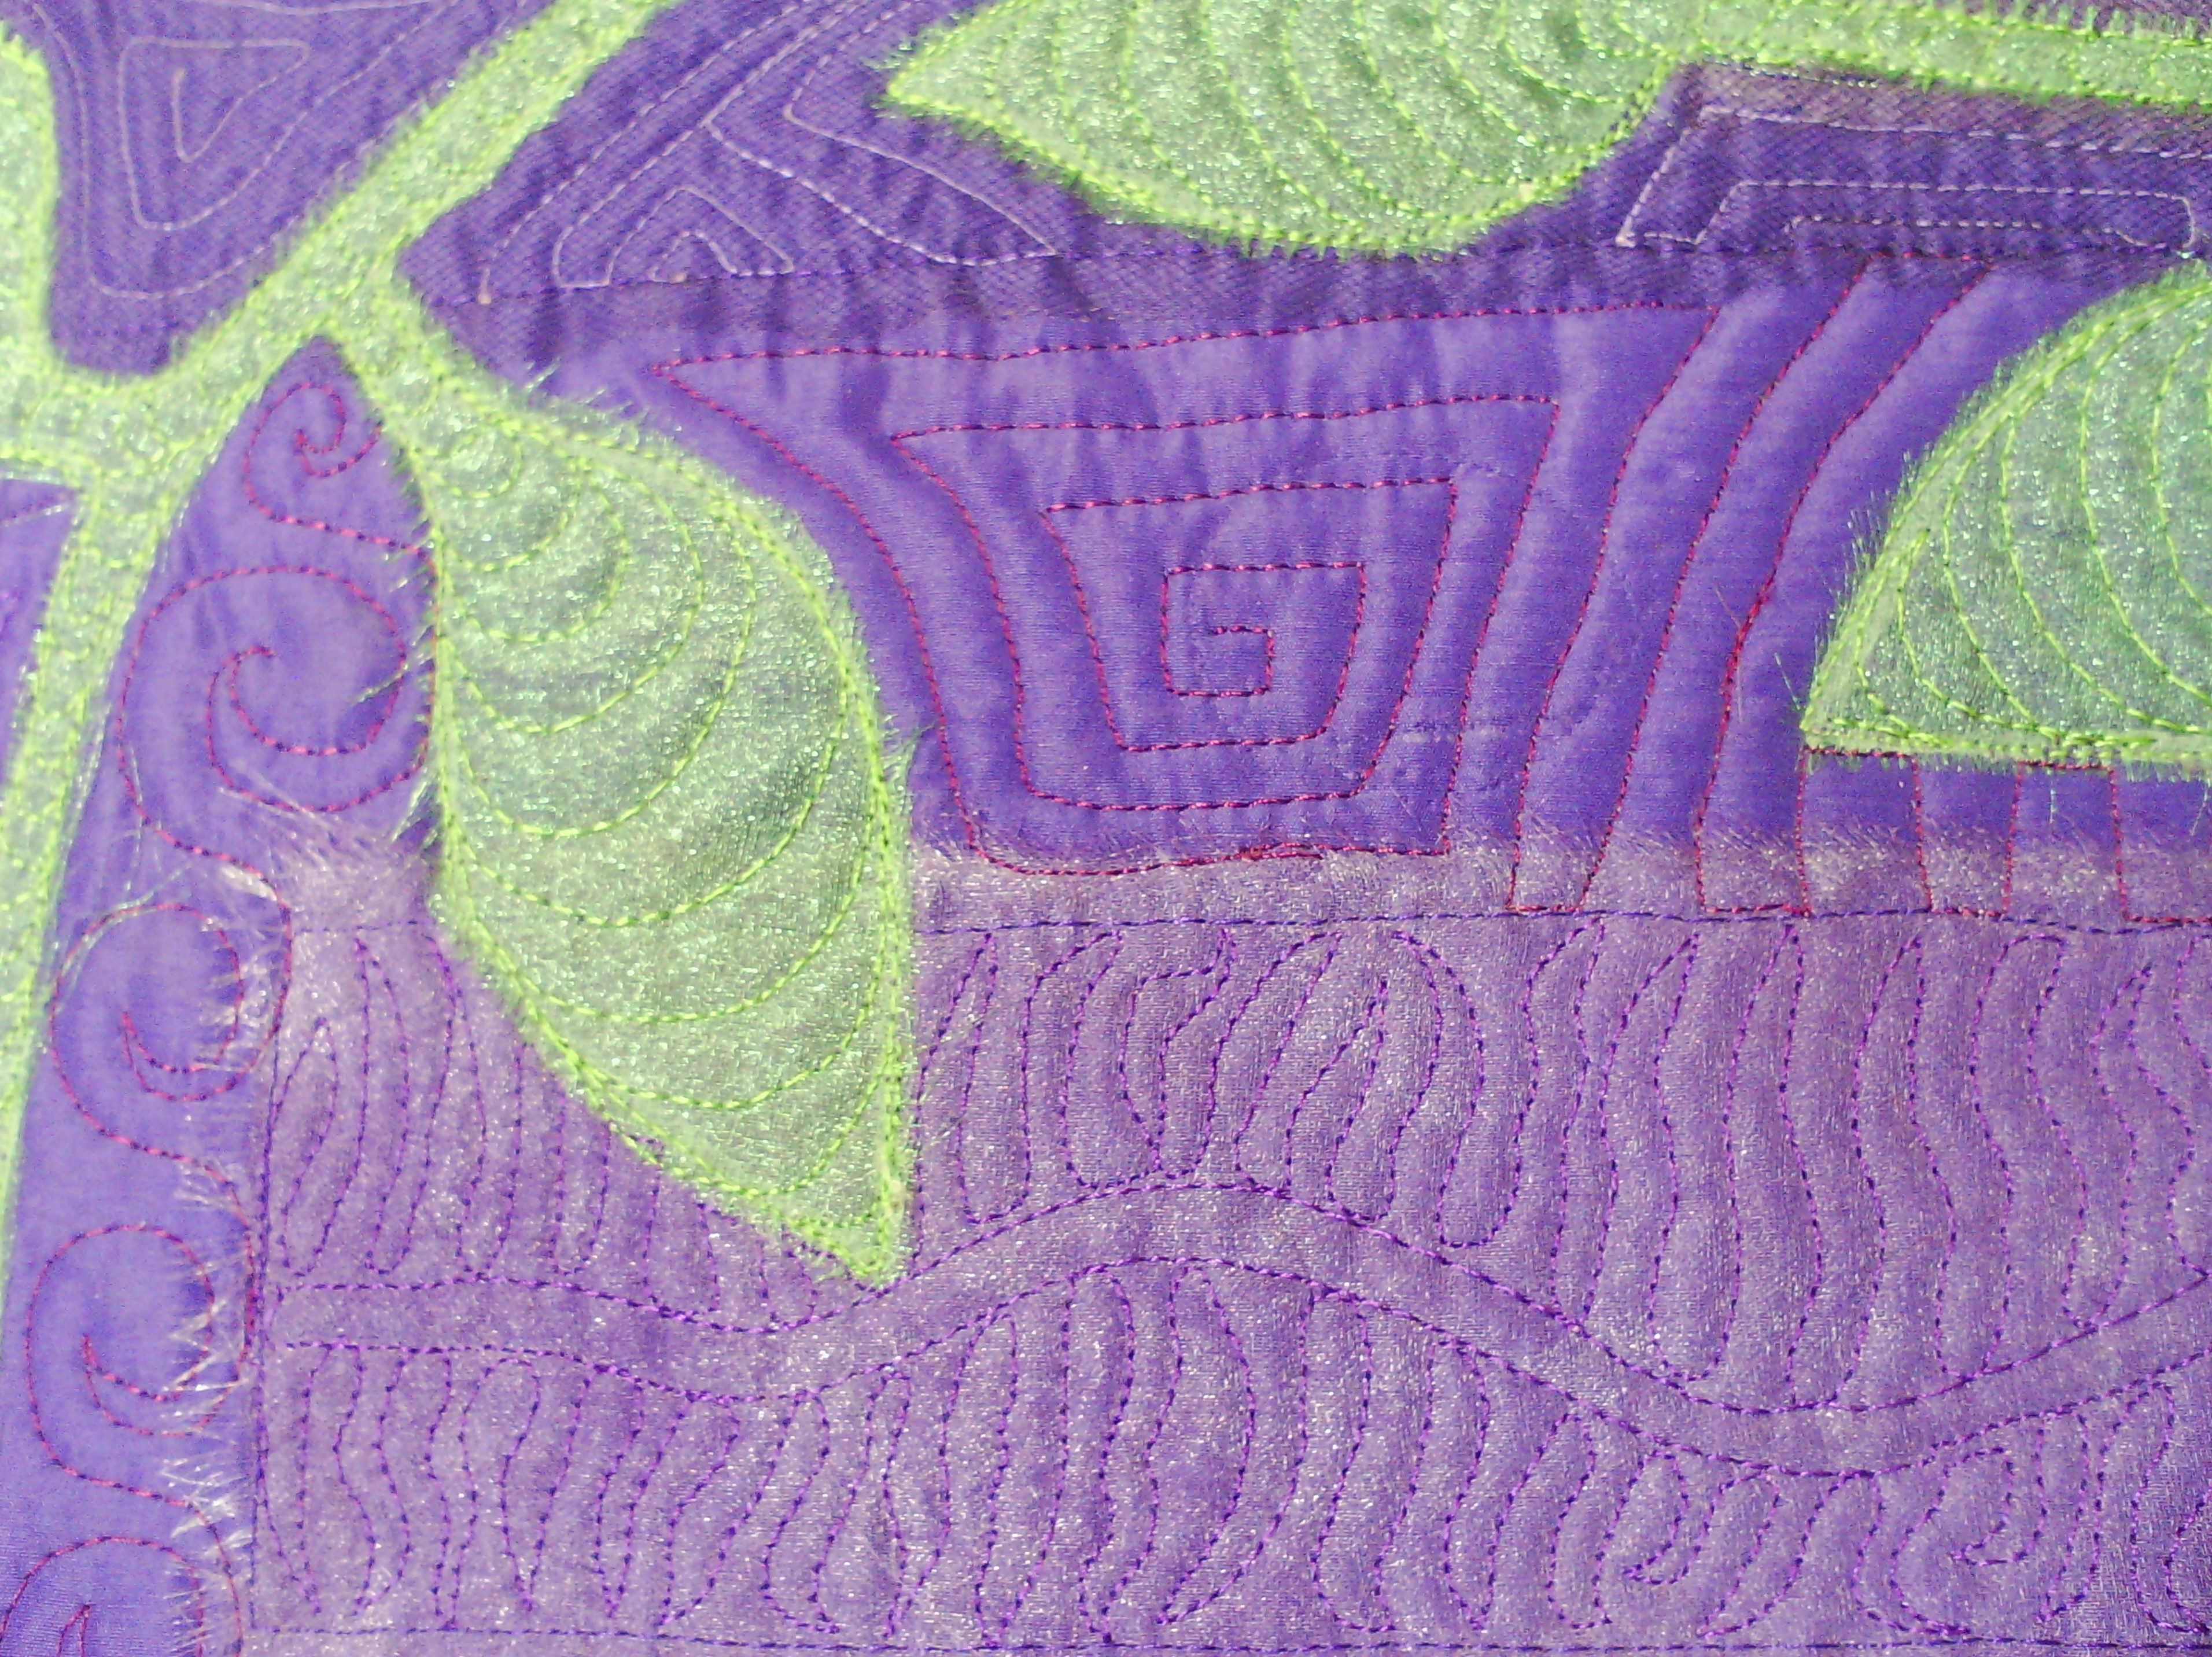
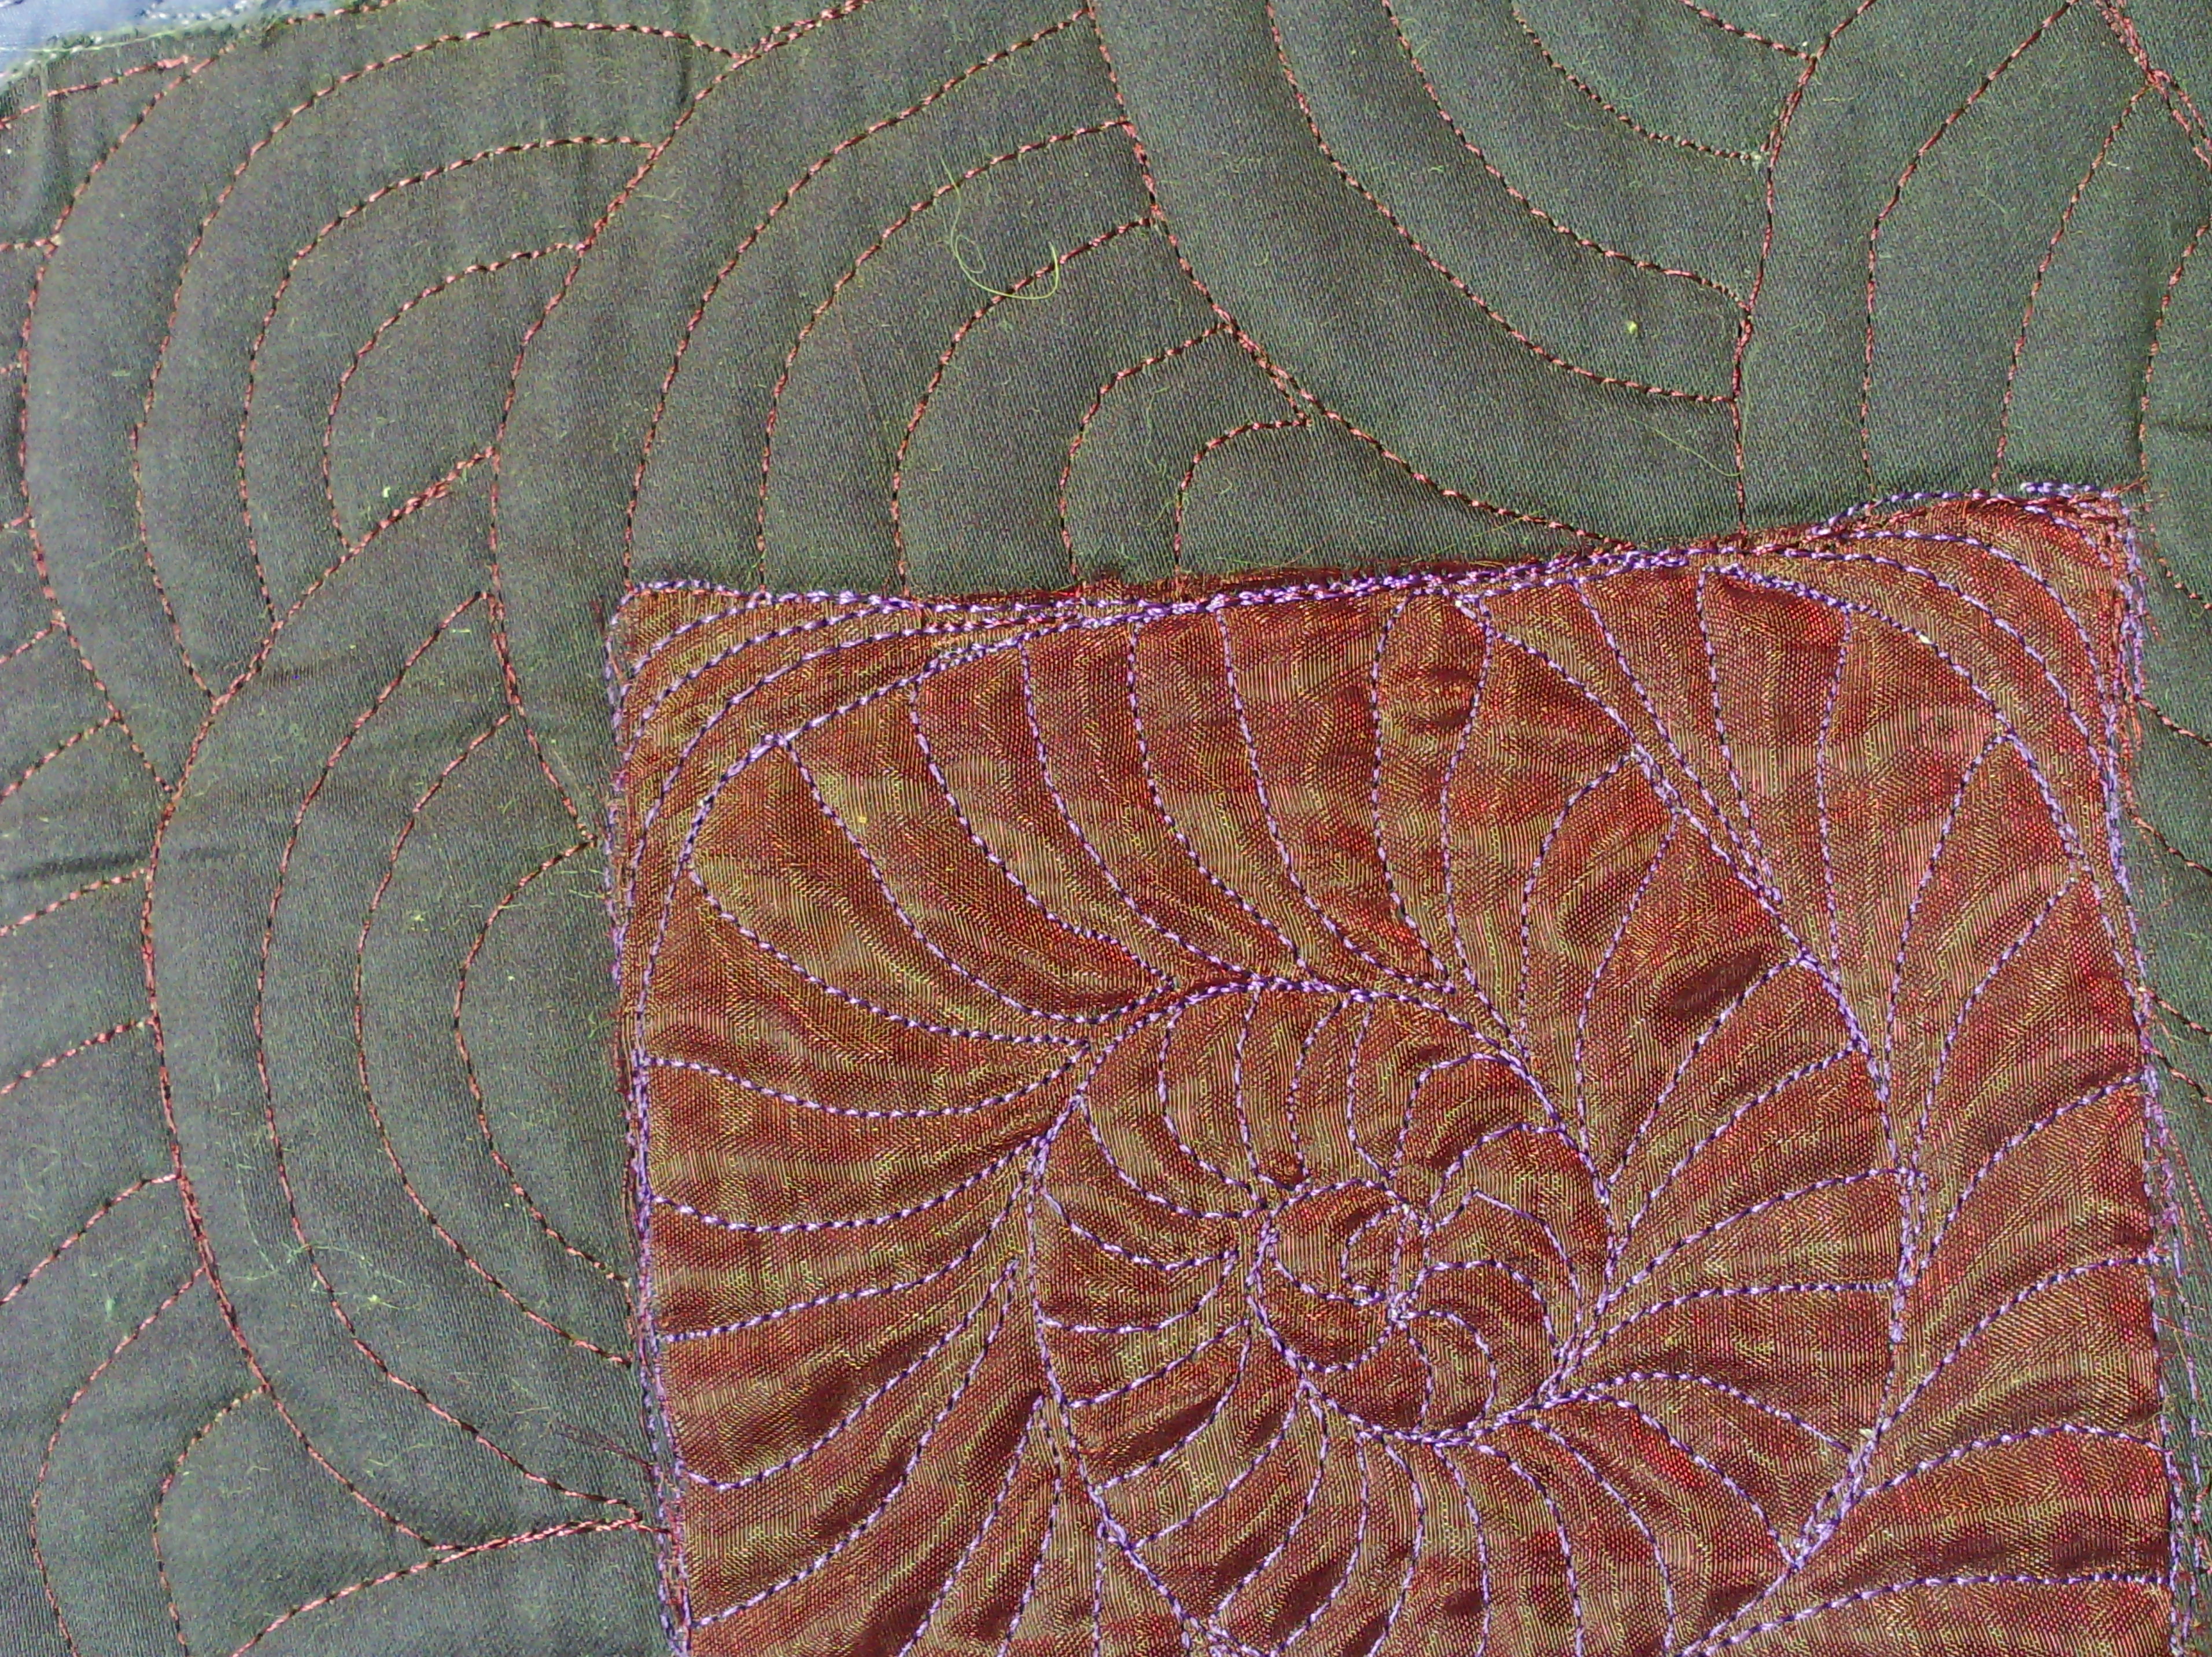
here are a few close ups.
I can't say my free motion is ever perfect, but it creates gorgeous texture anyway.
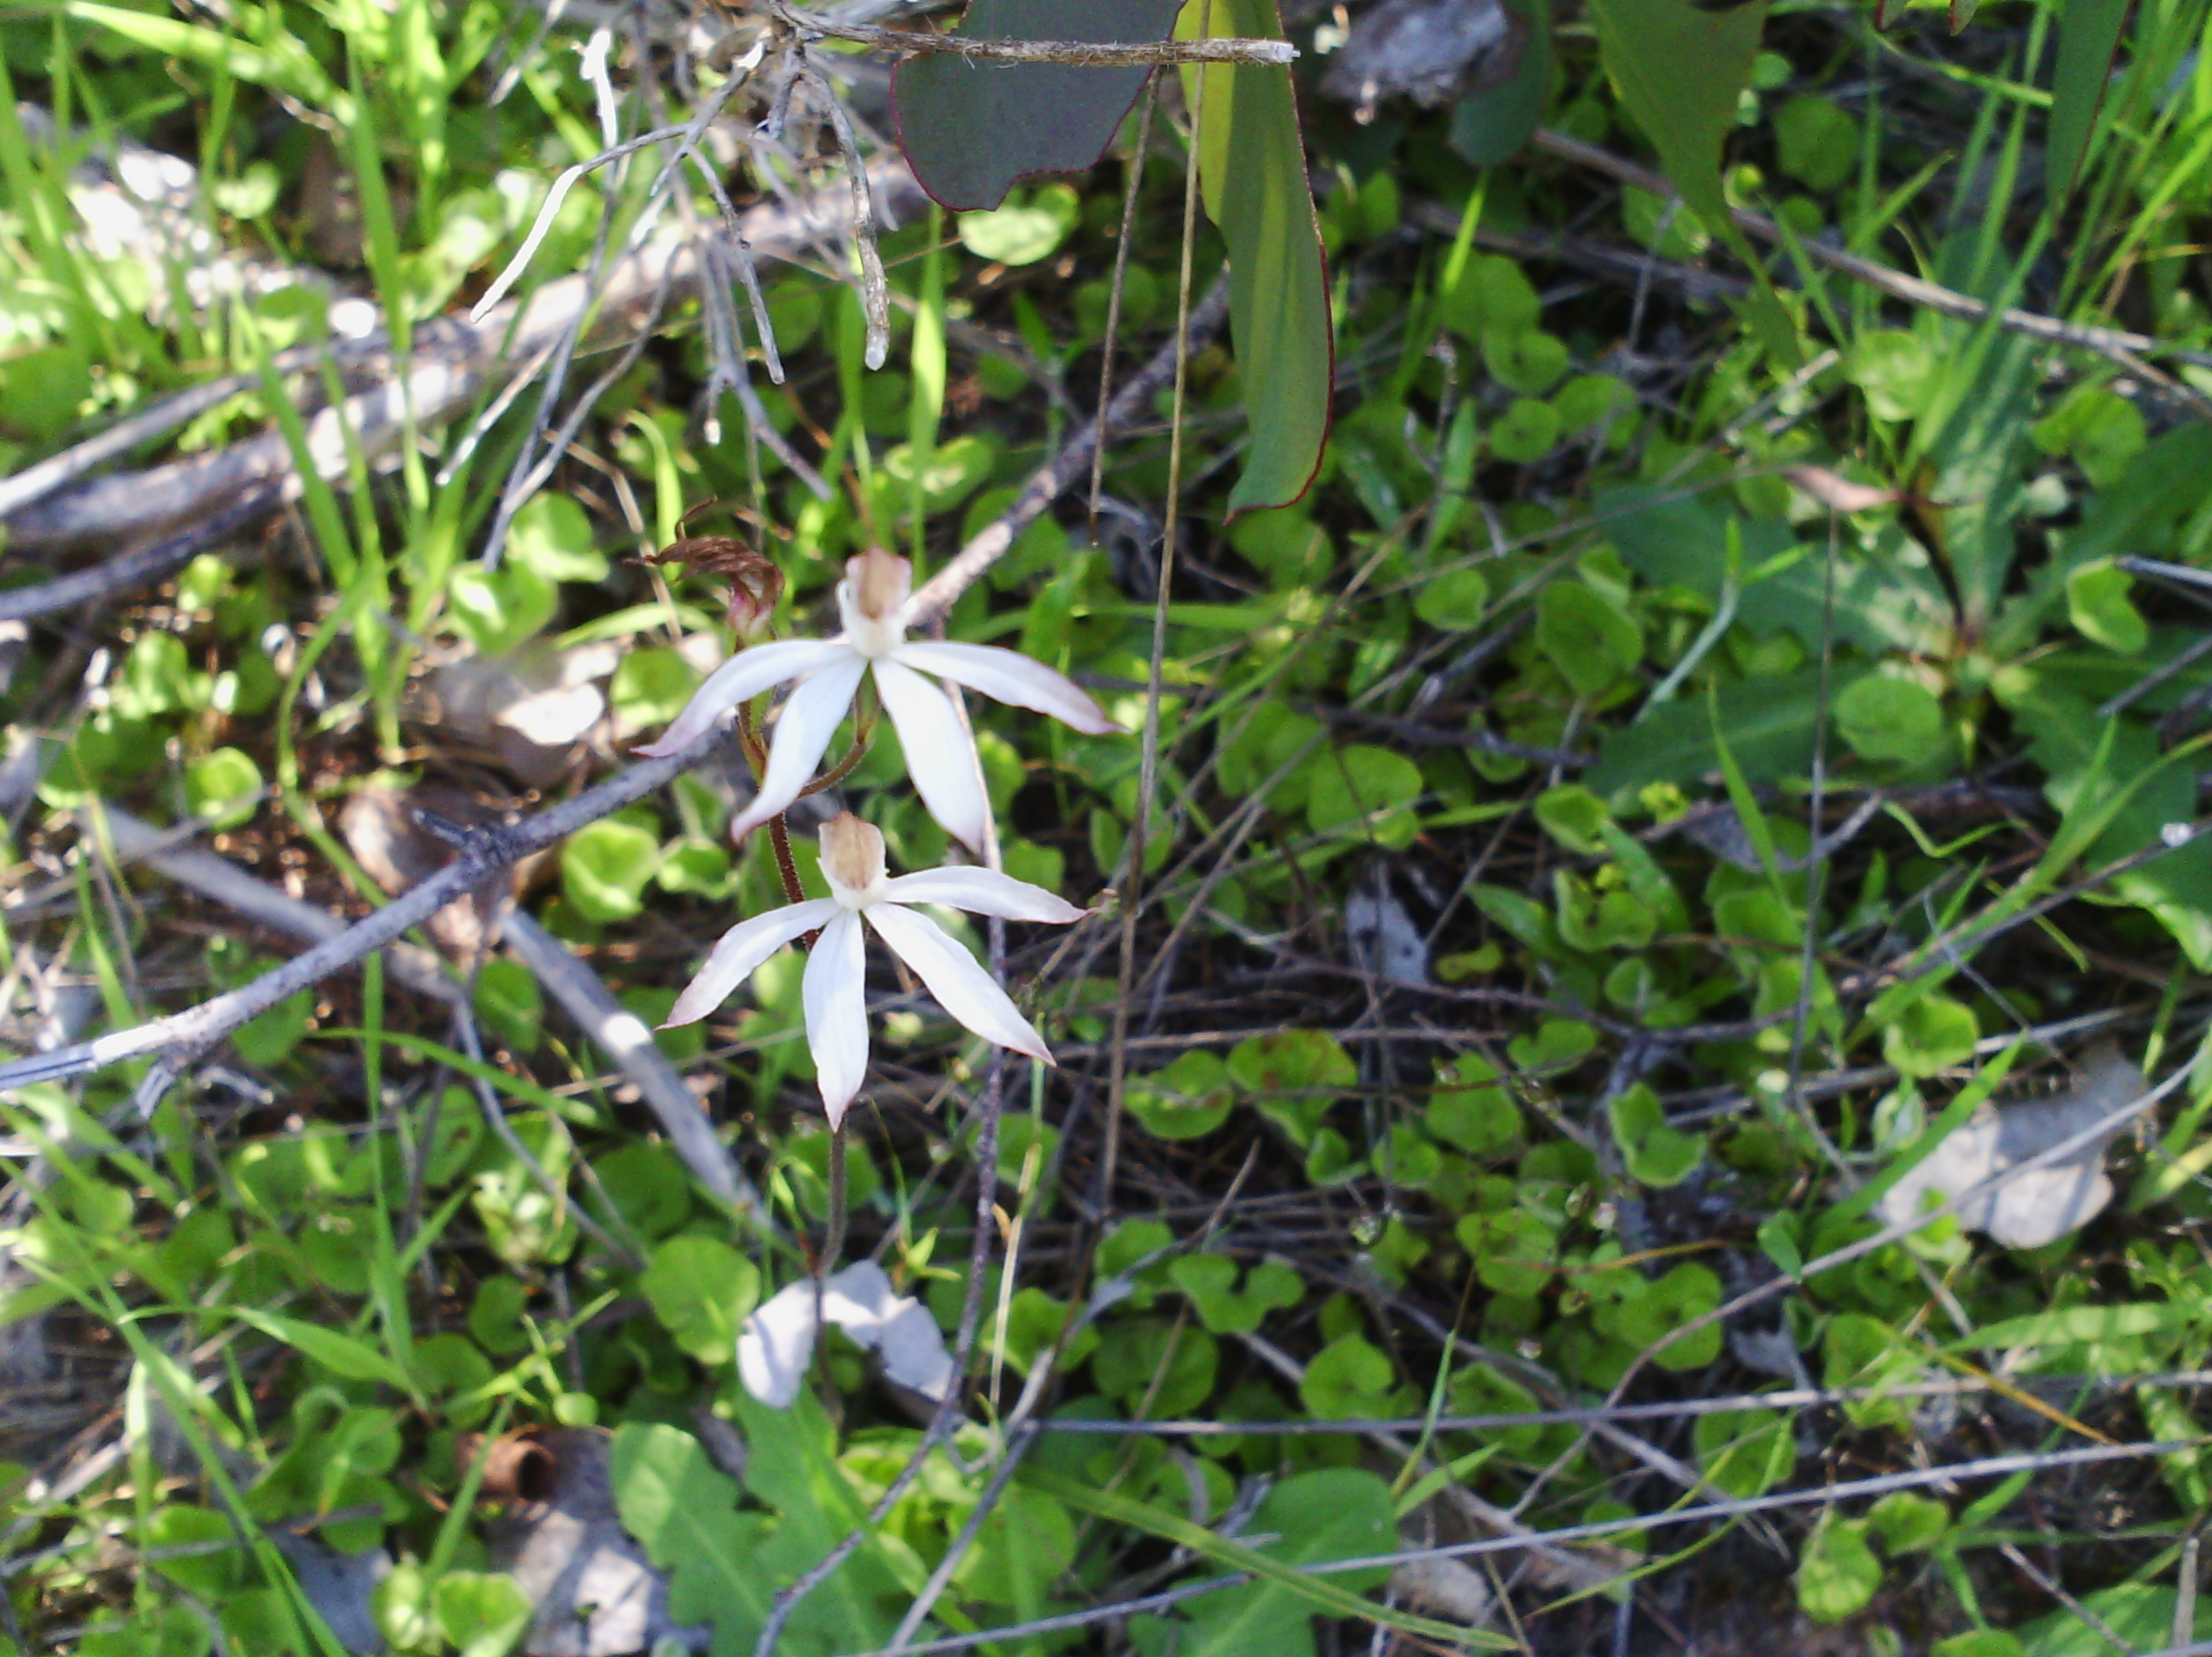
On another note, yesterday I went on my annual hike up the mountain (only a little one) behind my house to look for bush orchids. I only found two, but at least i did find two.
This one is called a caladenia and is usually very easy to find, but not this year. It is about an inch, or 2-3 cm across, so very small, it is pinky-white, but sometimes they are pink as well.
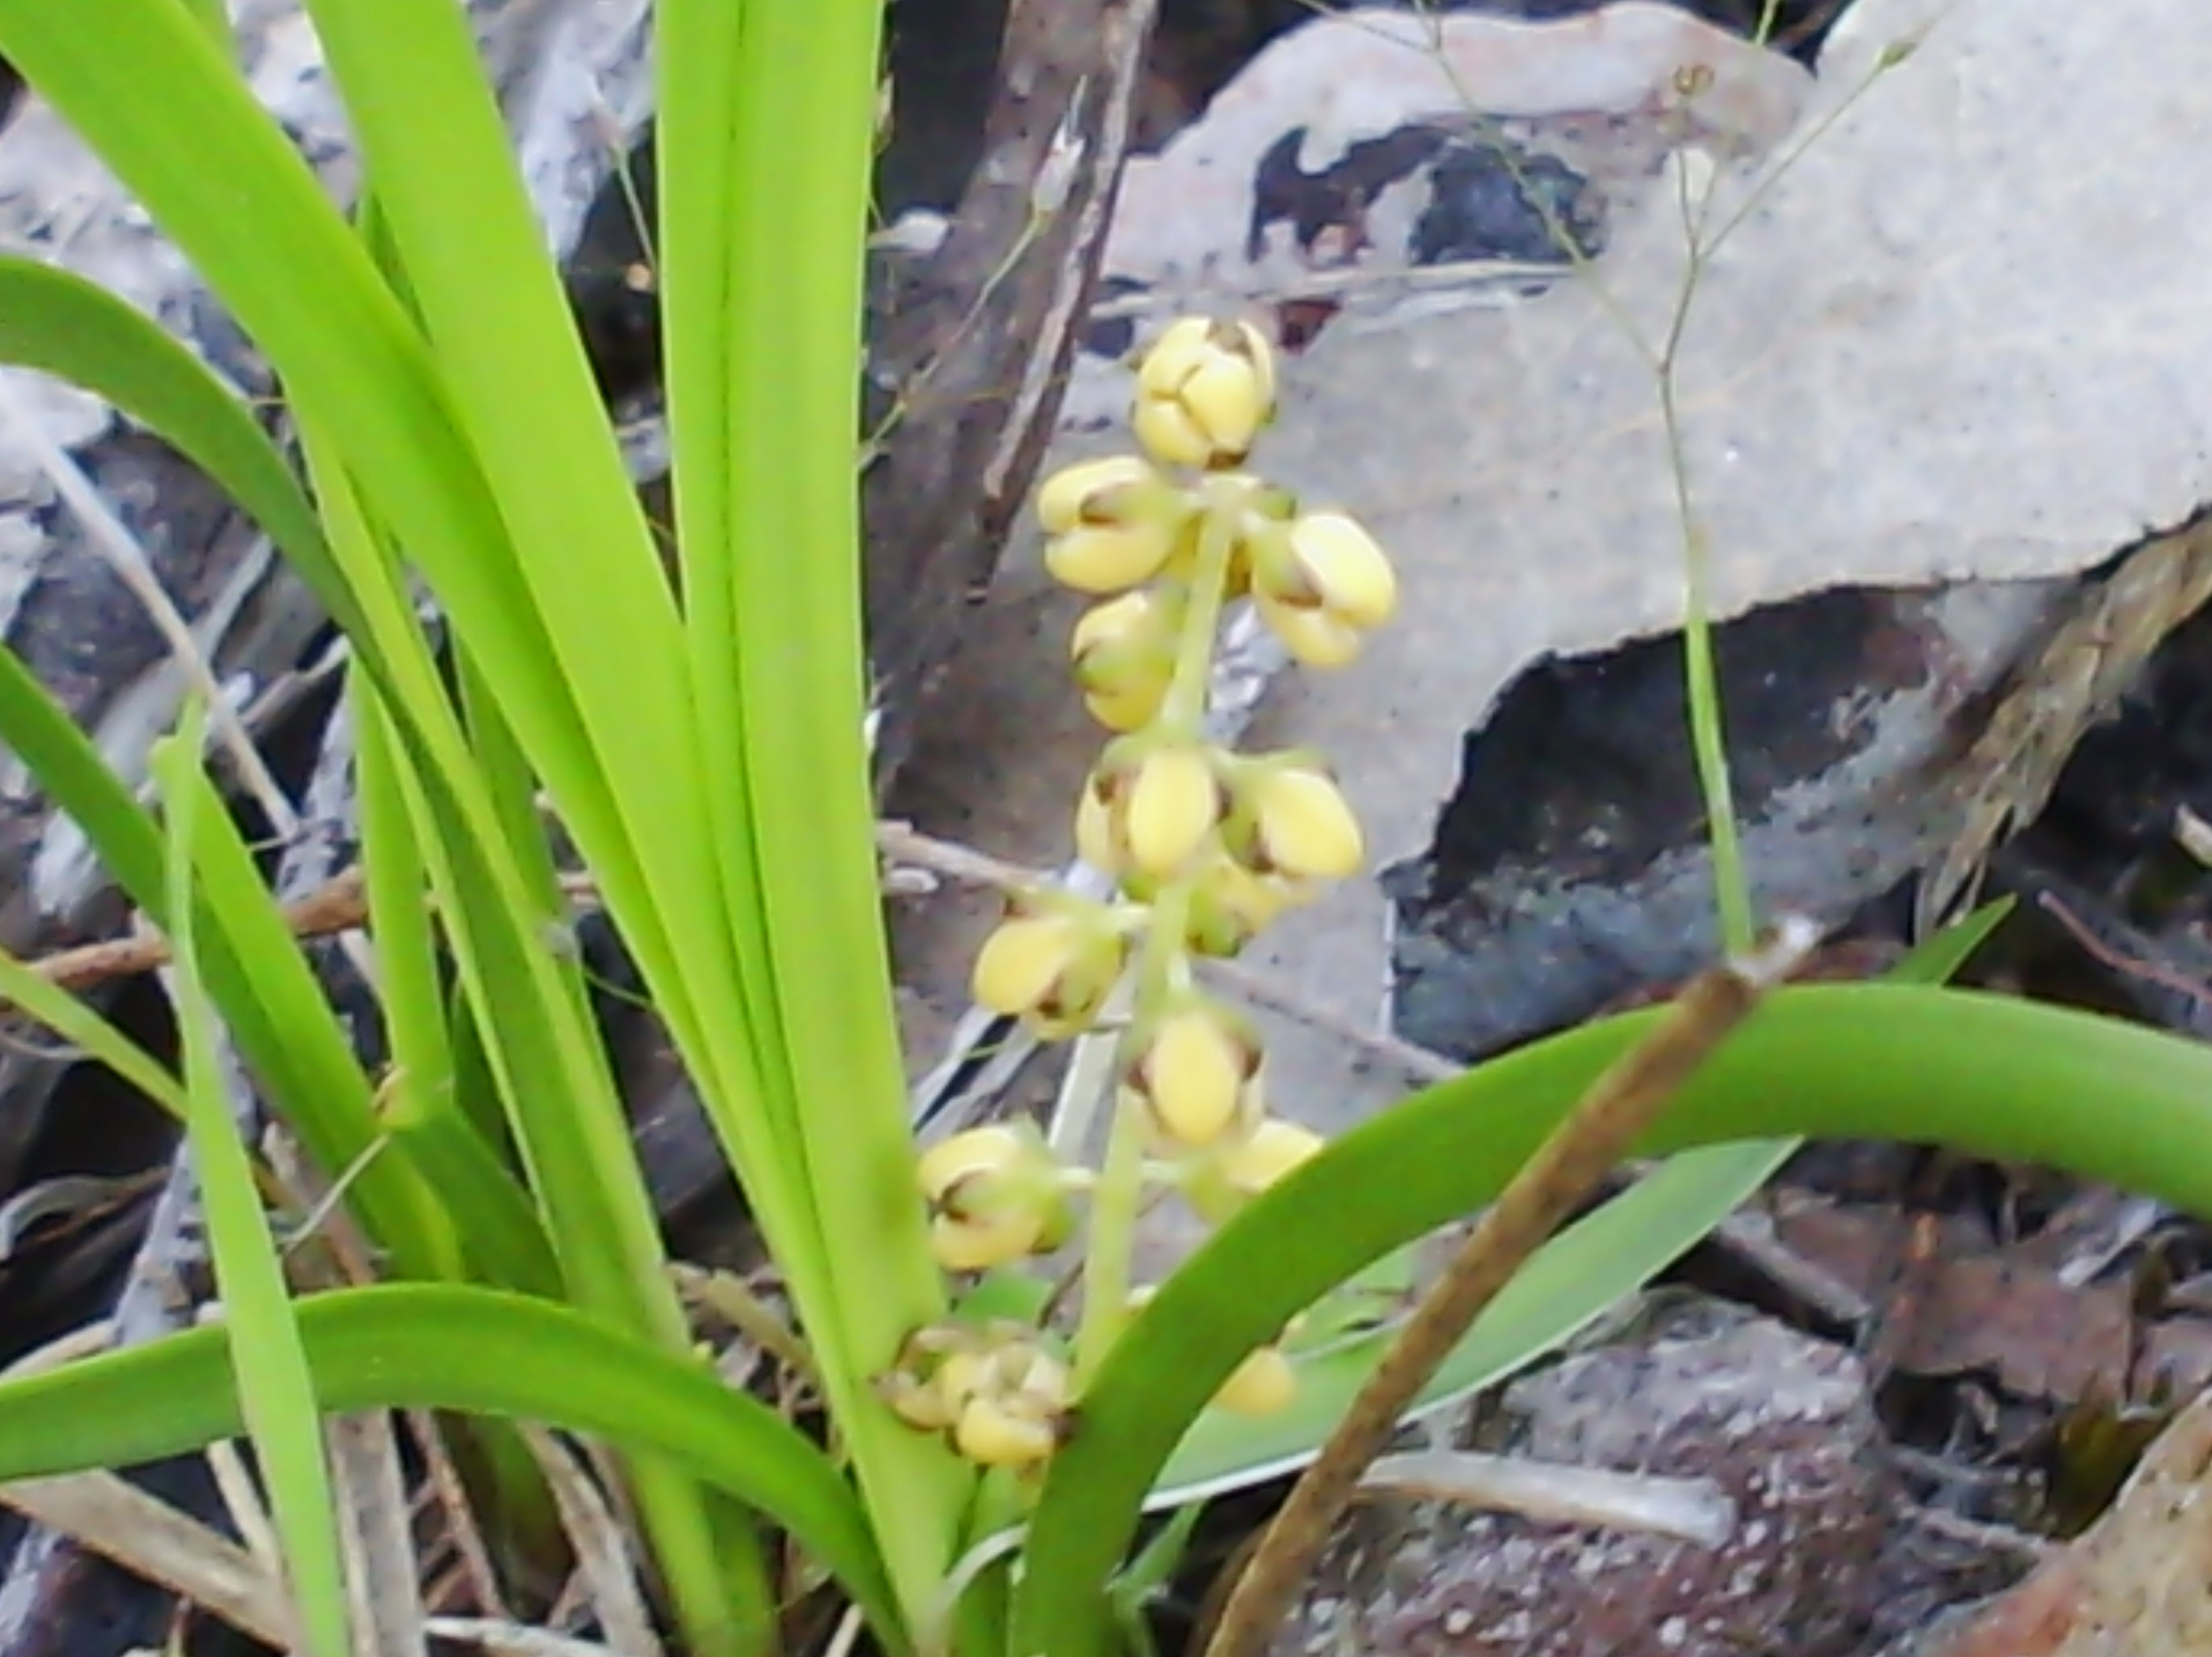
This one is even tinier. The little yellow flowers are less than half a cm or 1/8 inch across. I am not sure what it is, besides being an orchid and I have never seen it before.
So, after trudging for hours, that was all I found. I might try again when the ground dries up a bit as it was very green and these orchids don't really like that. They seem to pick the most inhospitable areas to grow.
that's all for today
Hopefully I will be back, tomorrow with another few little stitches.
Friday, November 1, 2013
Sunday, October 6, 2013
a butterfly
Just a short one, today, and a change from the printing for a bit (even though I am still going - and running out of papers!)
I made a little journal quilt today. I was inspired by a baby wipe that had cleaned up when I was painting. The way I had held it when I wiped made purple finger prints and they were arranged like a butterfly's wings, so I outlined the wings and added some beads, shell bits and stitches to it.
The interesting thing about this is that if I hadn't tidied up yesterday, I would never have seen this wipe. I often find when I am tidying up that I find inspirational bits, especially after a really busy time in the studio, and of course being the hoarder I am, if I didn't keep all these bits and pieces that normal people throw out, well, where would my inspiration come from? lol.
I have missed my journal quilts, perhaps this will spur me to get back to them.
I made a little journal quilt today. I was inspired by a baby wipe that had cleaned up when I was painting. The way I had held it when I wiped made purple finger prints and they were arranged like a butterfly's wings, so I outlined the wings and added some beads, shell bits and stitches to it.
The interesting thing about this is that if I hadn't tidied up yesterday, I would never have seen this wipe. I often find when I am tidying up that I find inspirational bits, especially after a really busy time in the studio, and of course being the hoarder I am, if I didn't keep all these bits and pieces that normal people throw out, well, where would my inspiration come from? lol.
I have missed my journal quilts, perhaps this will spur me to get back to them.
Thursday, October 3, 2013
More monoprinting - feathers
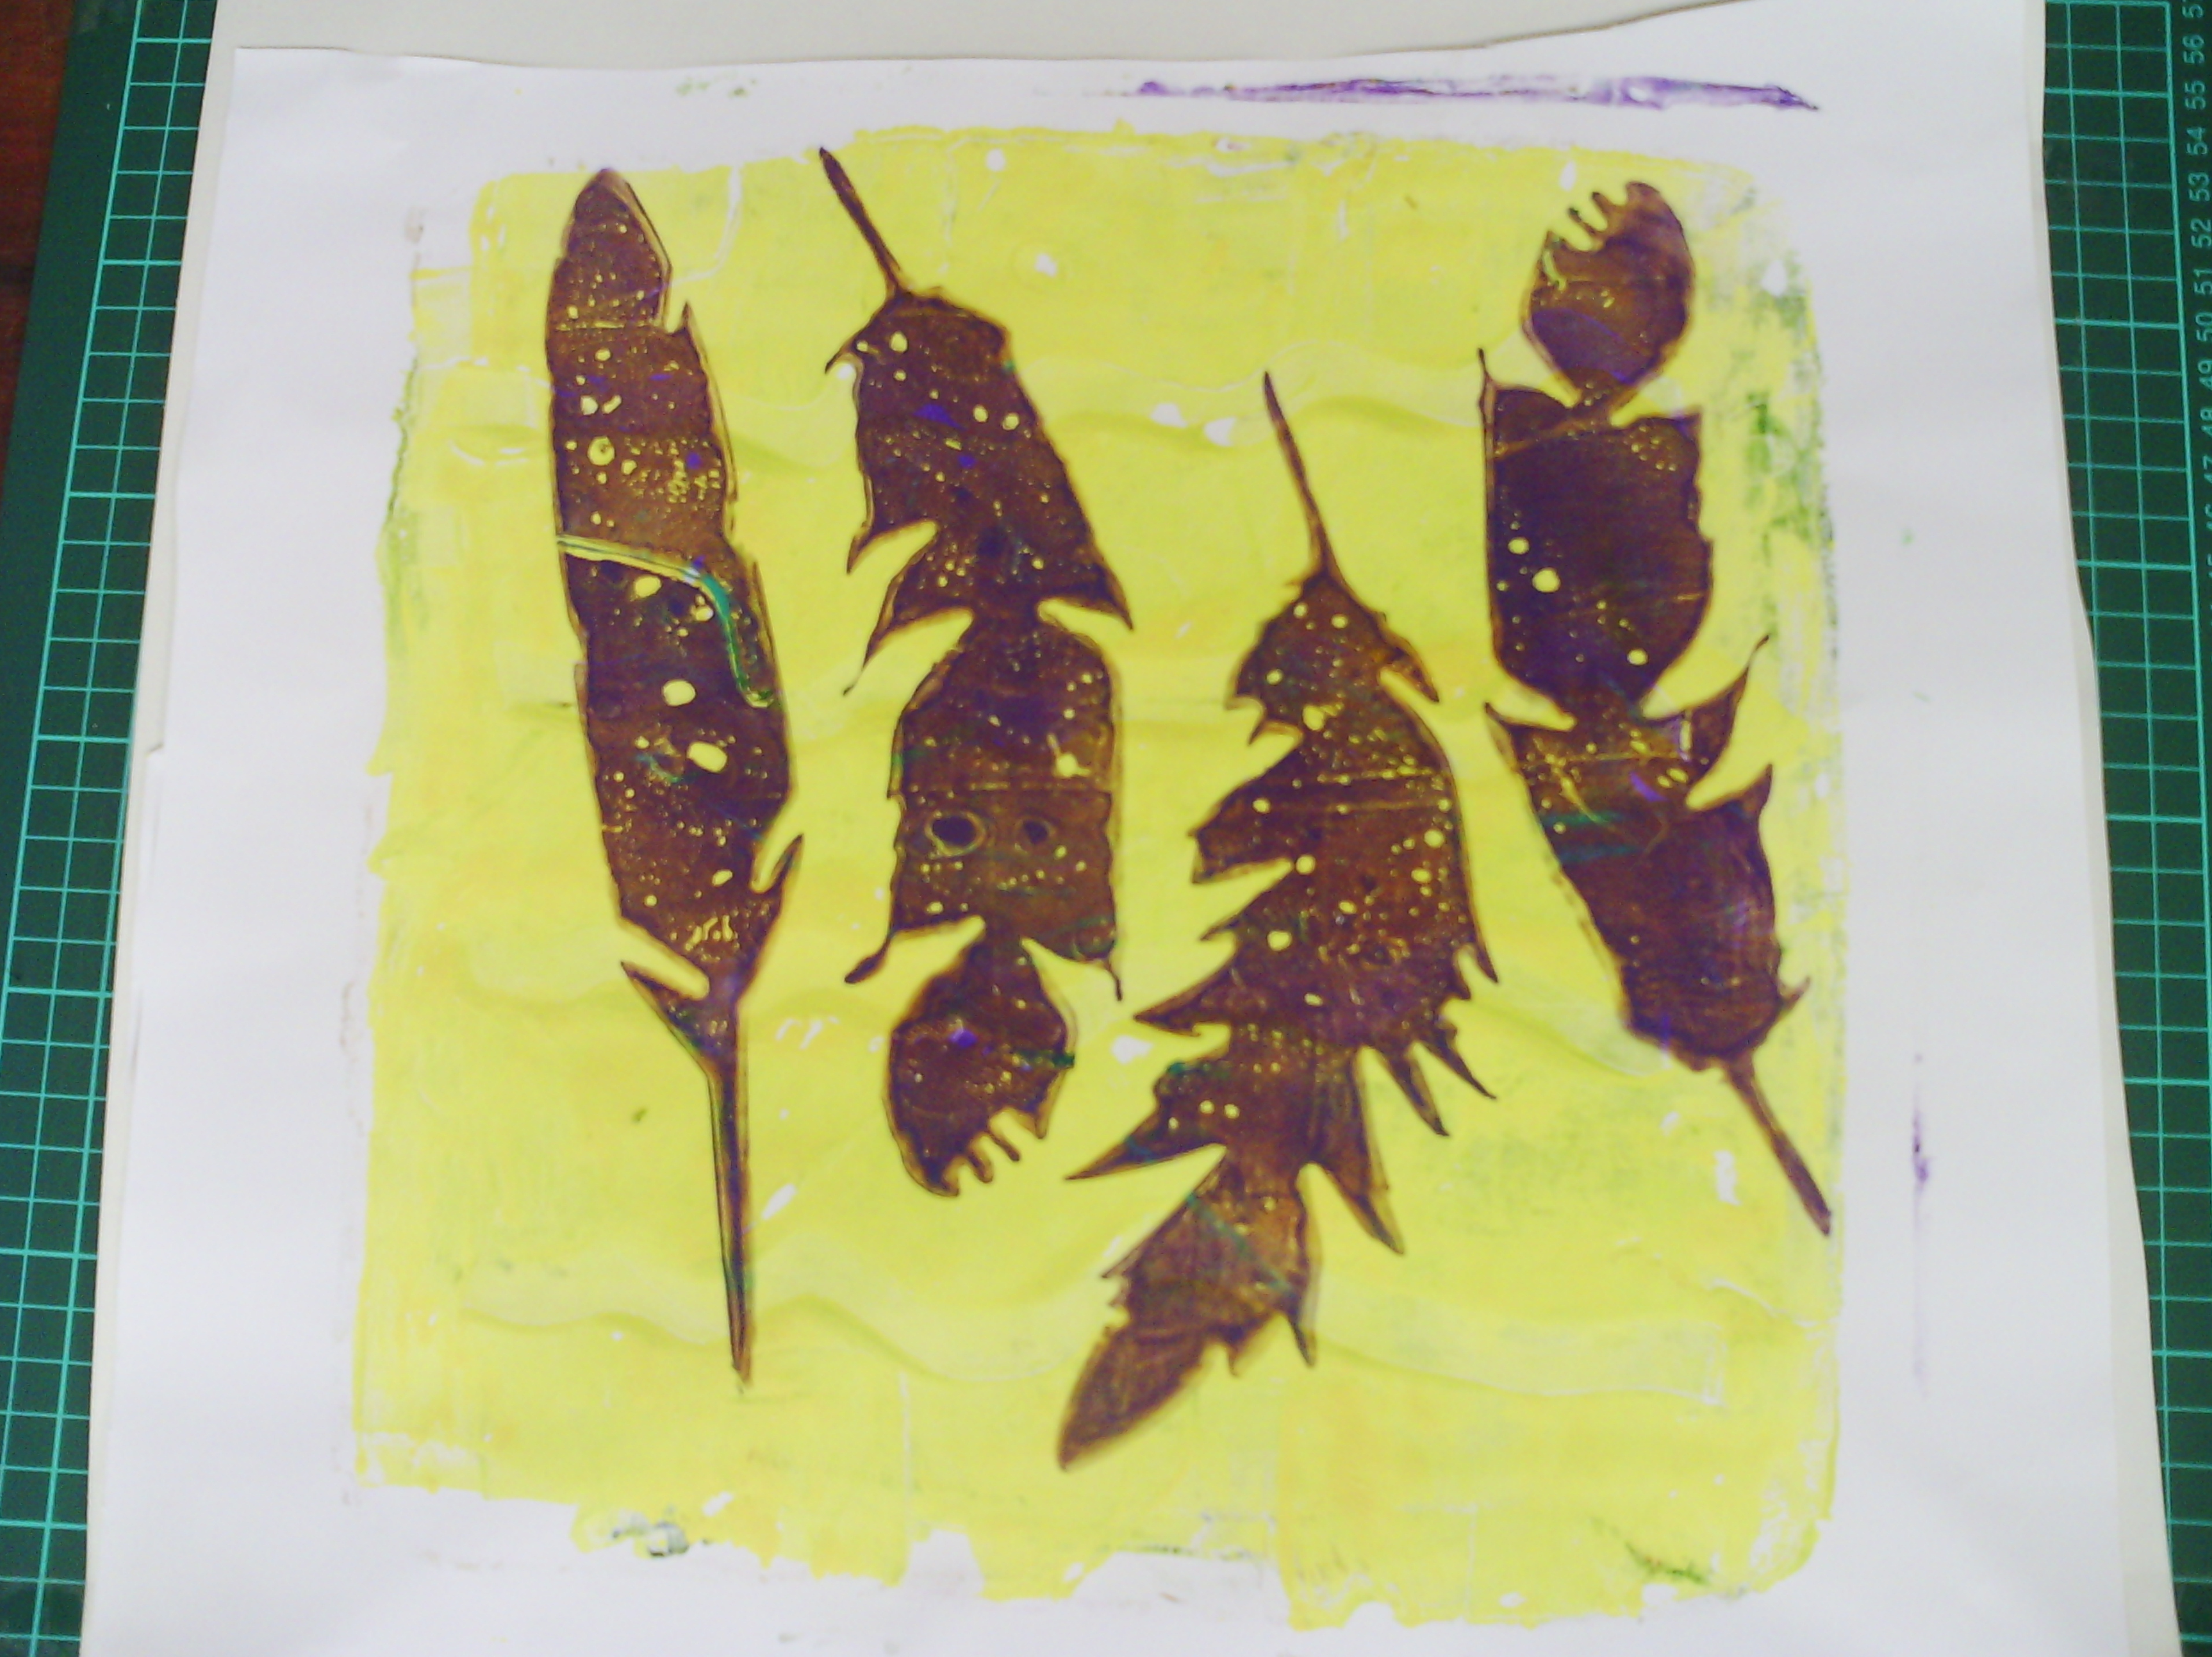
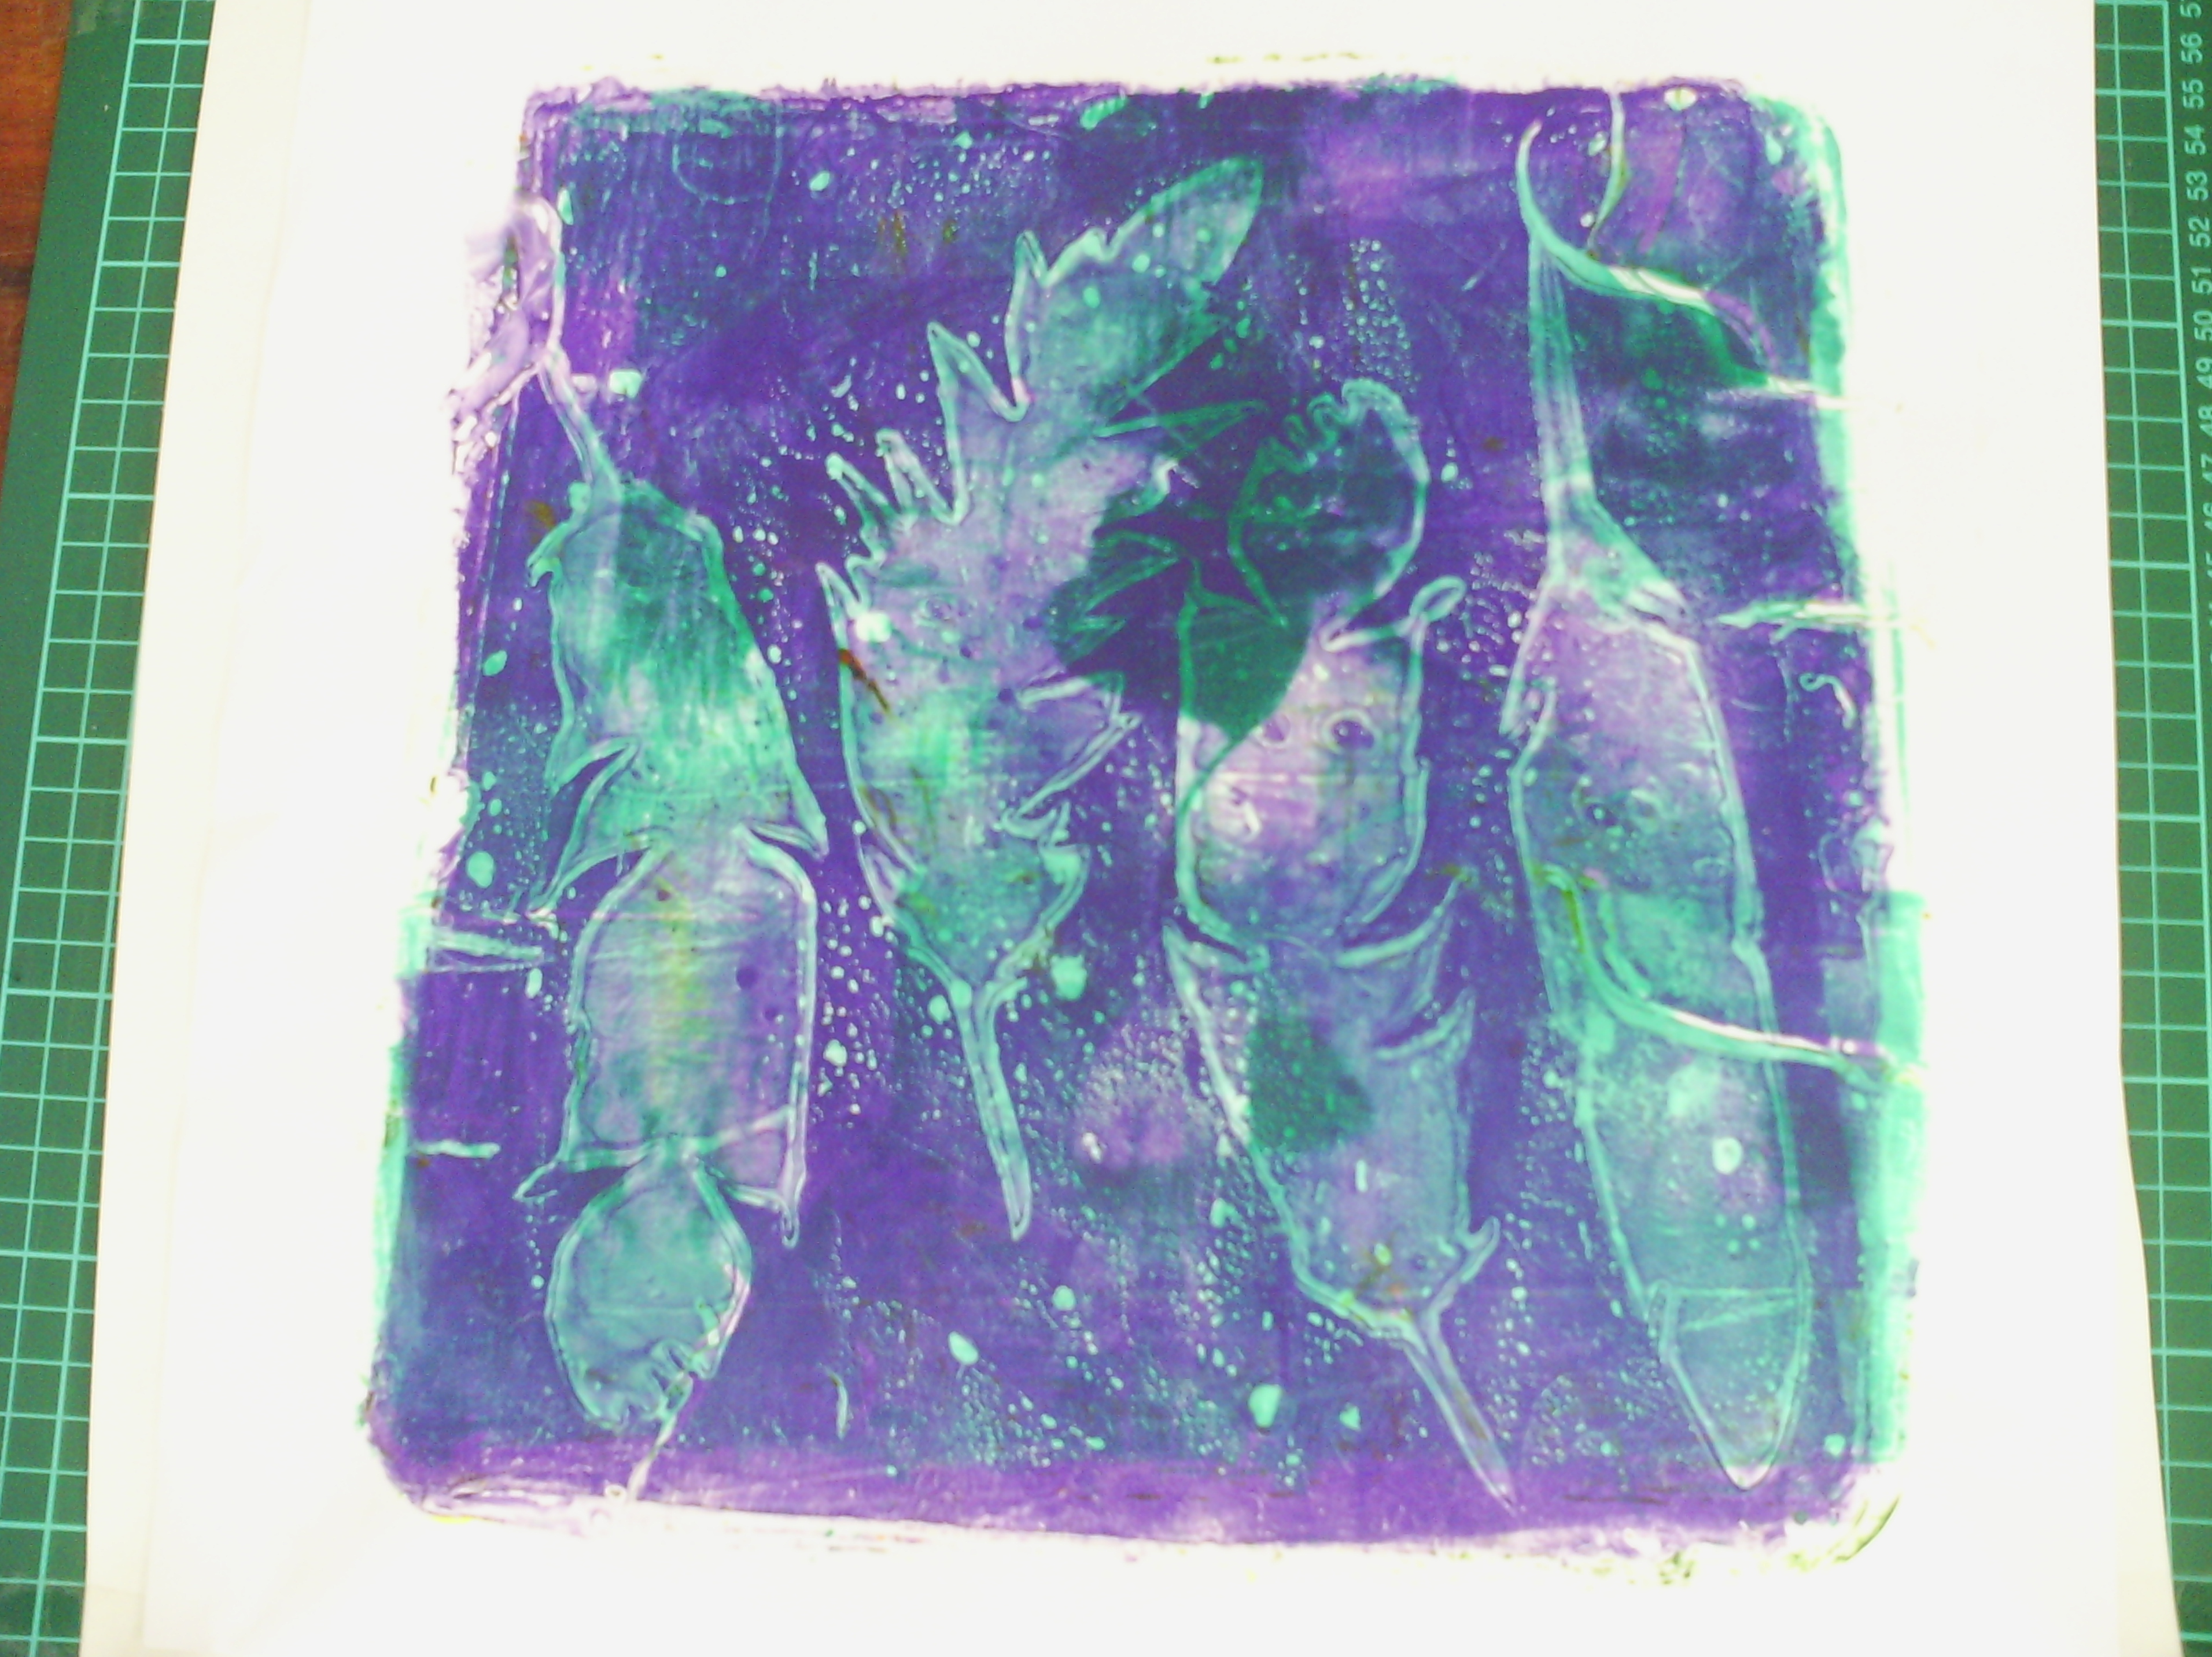
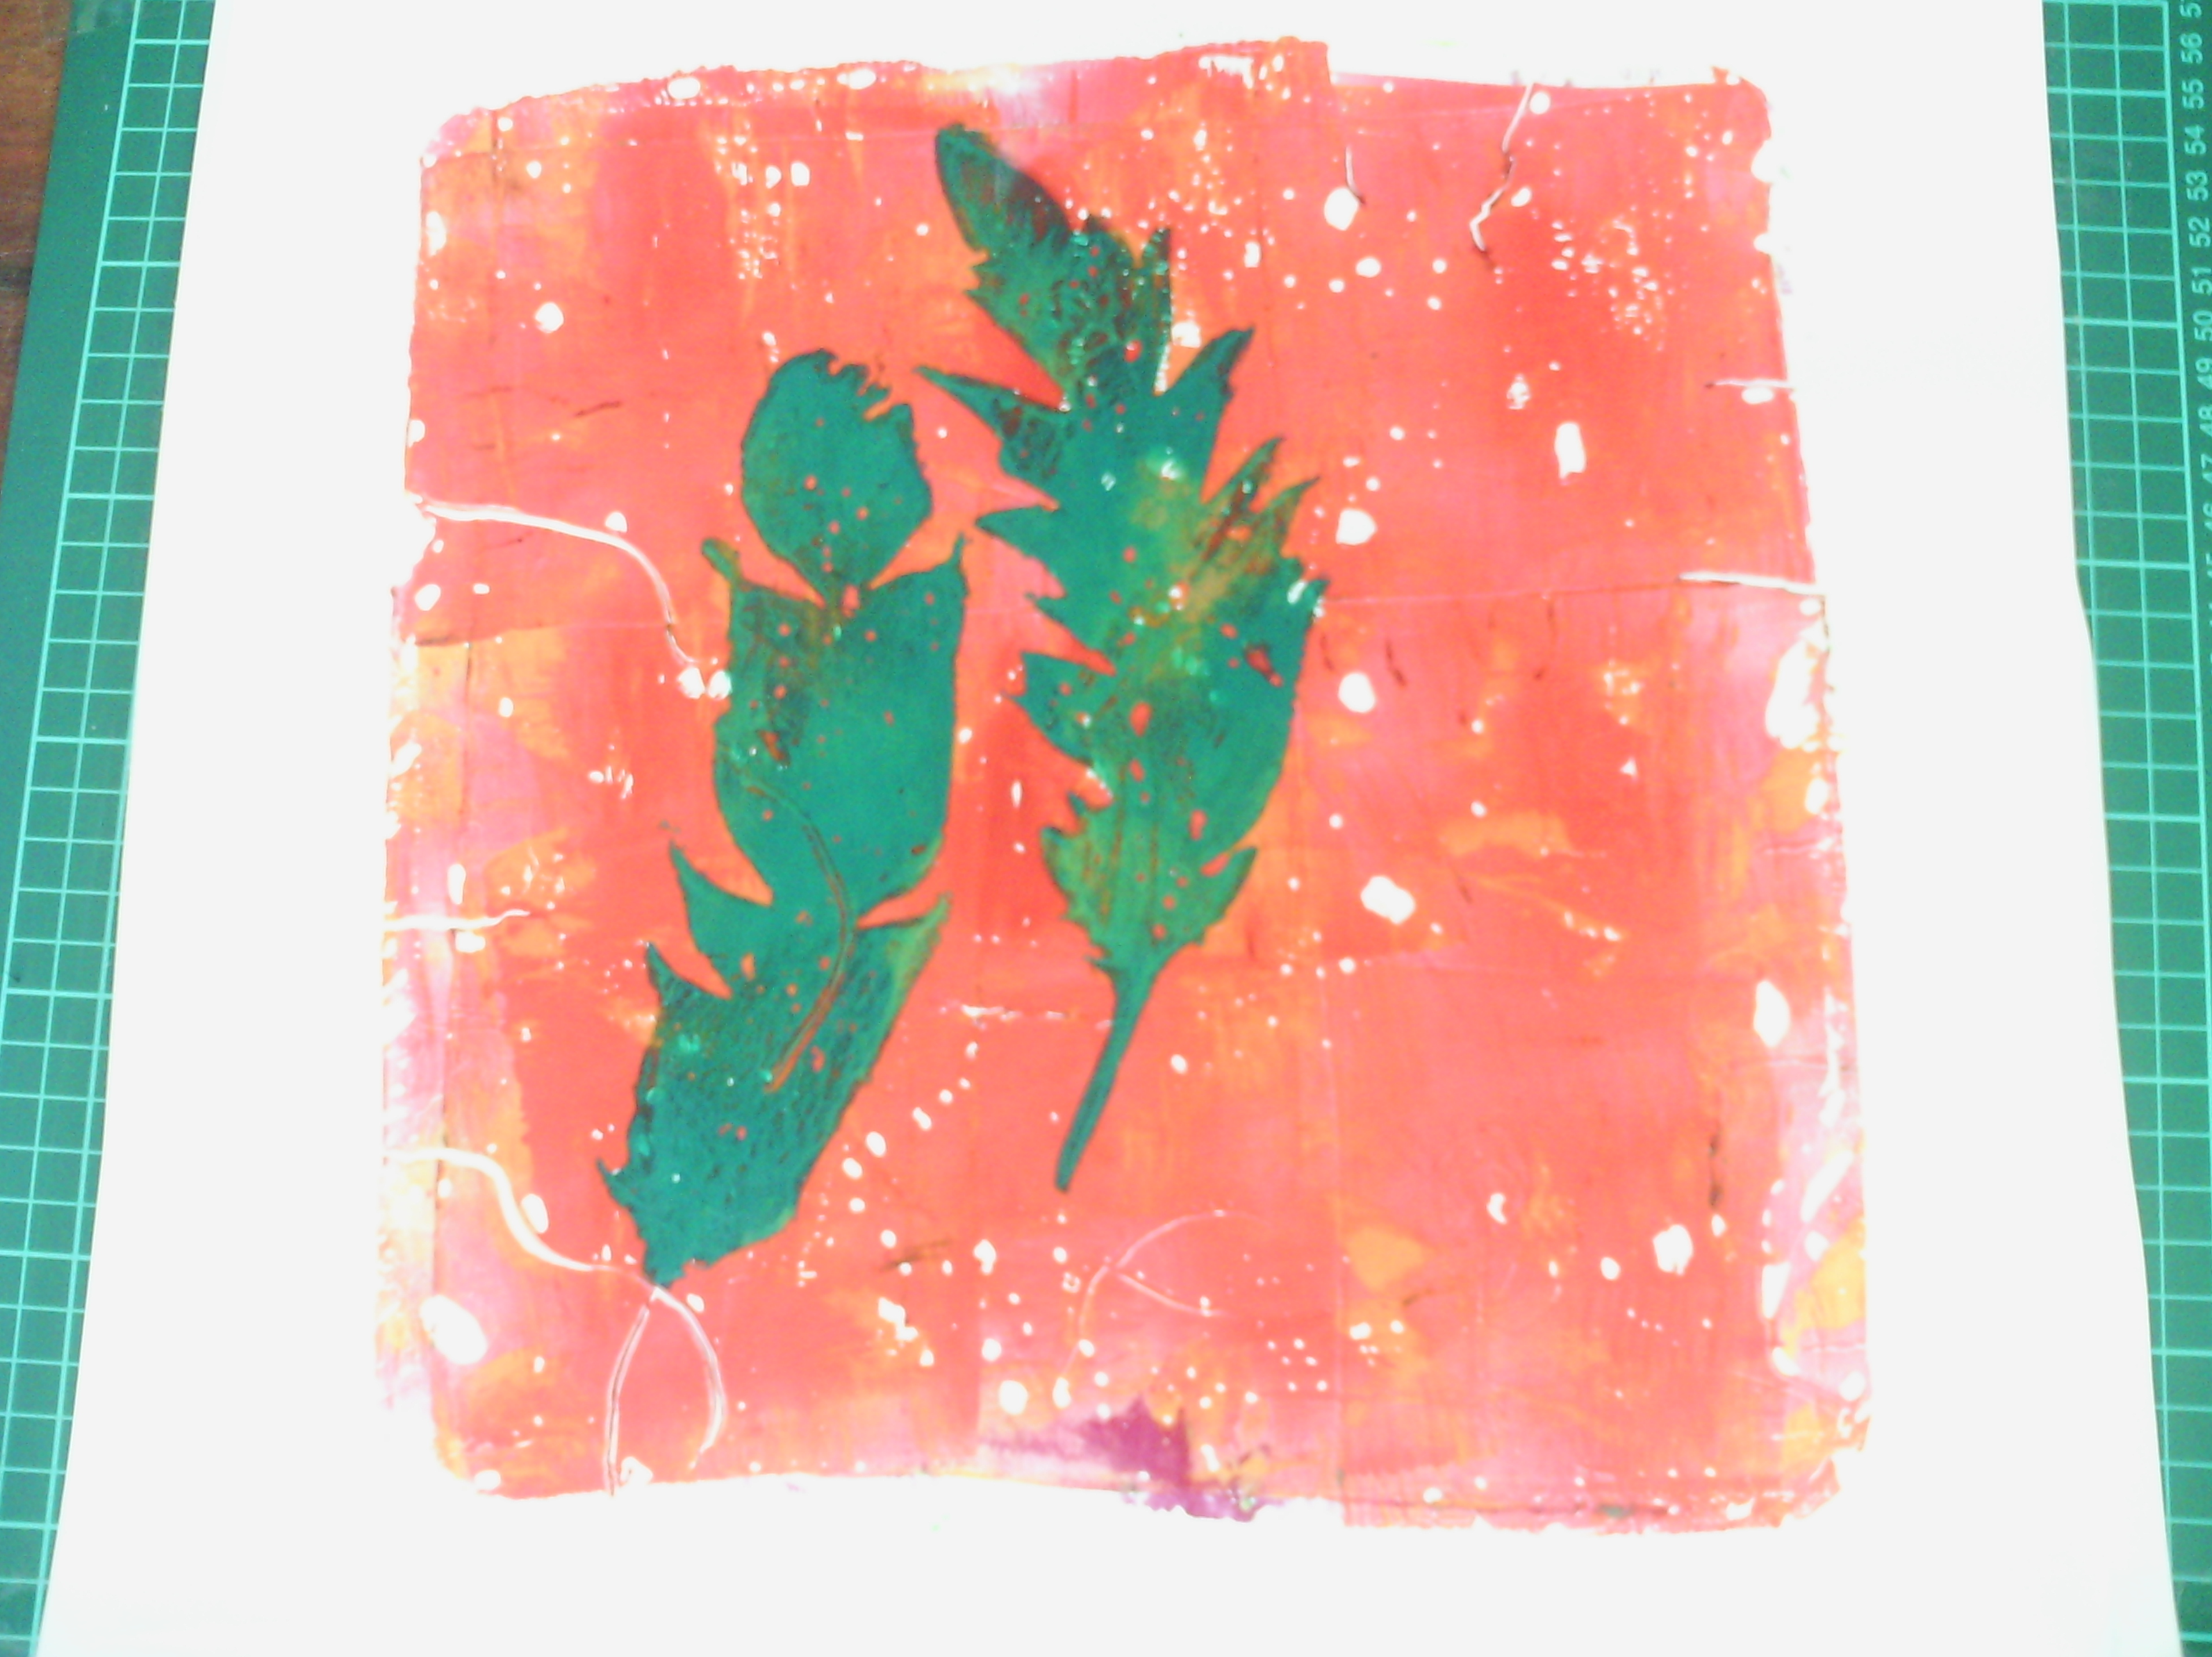
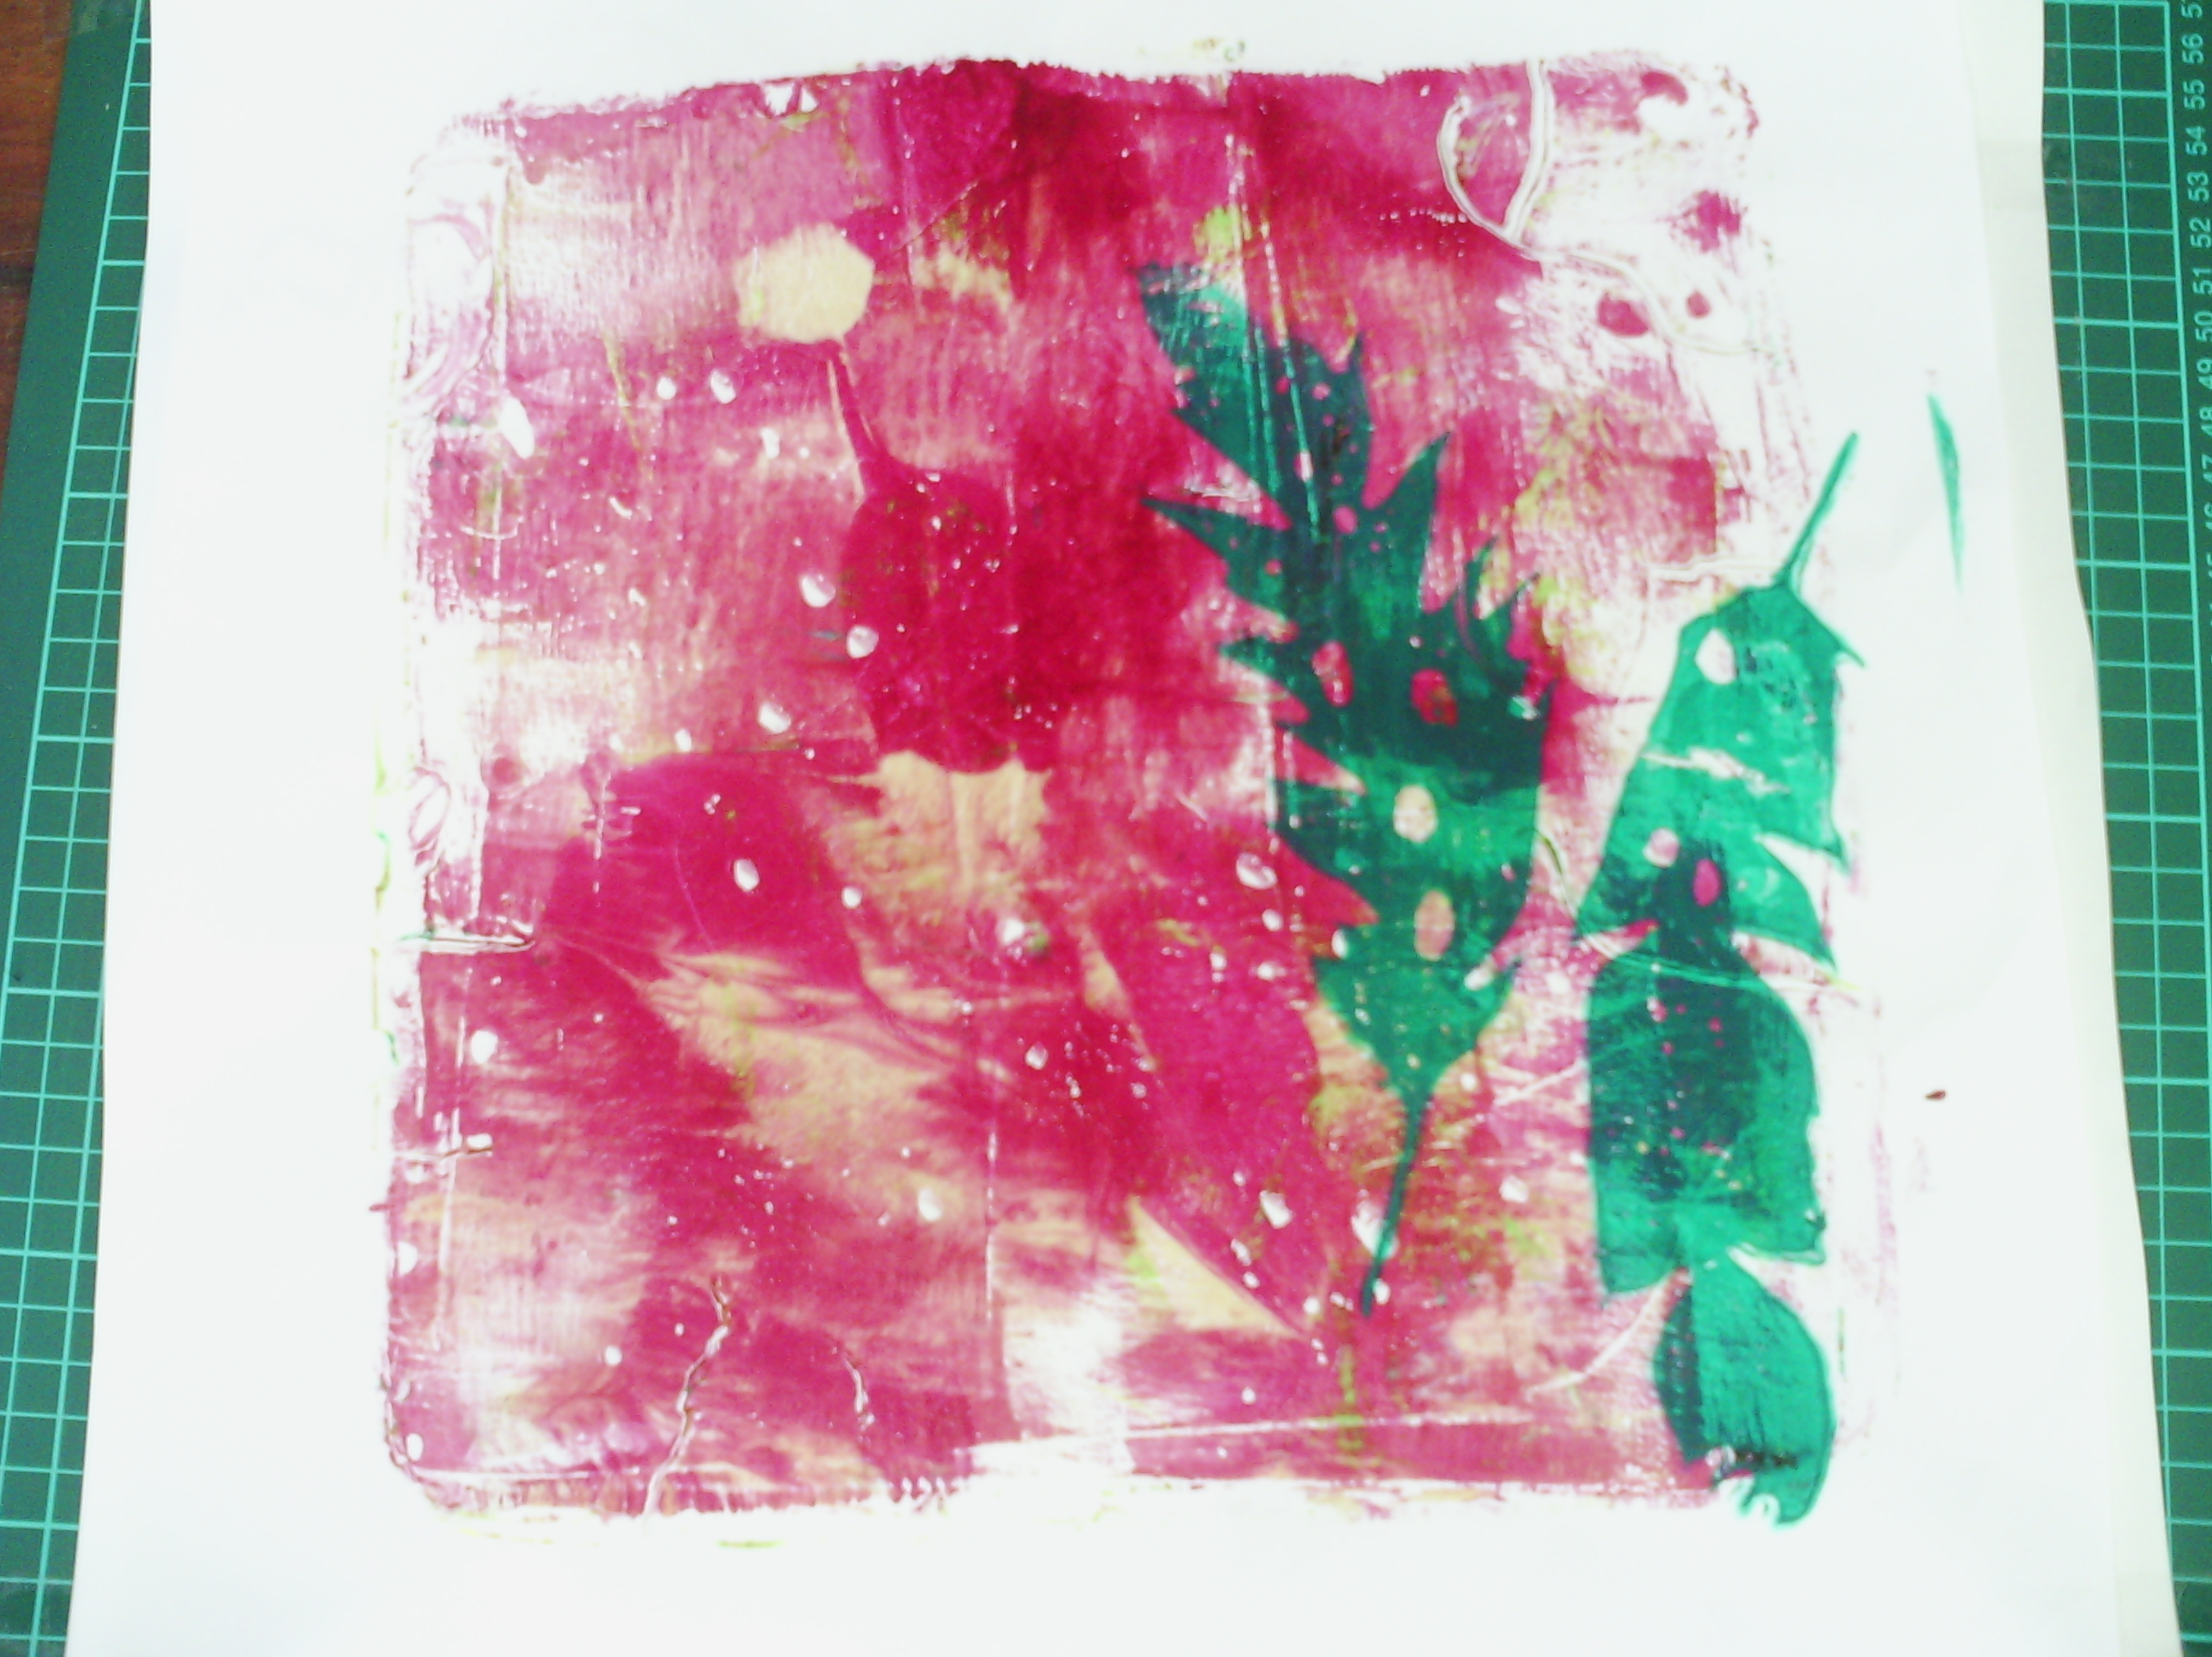
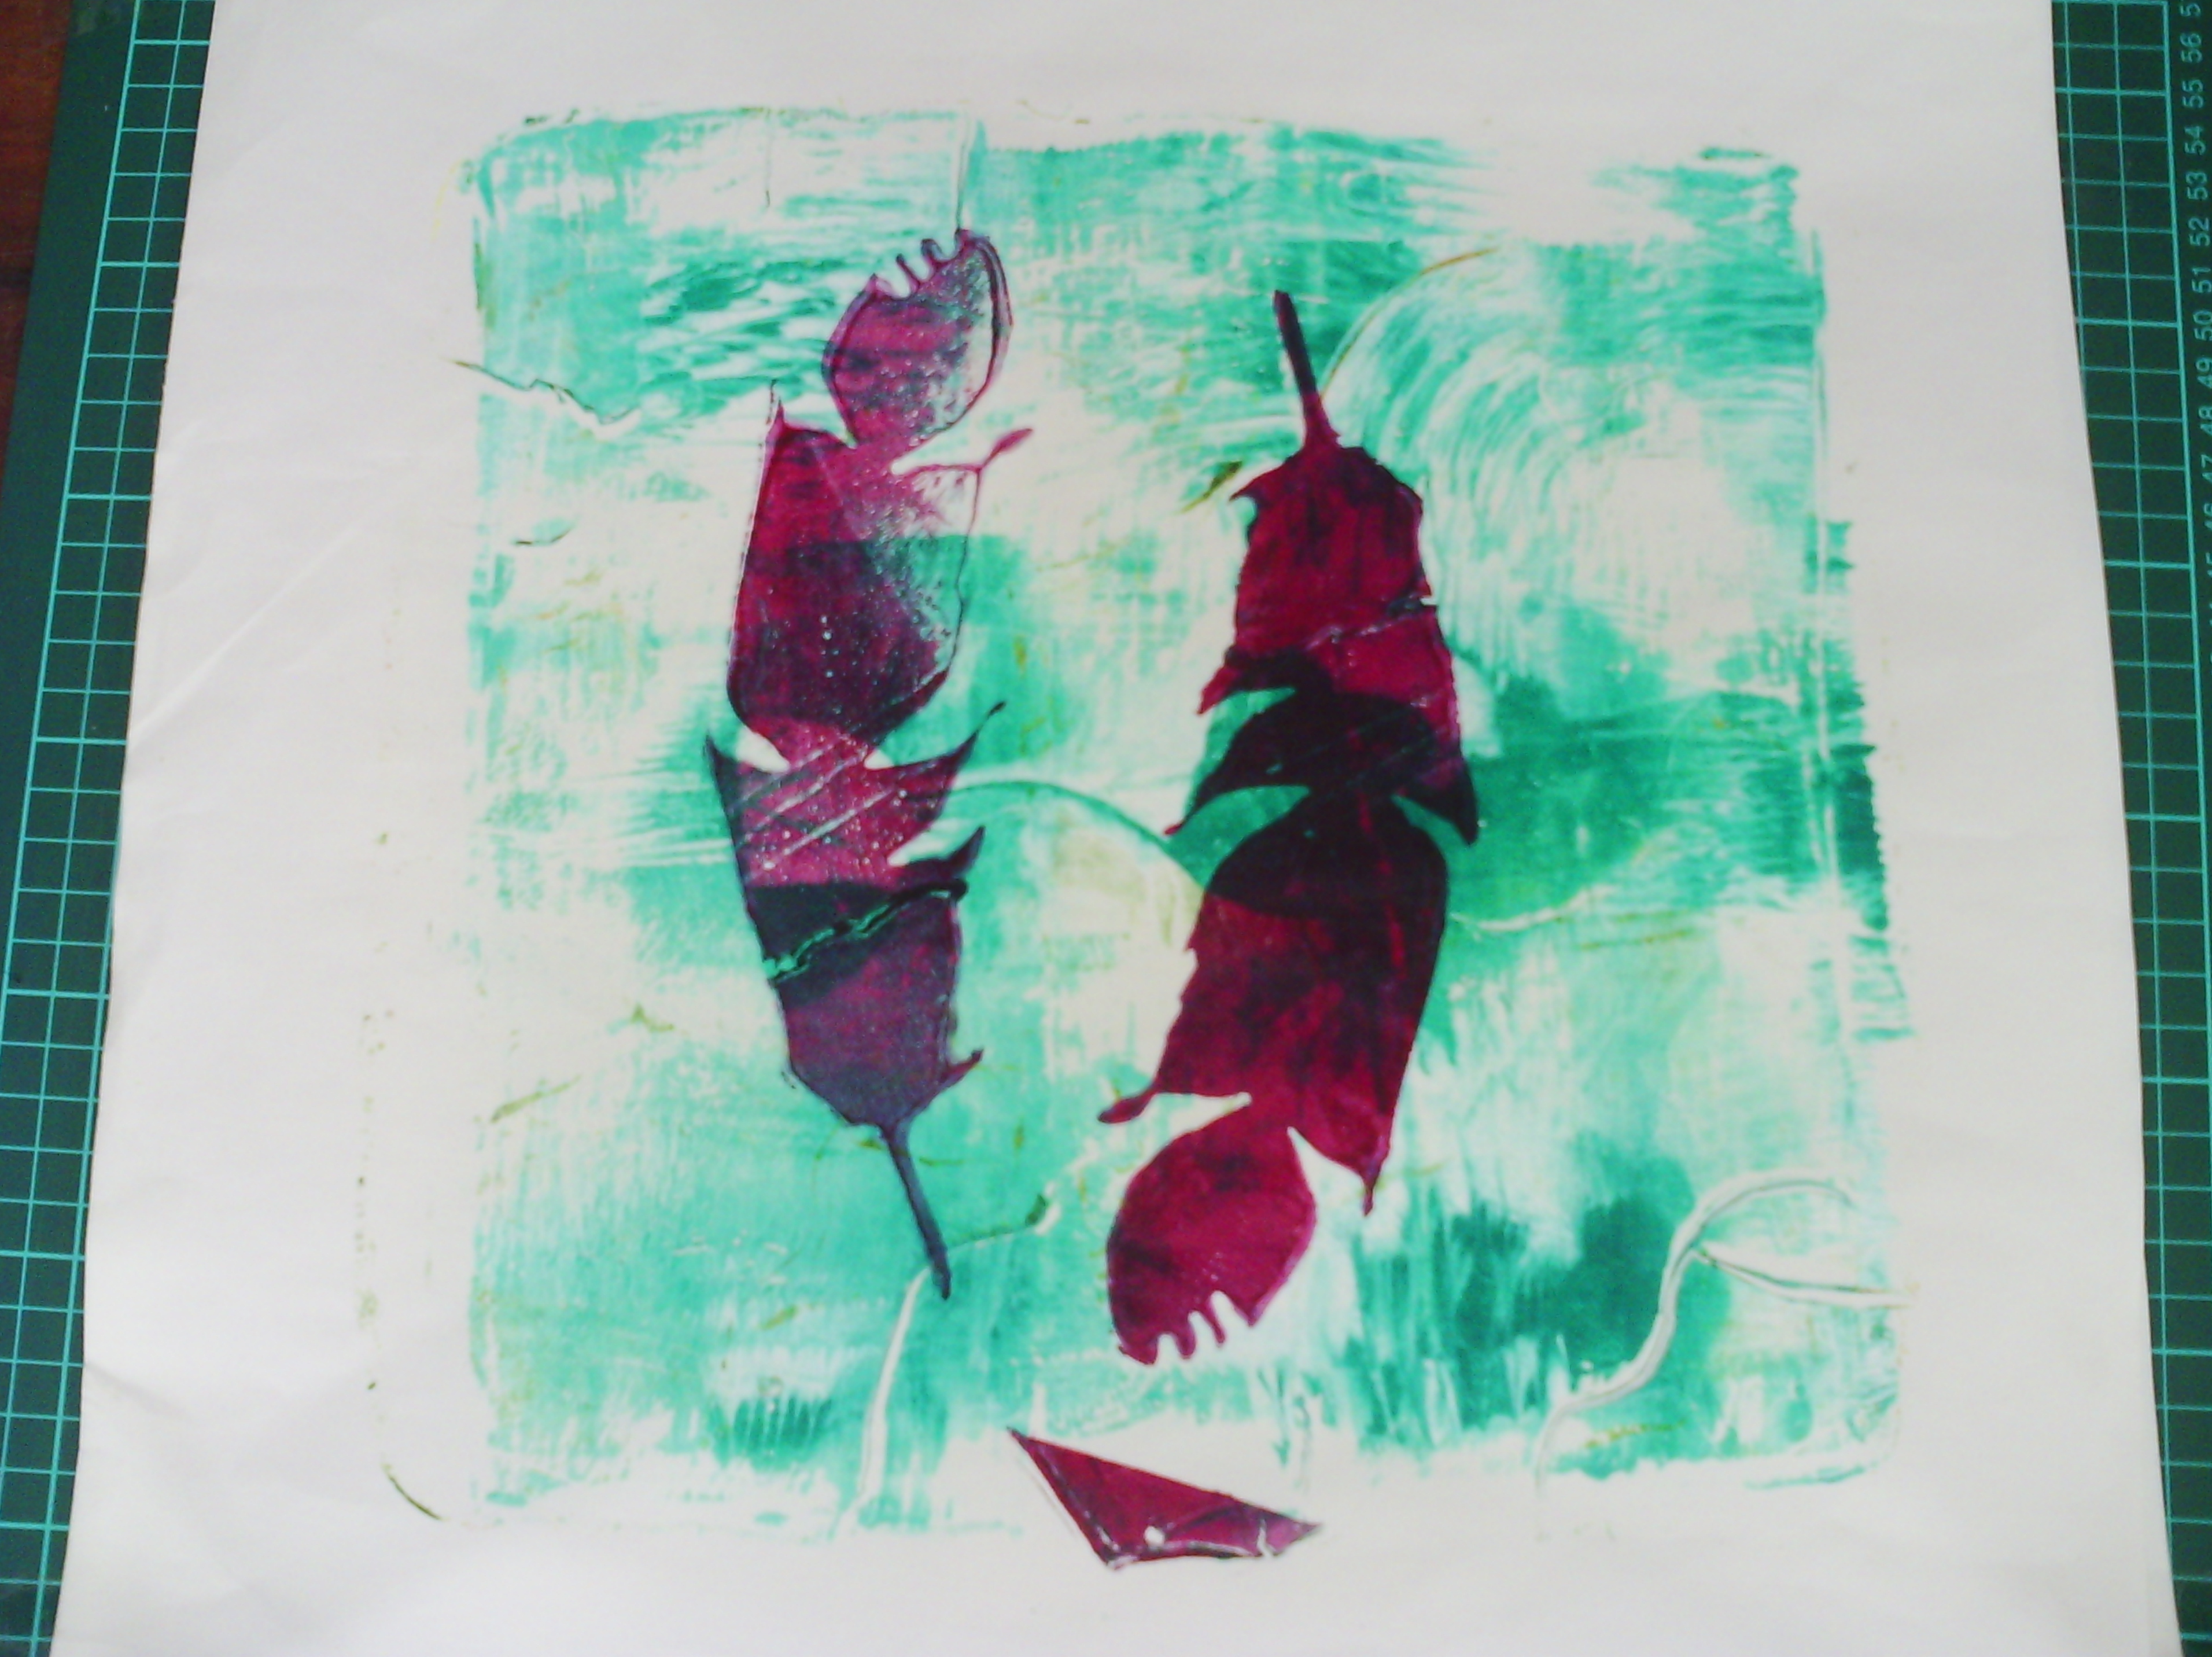
My favourite shape from my enormous monoprinting session, was the feathers.
Here are a few prints.
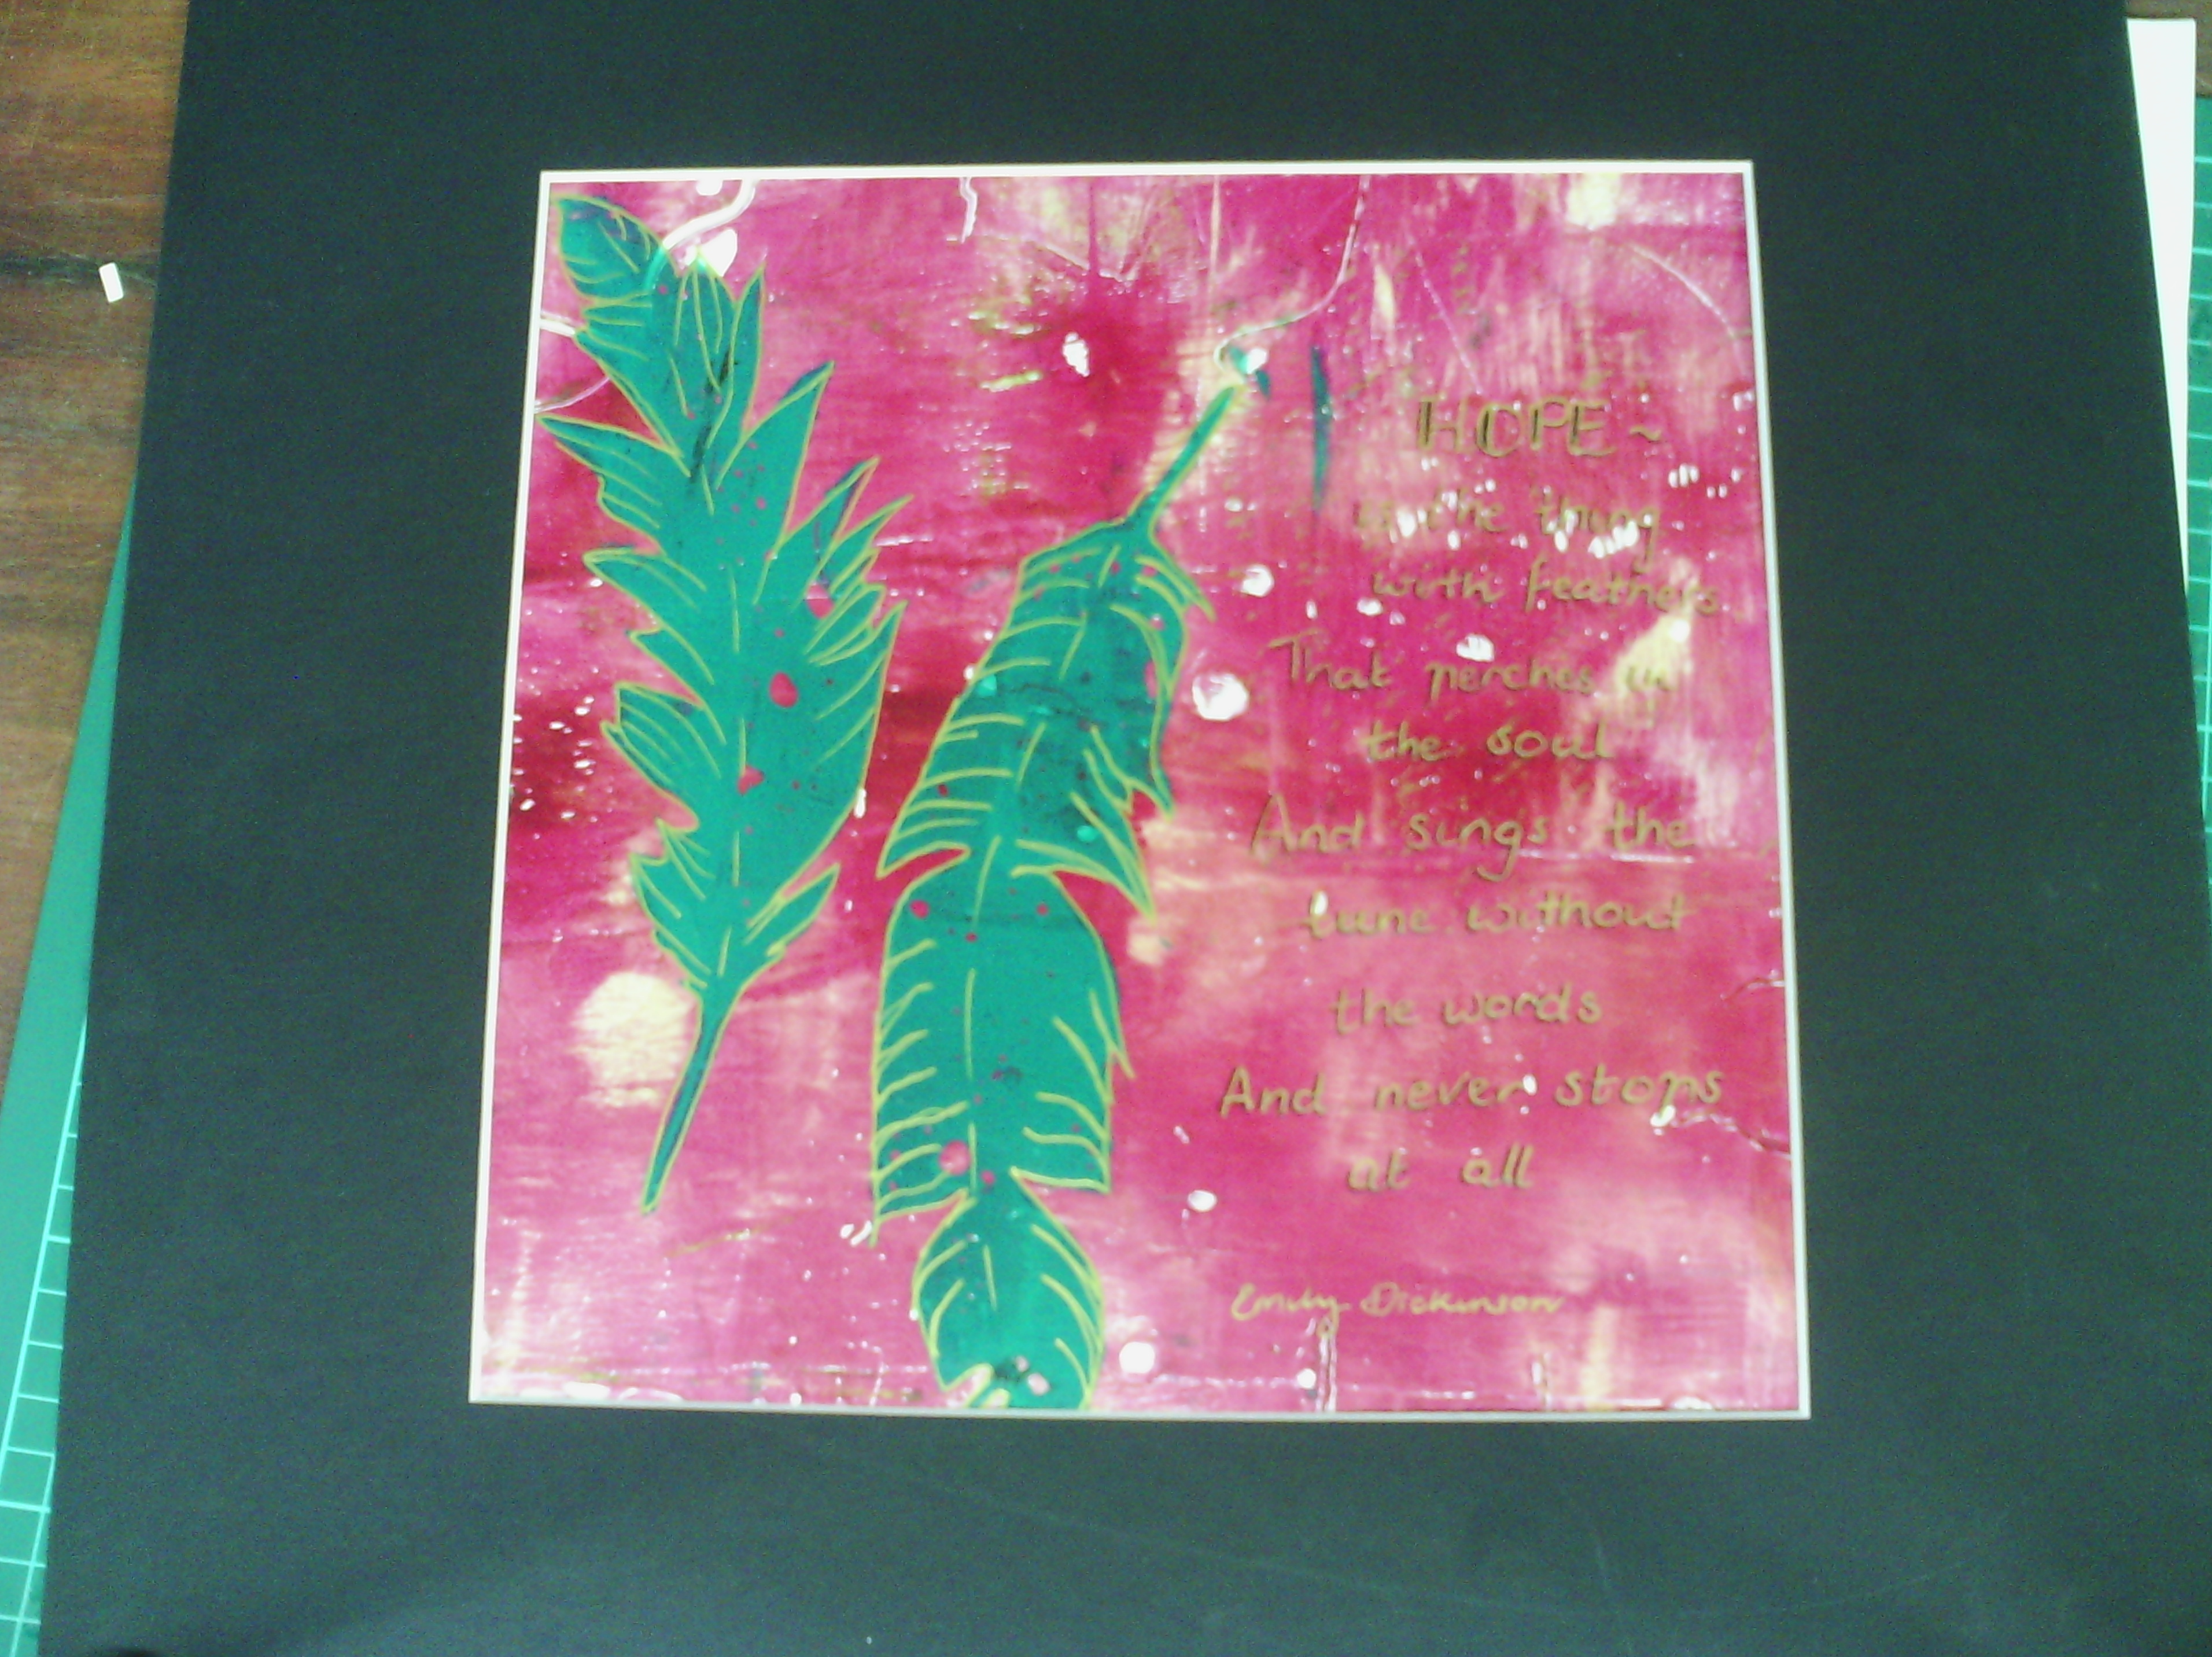
As I said, L loved these prints the most and so I did a bit more work on one of them.
I added some detail with a gold pen and also a poem. Below is a close up.
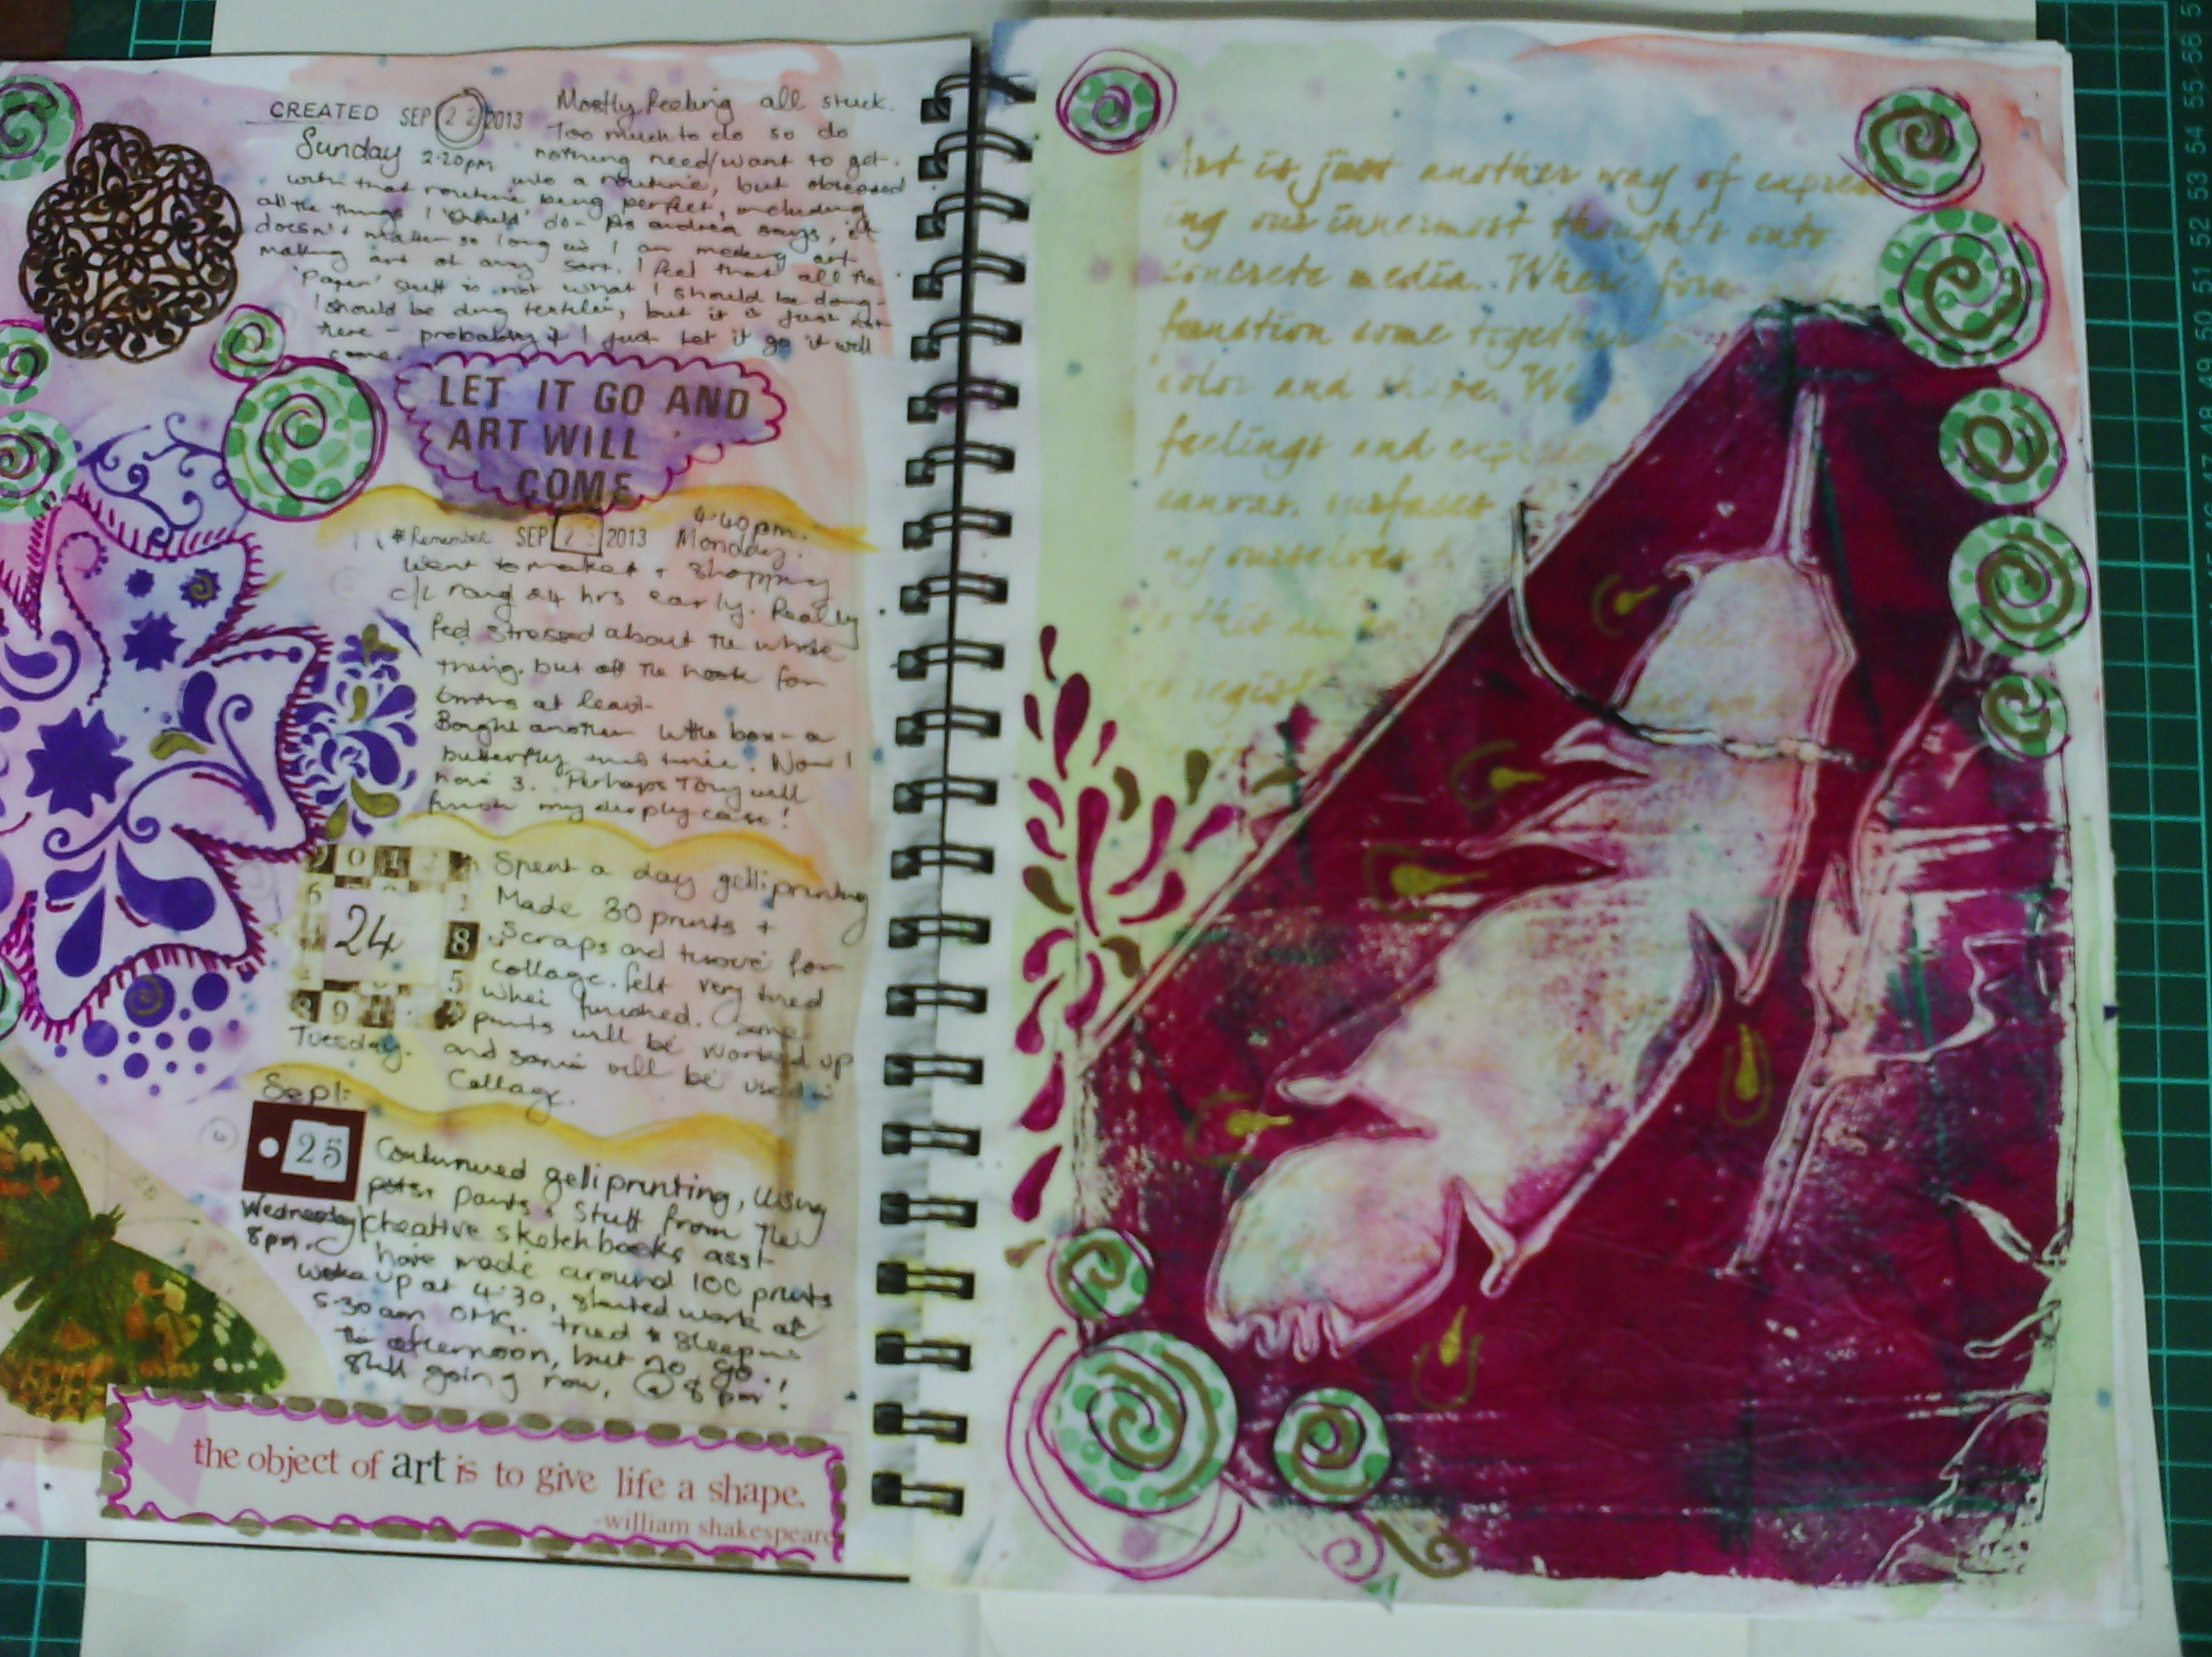
I also added one of the prints which was on tissue to my journal.
And that's all for now.
Here are a few prints.
As I said, L loved these prints the most and so I did a bit more work on one of them.
I added some detail with a gold pen and also a poem. Below is a close up.
I also added one of the prints which was on tissue to my journal.
And that's all for now.
Tuesday, October 1, 2013
A bit of monoprinting - butterflies
Over the last week or two, I have been engrossed in gelatin printing. I have amassed over 100 prints, a few of which I will take further, and many of which will become journal fodder. I won't go into detail about the process, but you can watch Julie fei fan Balzers recent video for some pointers
So let's have a look at a few butterflies.
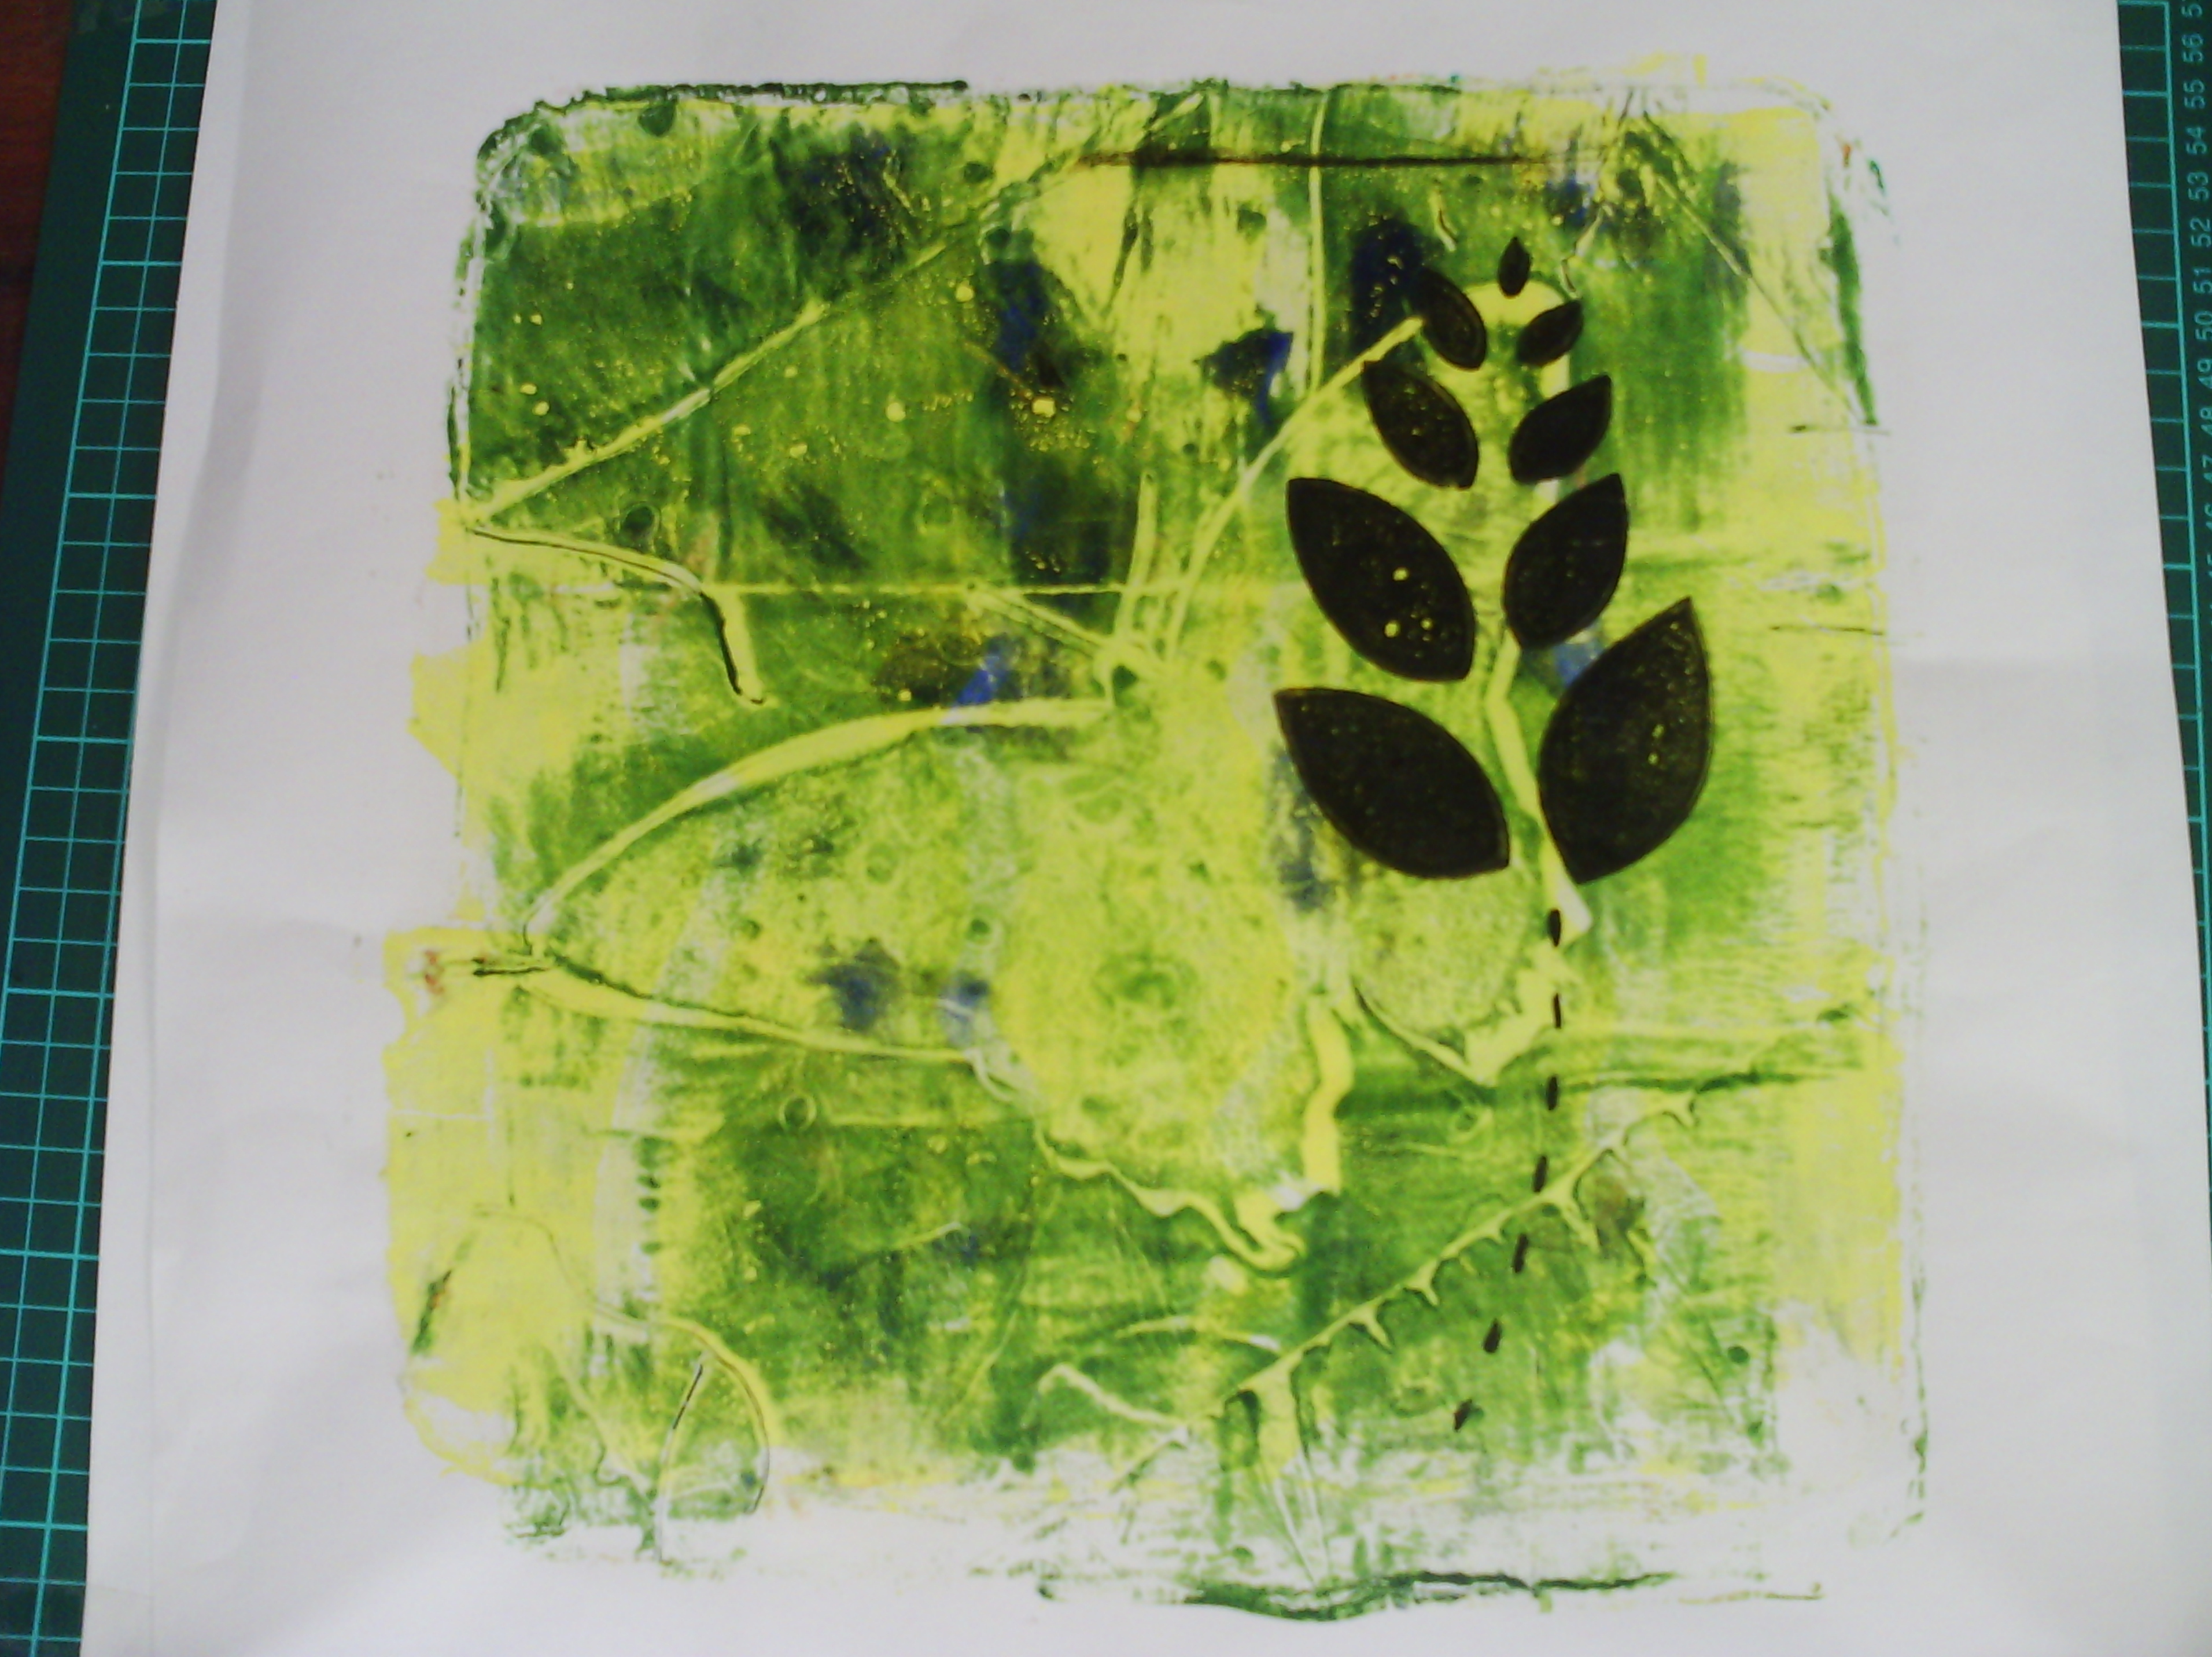
Most of the prints are three layers, but this one has only two. The background layer is the third print off from a butterfly stencil. What this means is that after I had printed the green butterfly only on some other pages, I lifted the stencil off and printed a negative print - the butterfly is pale, with not much paint as this had been removed, whilst the background still had plenty and created the subtle green layer, which I then printed over with the black stencil.
This one had the requisite three layers. The first was just a mix of two colours brayered on to the gelatin plate
The second was the positive butterfly print, then third, was the black print.
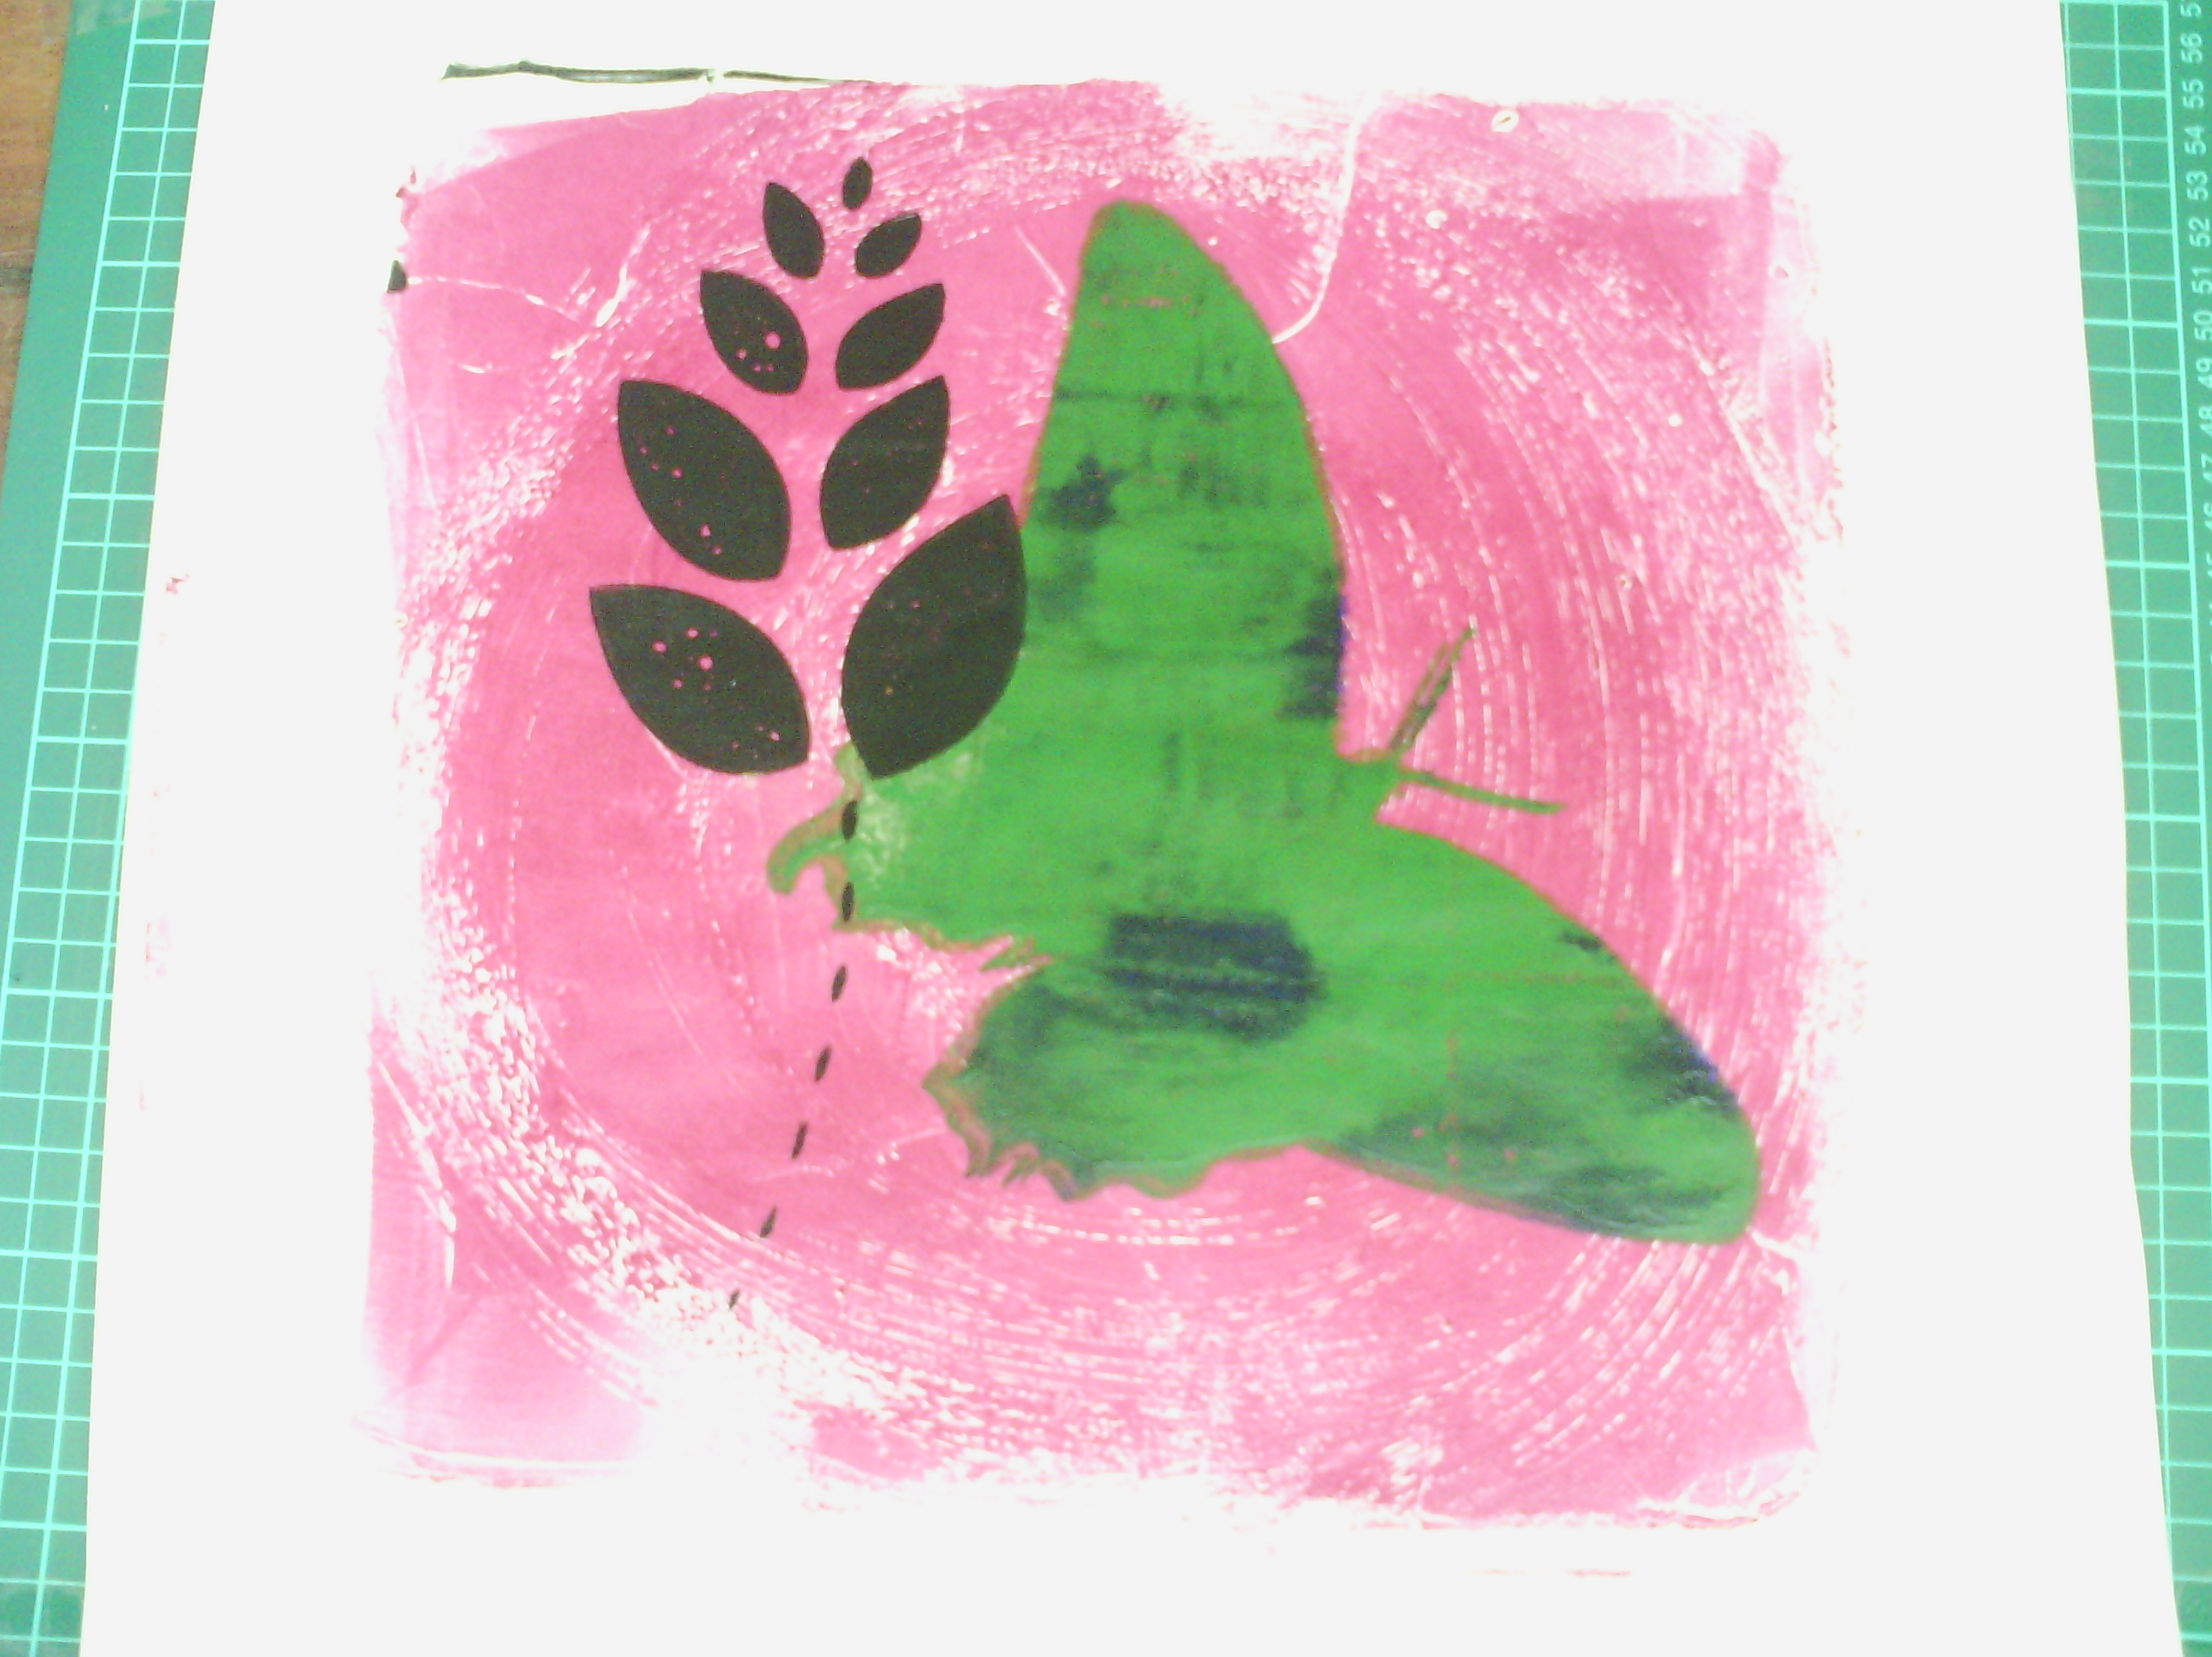
Here is another three layer one. The pink layer was just magenta paint, but I swished around in a circle with a BBQ basting brush before I printed, then, again, the second and third layer are the same as the print above.
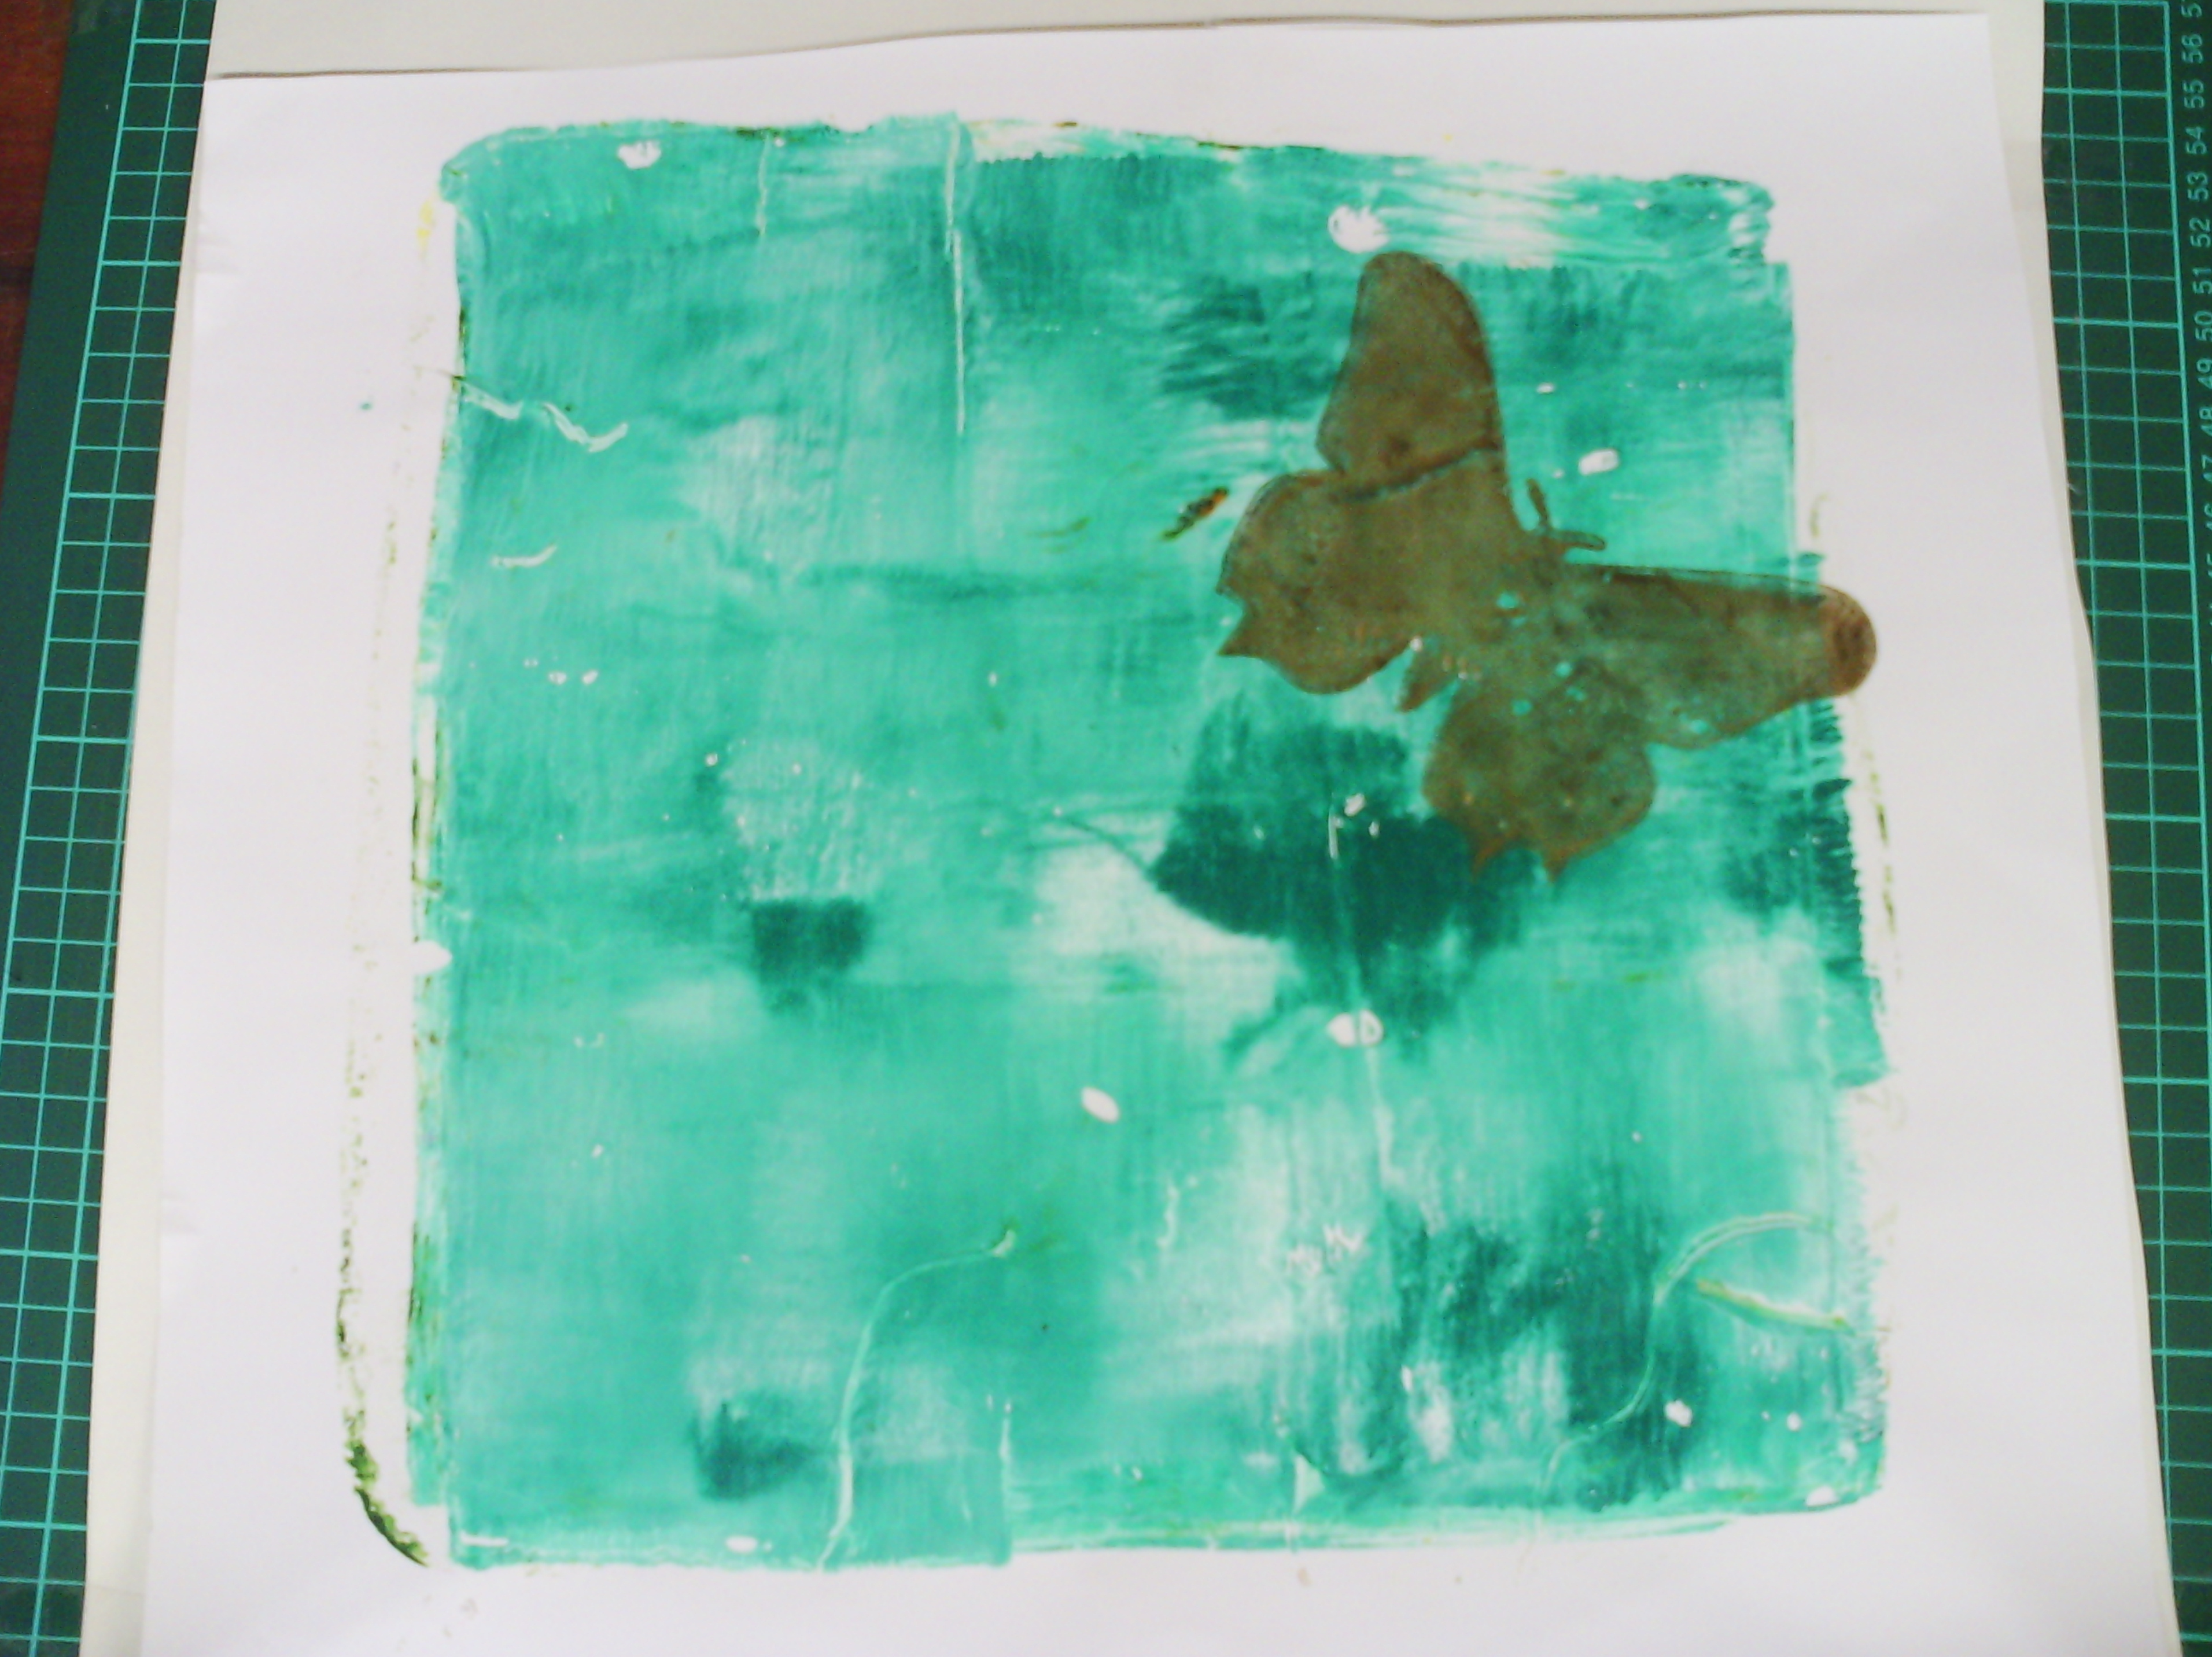
This one has only two layers as I did not add the third accent layer.
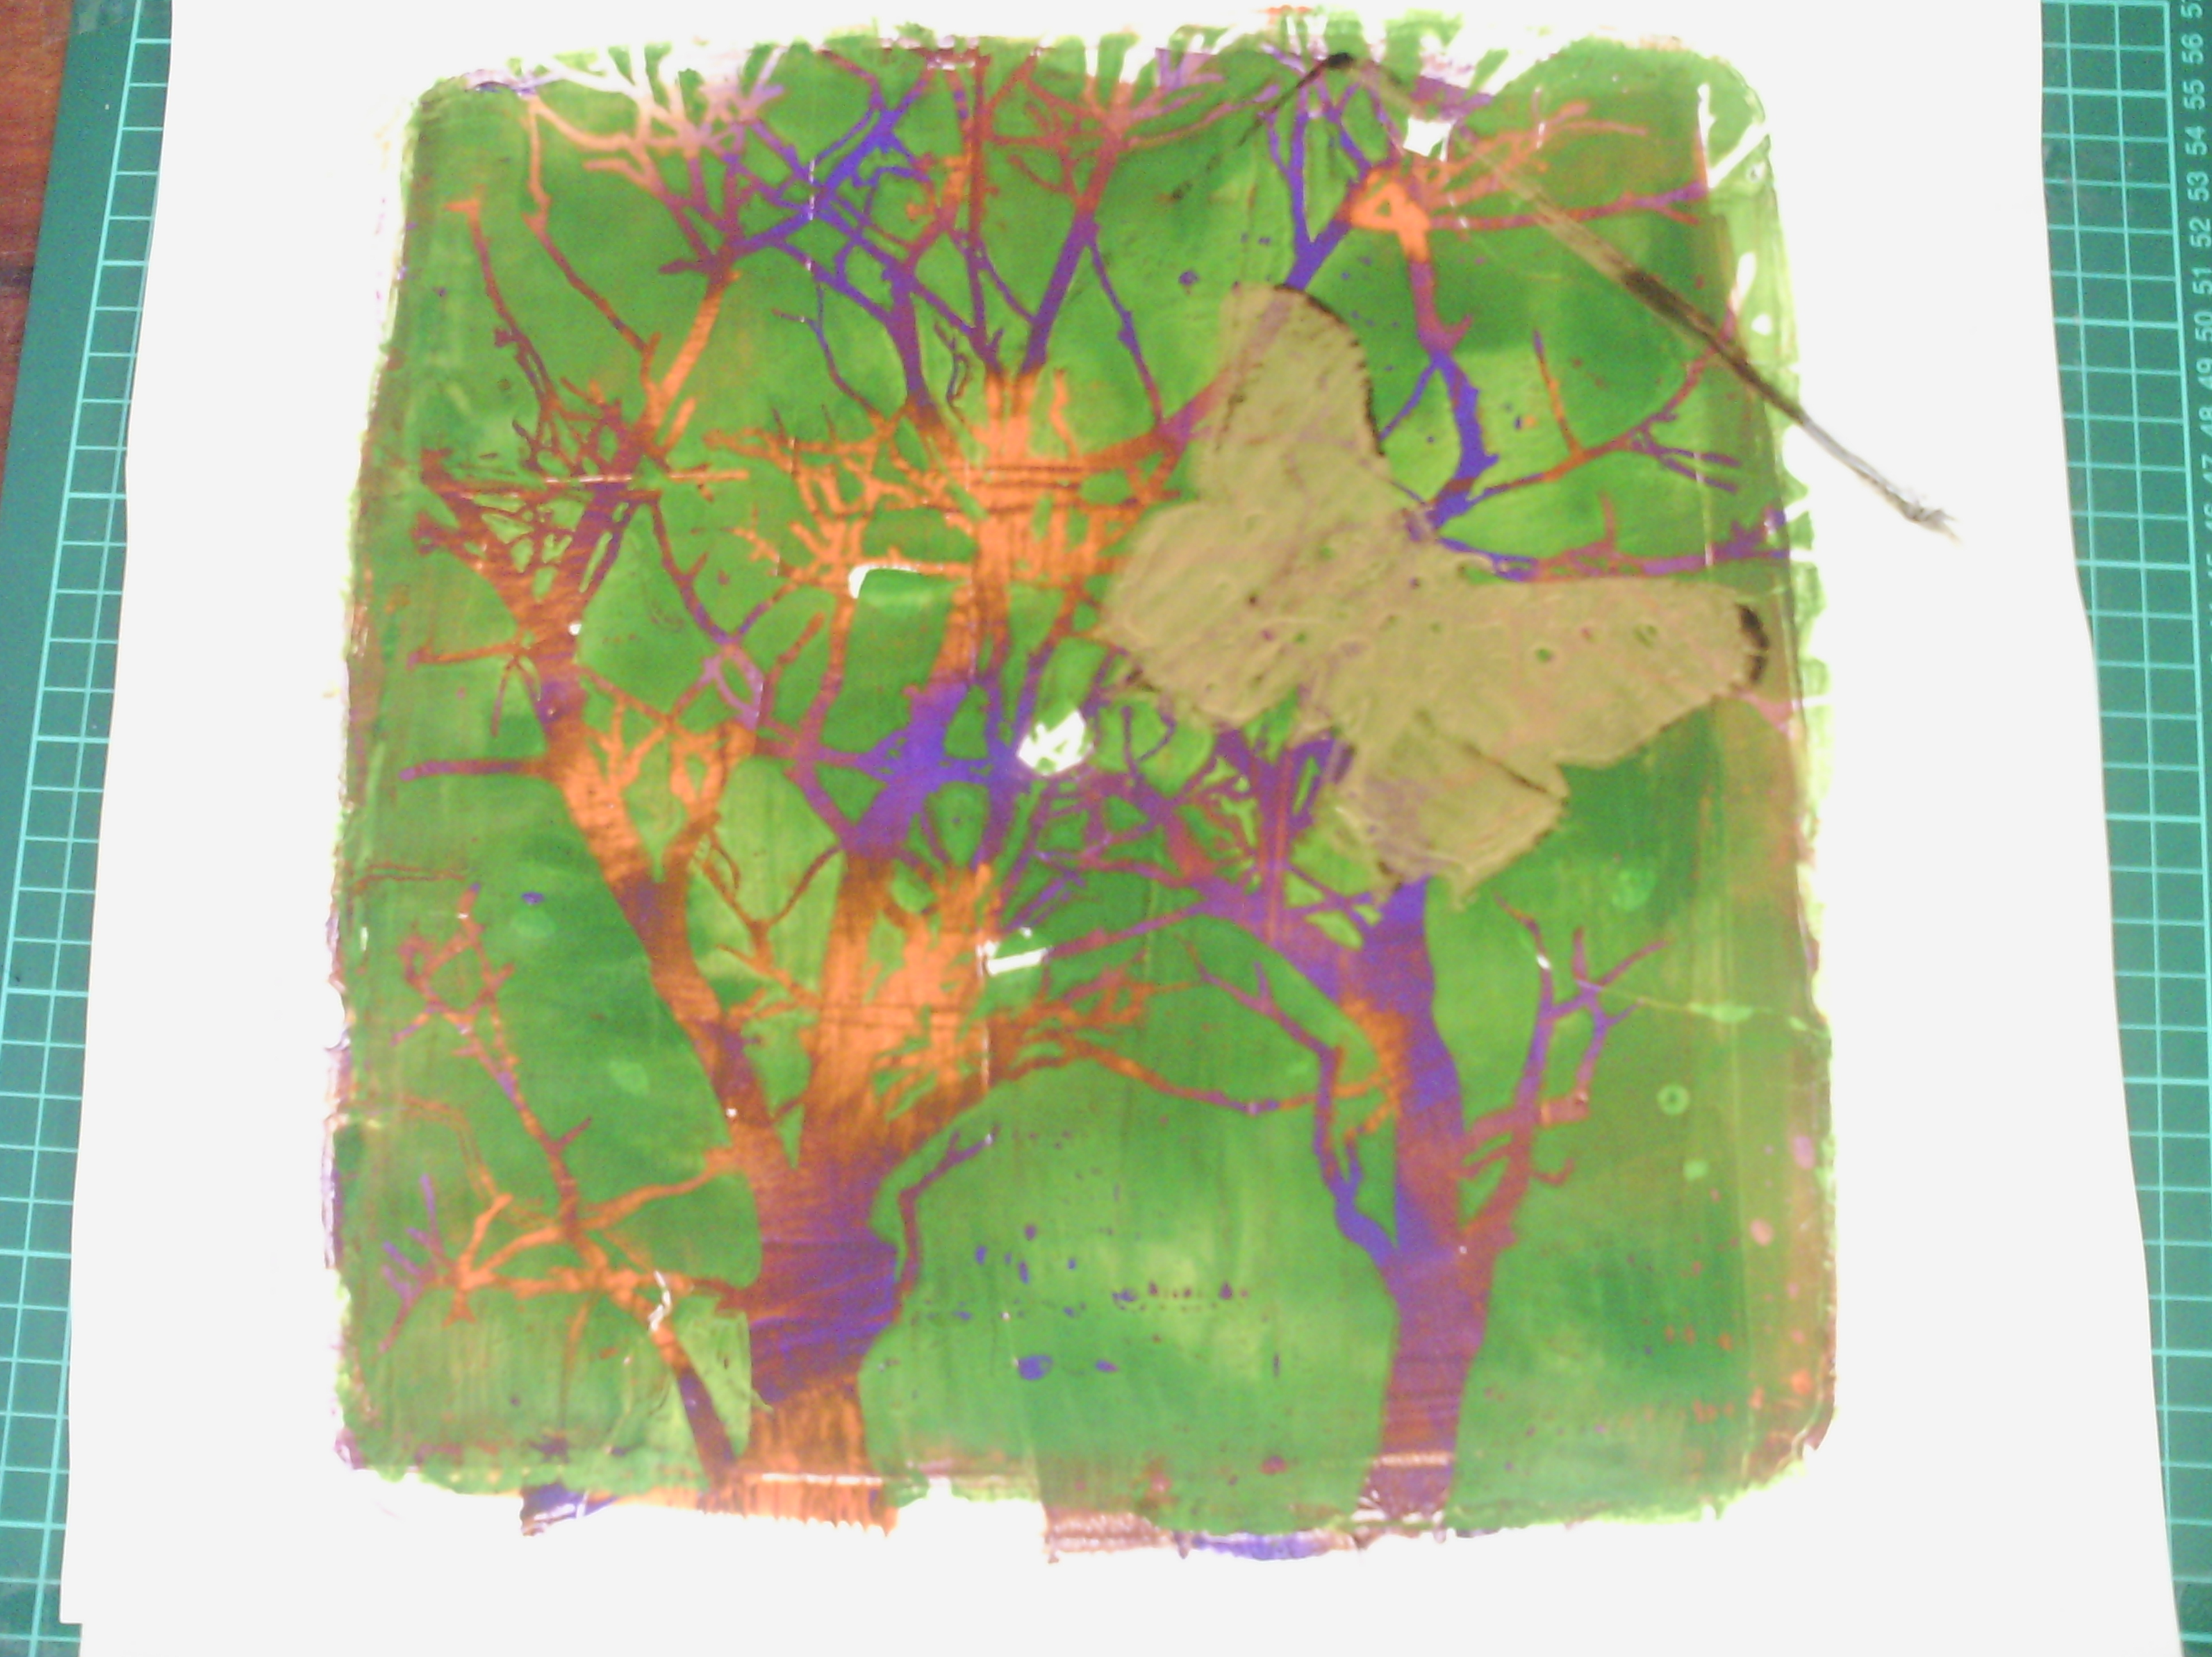
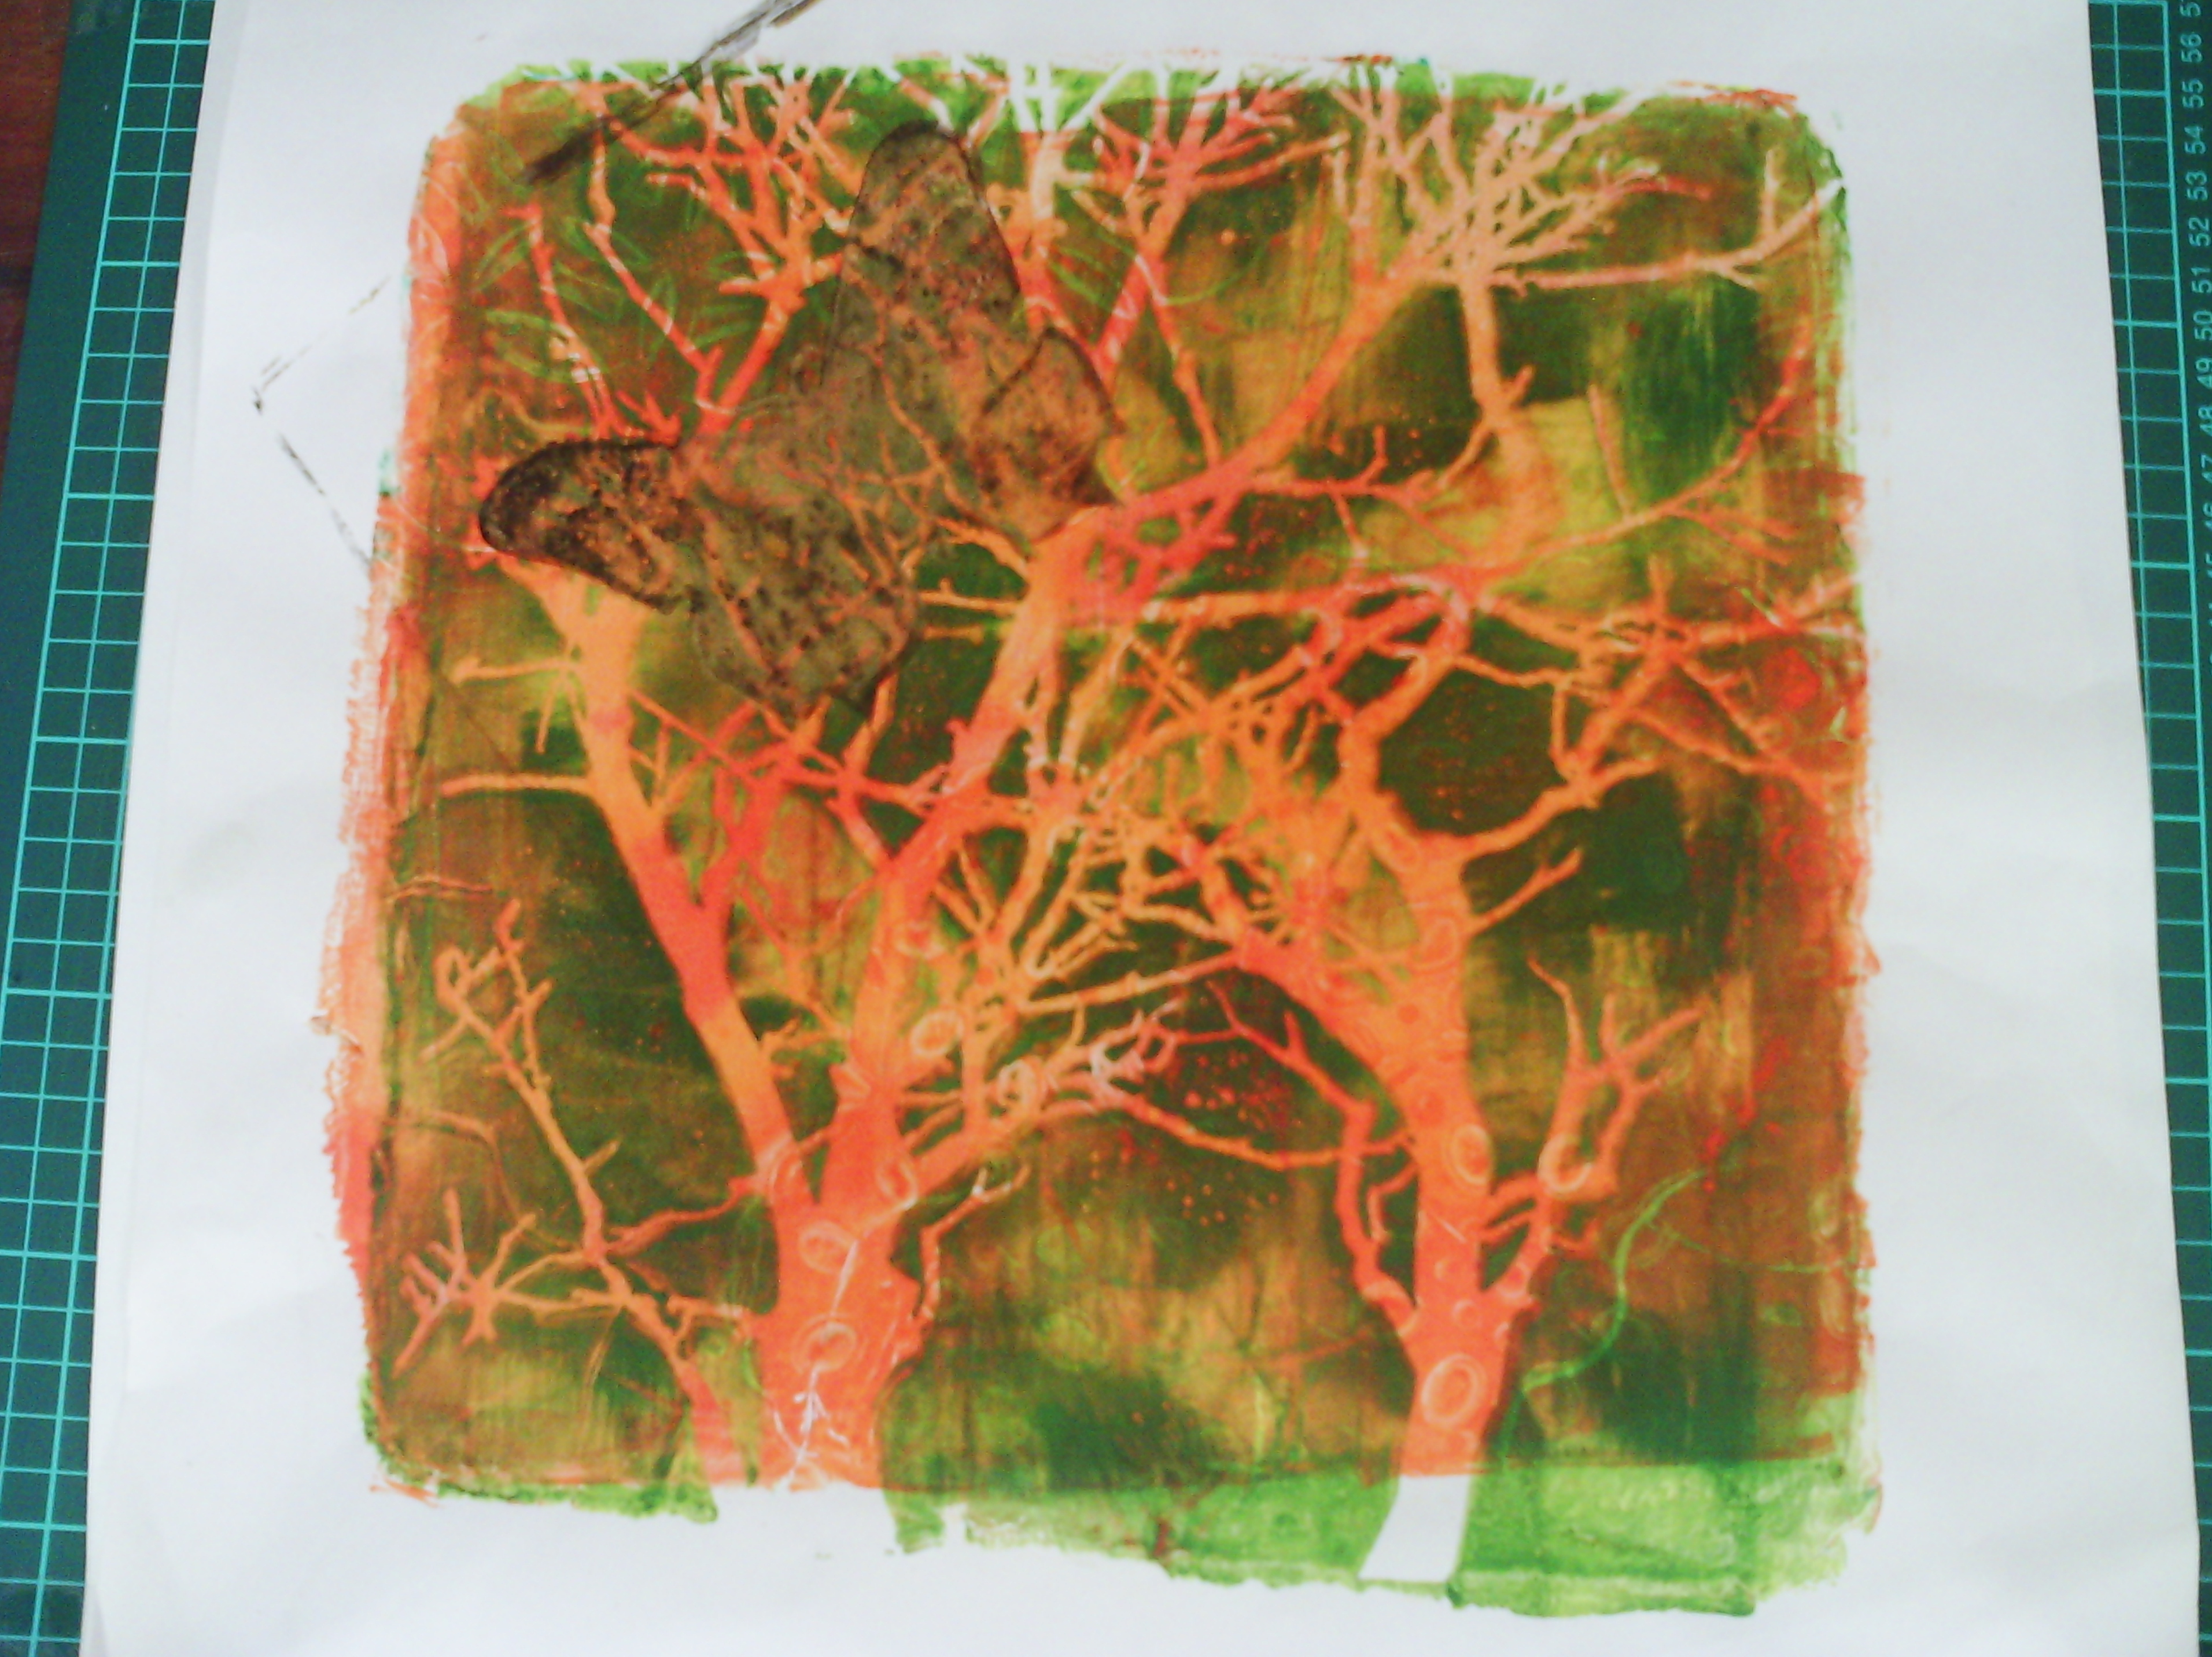
This is a different three layers. In this one I started with just the purple and orange layer. I overprinted with the green using a tree MASK, so the tree remained the orange and purple. Then I overprinted the butterfly in gold.
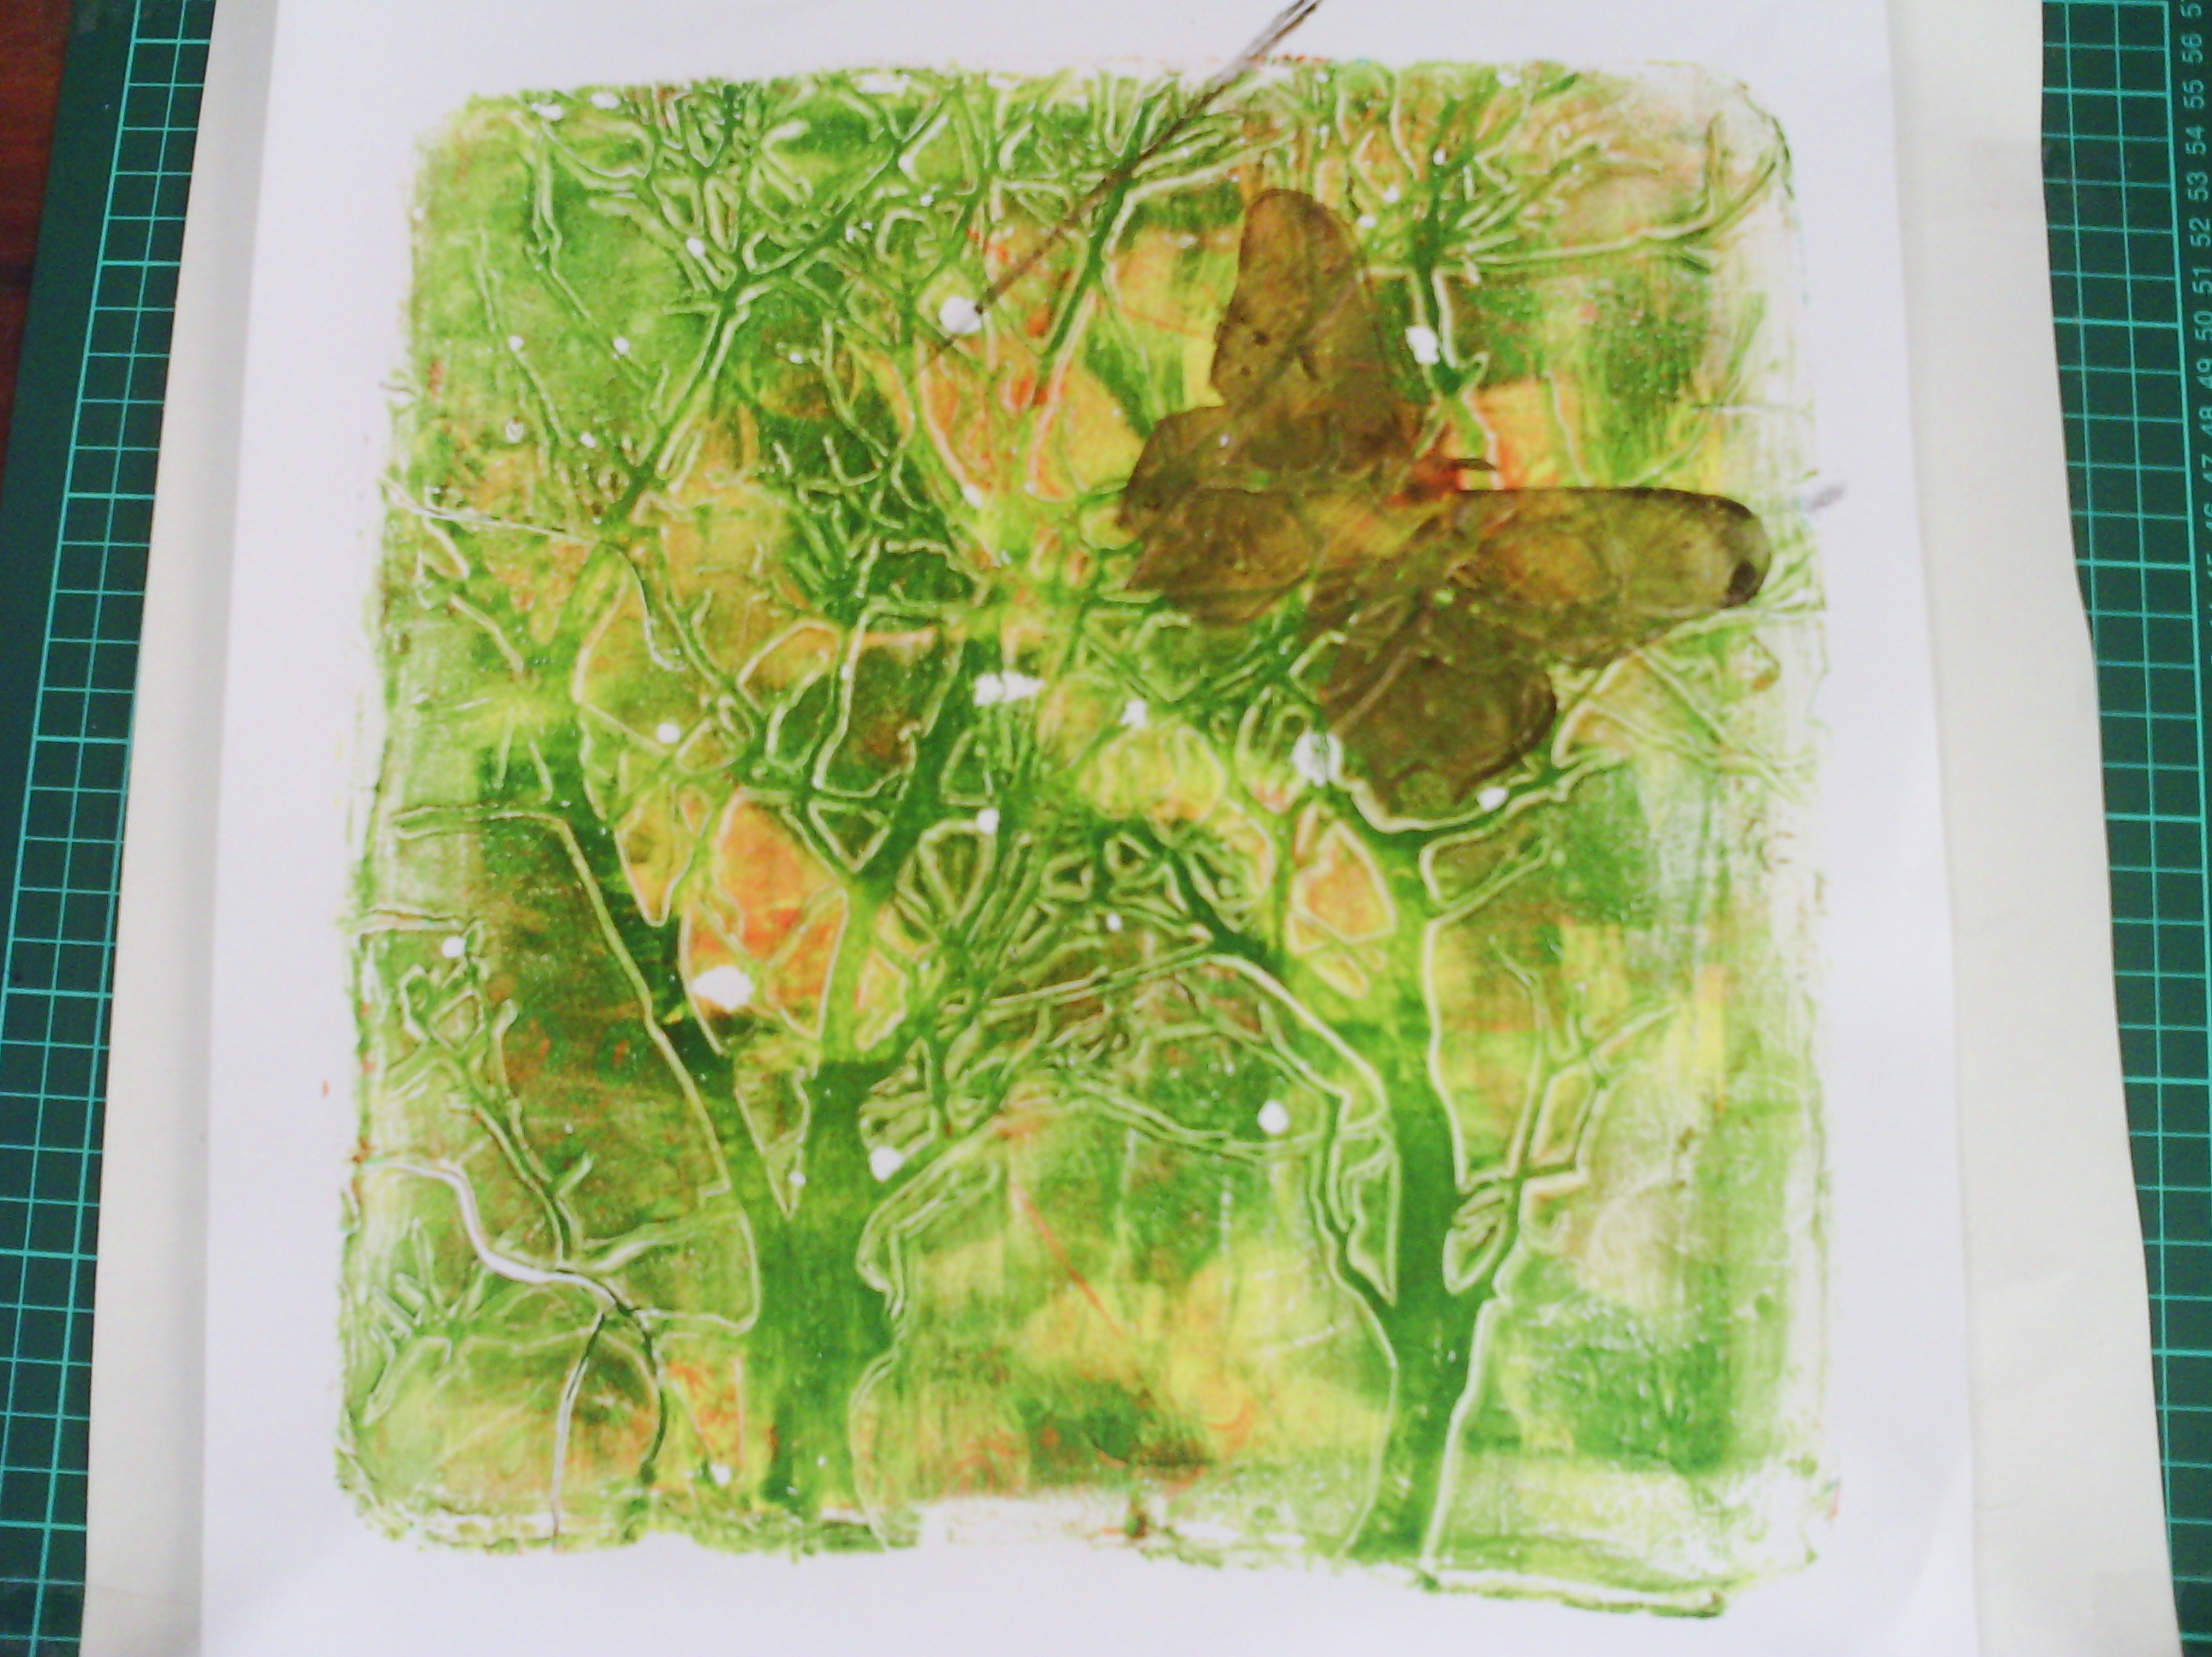
This one is the ghost print of the above tree print. Each layer was a ghost print of exactly the same plate as above, but still gives a great effect.
This one is a bit different.The tree was printed from the same green plate above, but after I had removed the mask. The background was a little pale, but under the mask there was lots of paint, making the tree darker. The edges of the mask picked up a lot of paint, resulting in the very pale halo around the tree. The gold butterfly was the second layer.
I think that is enough for today, but as you can guess, I have a lot more to post. I even got to brinting on fabric and have started work with those prints on the sewing machine.
My husband wanted to know what I would do with so many prints, but really, I am not actually concerned about that. This is another example of the artistic process bring about the process, not the product. In making so many prints on so many different papers with diffferent layers and different colours, I have learnt a lot in a short time about colour mixing, layereing, contrast, and value that even if I never used any of the prints, it was still worth it. I will talk more about that inmy next posts.
So let's have a look at a few butterflies.
Most of the prints are three layers, but this one has only two. The background layer is the third print off from a butterfly stencil. What this means is that after I had printed the green butterfly only on some other pages, I lifted the stencil off and printed a negative print - the butterfly is pale, with not much paint as this had been removed, whilst the background still had plenty and created the subtle green layer, which I then printed over with the black stencil.
This one had the requisite three layers. The first was just a mix of two colours brayered on to the gelatin plate
The second was the positive butterfly print, then third, was the black print.
Here is another three layer one. The pink layer was just magenta paint, but I swished around in a circle with a BBQ basting brush before I printed, then, again, the second and third layer are the same as the print above.
This one has only two layers as I did not add the third accent layer.
This is a different three layers. In this one I started with just the purple and orange layer. I overprinted with the green using a tree MASK, so the tree remained the orange and purple. Then I overprinted the butterfly in gold.
This one is the ghost print of the above tree print. Each layer was a ghost print of exactly the same plate as above, but still gives a great effect.
This one is a bit different.The tree was printed from the same green plate above, but after I had removed the mask. The background was a little pale, but under the mask there was lots of paint, making the tree darker. The edges of the mask picked up a lot of paint, resulting in the very pale halo around the tree. The gold butterfly was the second layer.
I think that is enough for today, but as you can guess, I have a lot more to post. I even got to brinting on fabric and have started work with those prints on the sewing machine.
My husband wanted to know what I would do with so many prints, but really, I am not actually concerned about that. This is another example of the artistic process bring about the process, not the product. In making so many prints on so many different papers with diffferent layers and different colours, I have learnt a lot in a short time about colour mixing, layereing, contrast, and value that even if I never used any of the prints, it was still worth it. I will talk more about that inmy next posts.
Saturday, August 17, 2013
a few bits
I have been working on several fronts, but not my tangled textiles piece, the deadline for which is beginning to loom.
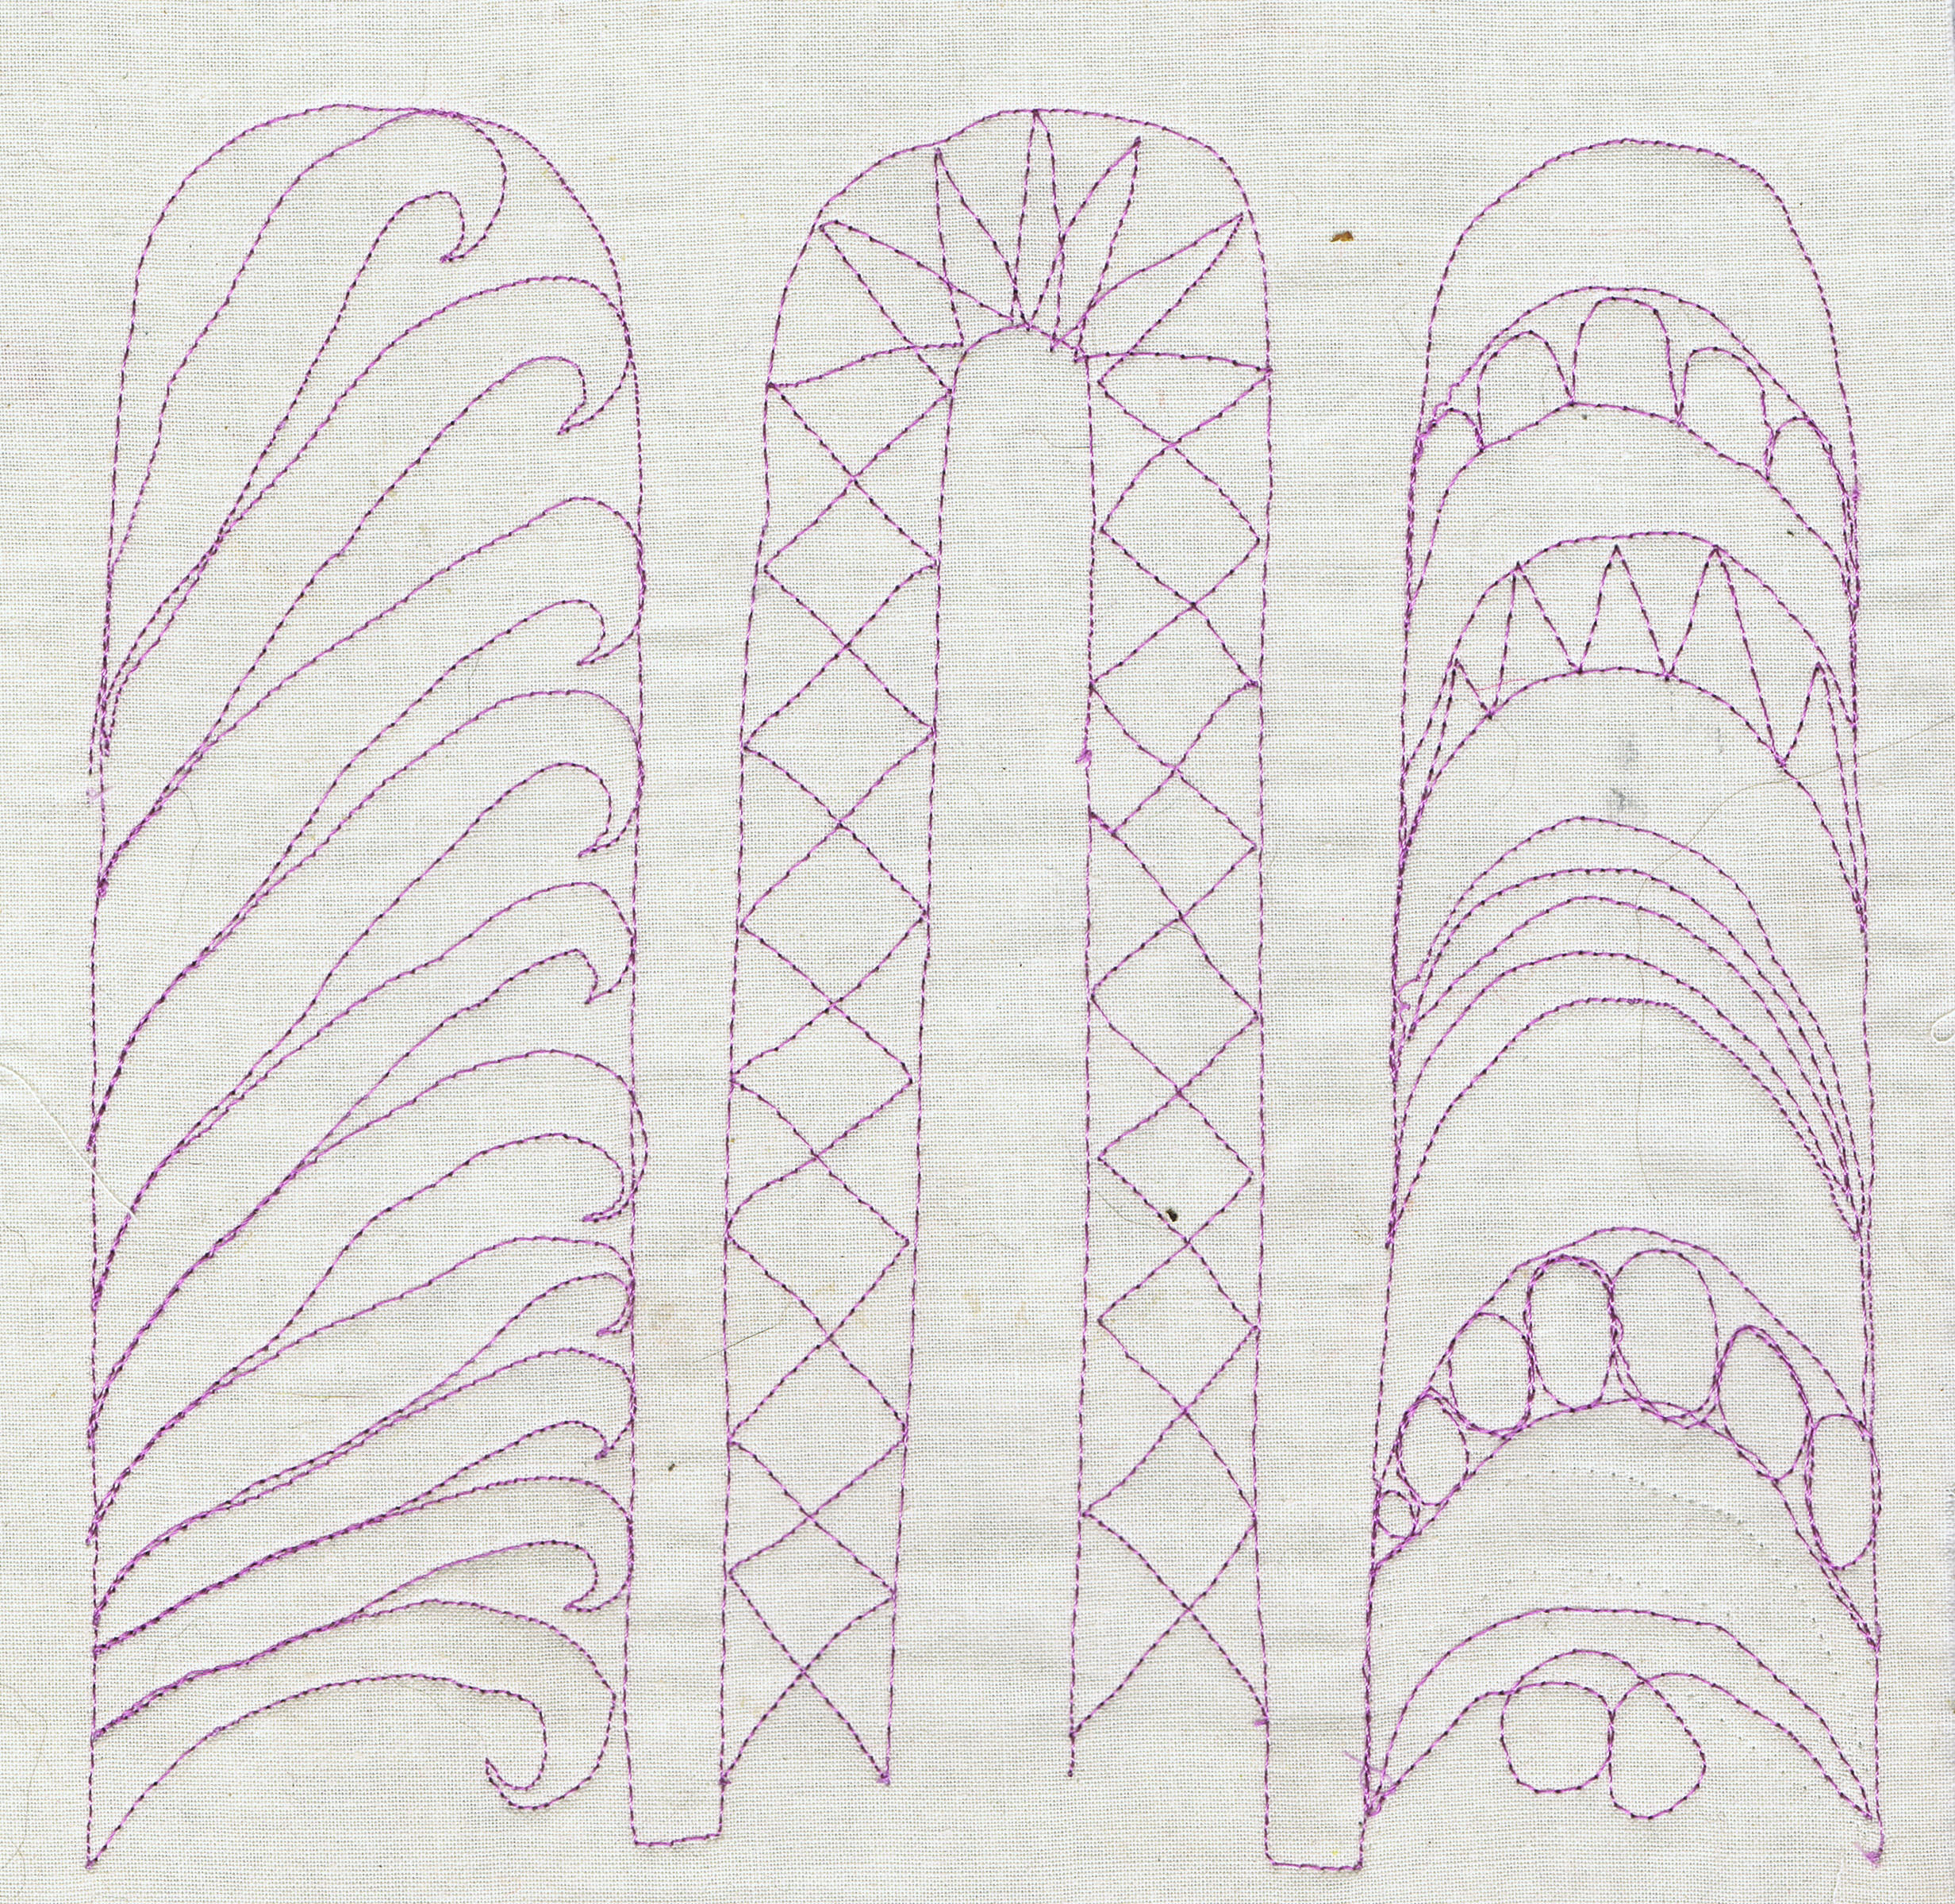
I have been continuing my free motion samples.
Here is a week's worth of patterns.
I have been working on my Creative sketchbooks course, which I won't share here, but have also done a little art journaling, as well.
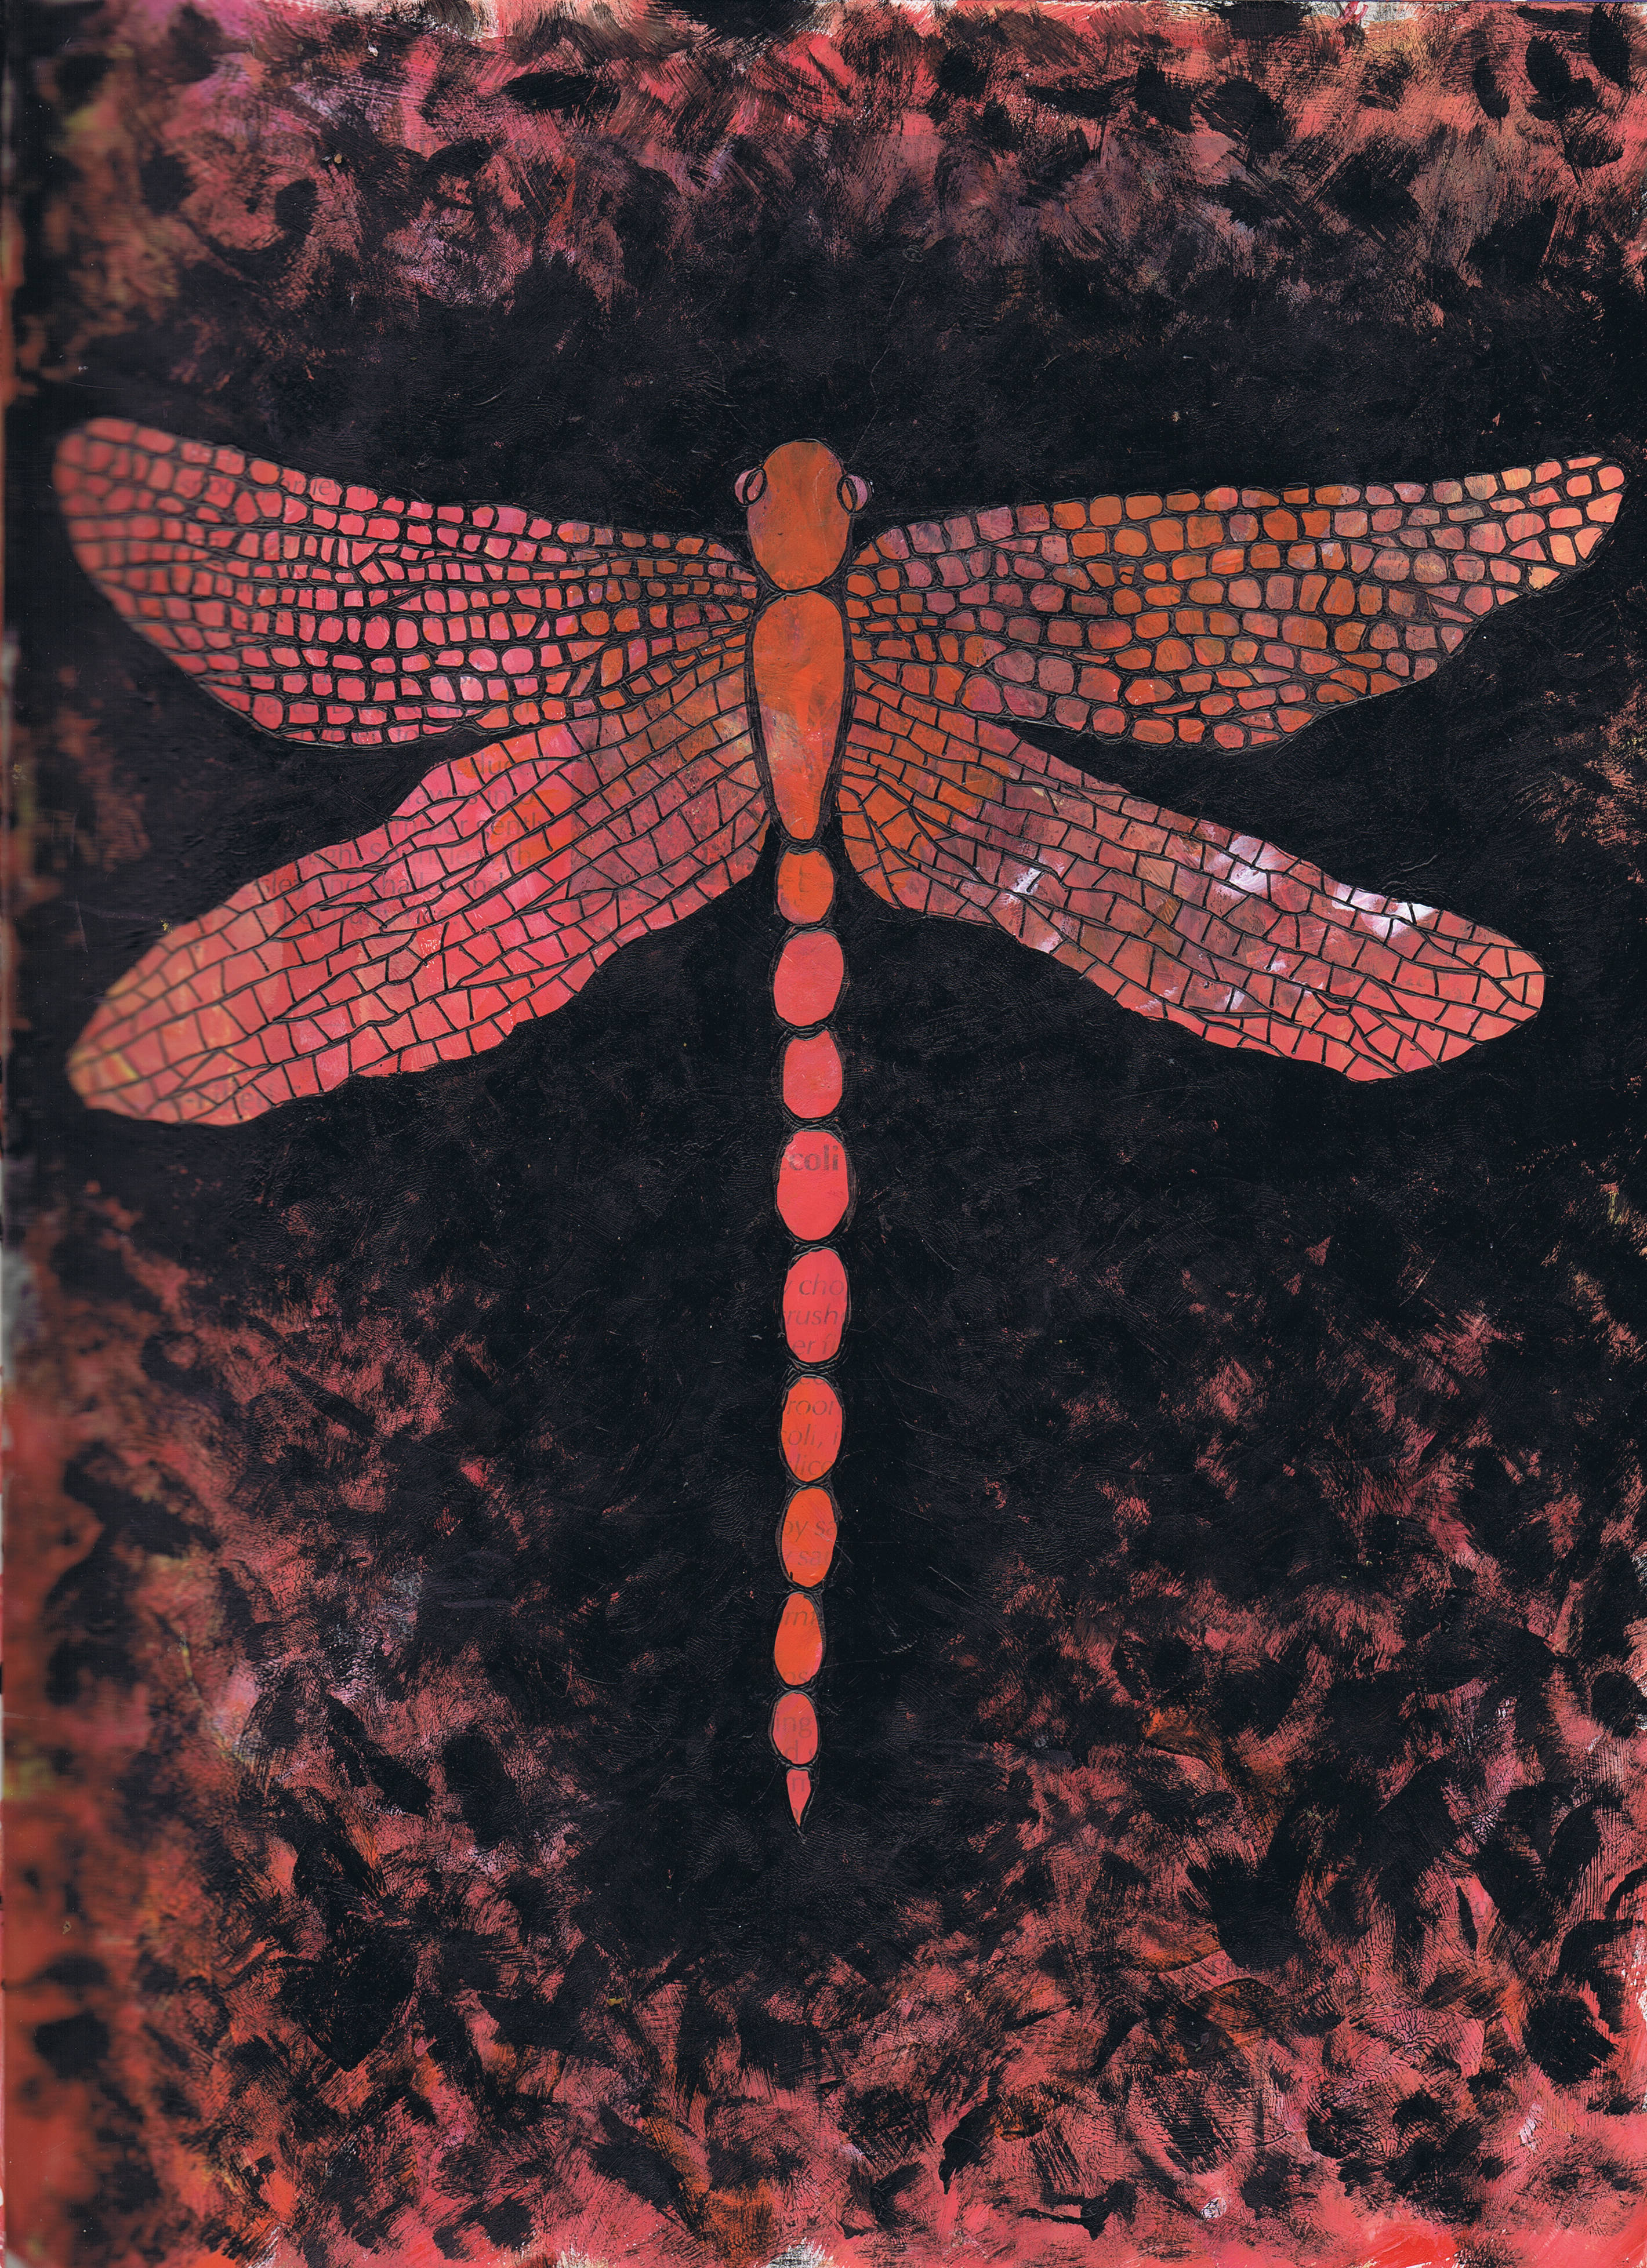
This was a dragonfly I drew on a very red page I didn't know what to do with. I like this page a lot.
This was a very cathartic page to do. The tree was done using a mask. I sprayed over the mask, then printed with it instead of painting around it. I stencilled the butterfly with some lumiere paint. I am not happy with it's colour, and think I might change it to a green.
Another reworked failed page, This page had several incarnations and I now have this tree on it. It doesn't have very good contrast, but I think it might make a great fibre piece using bias applique.
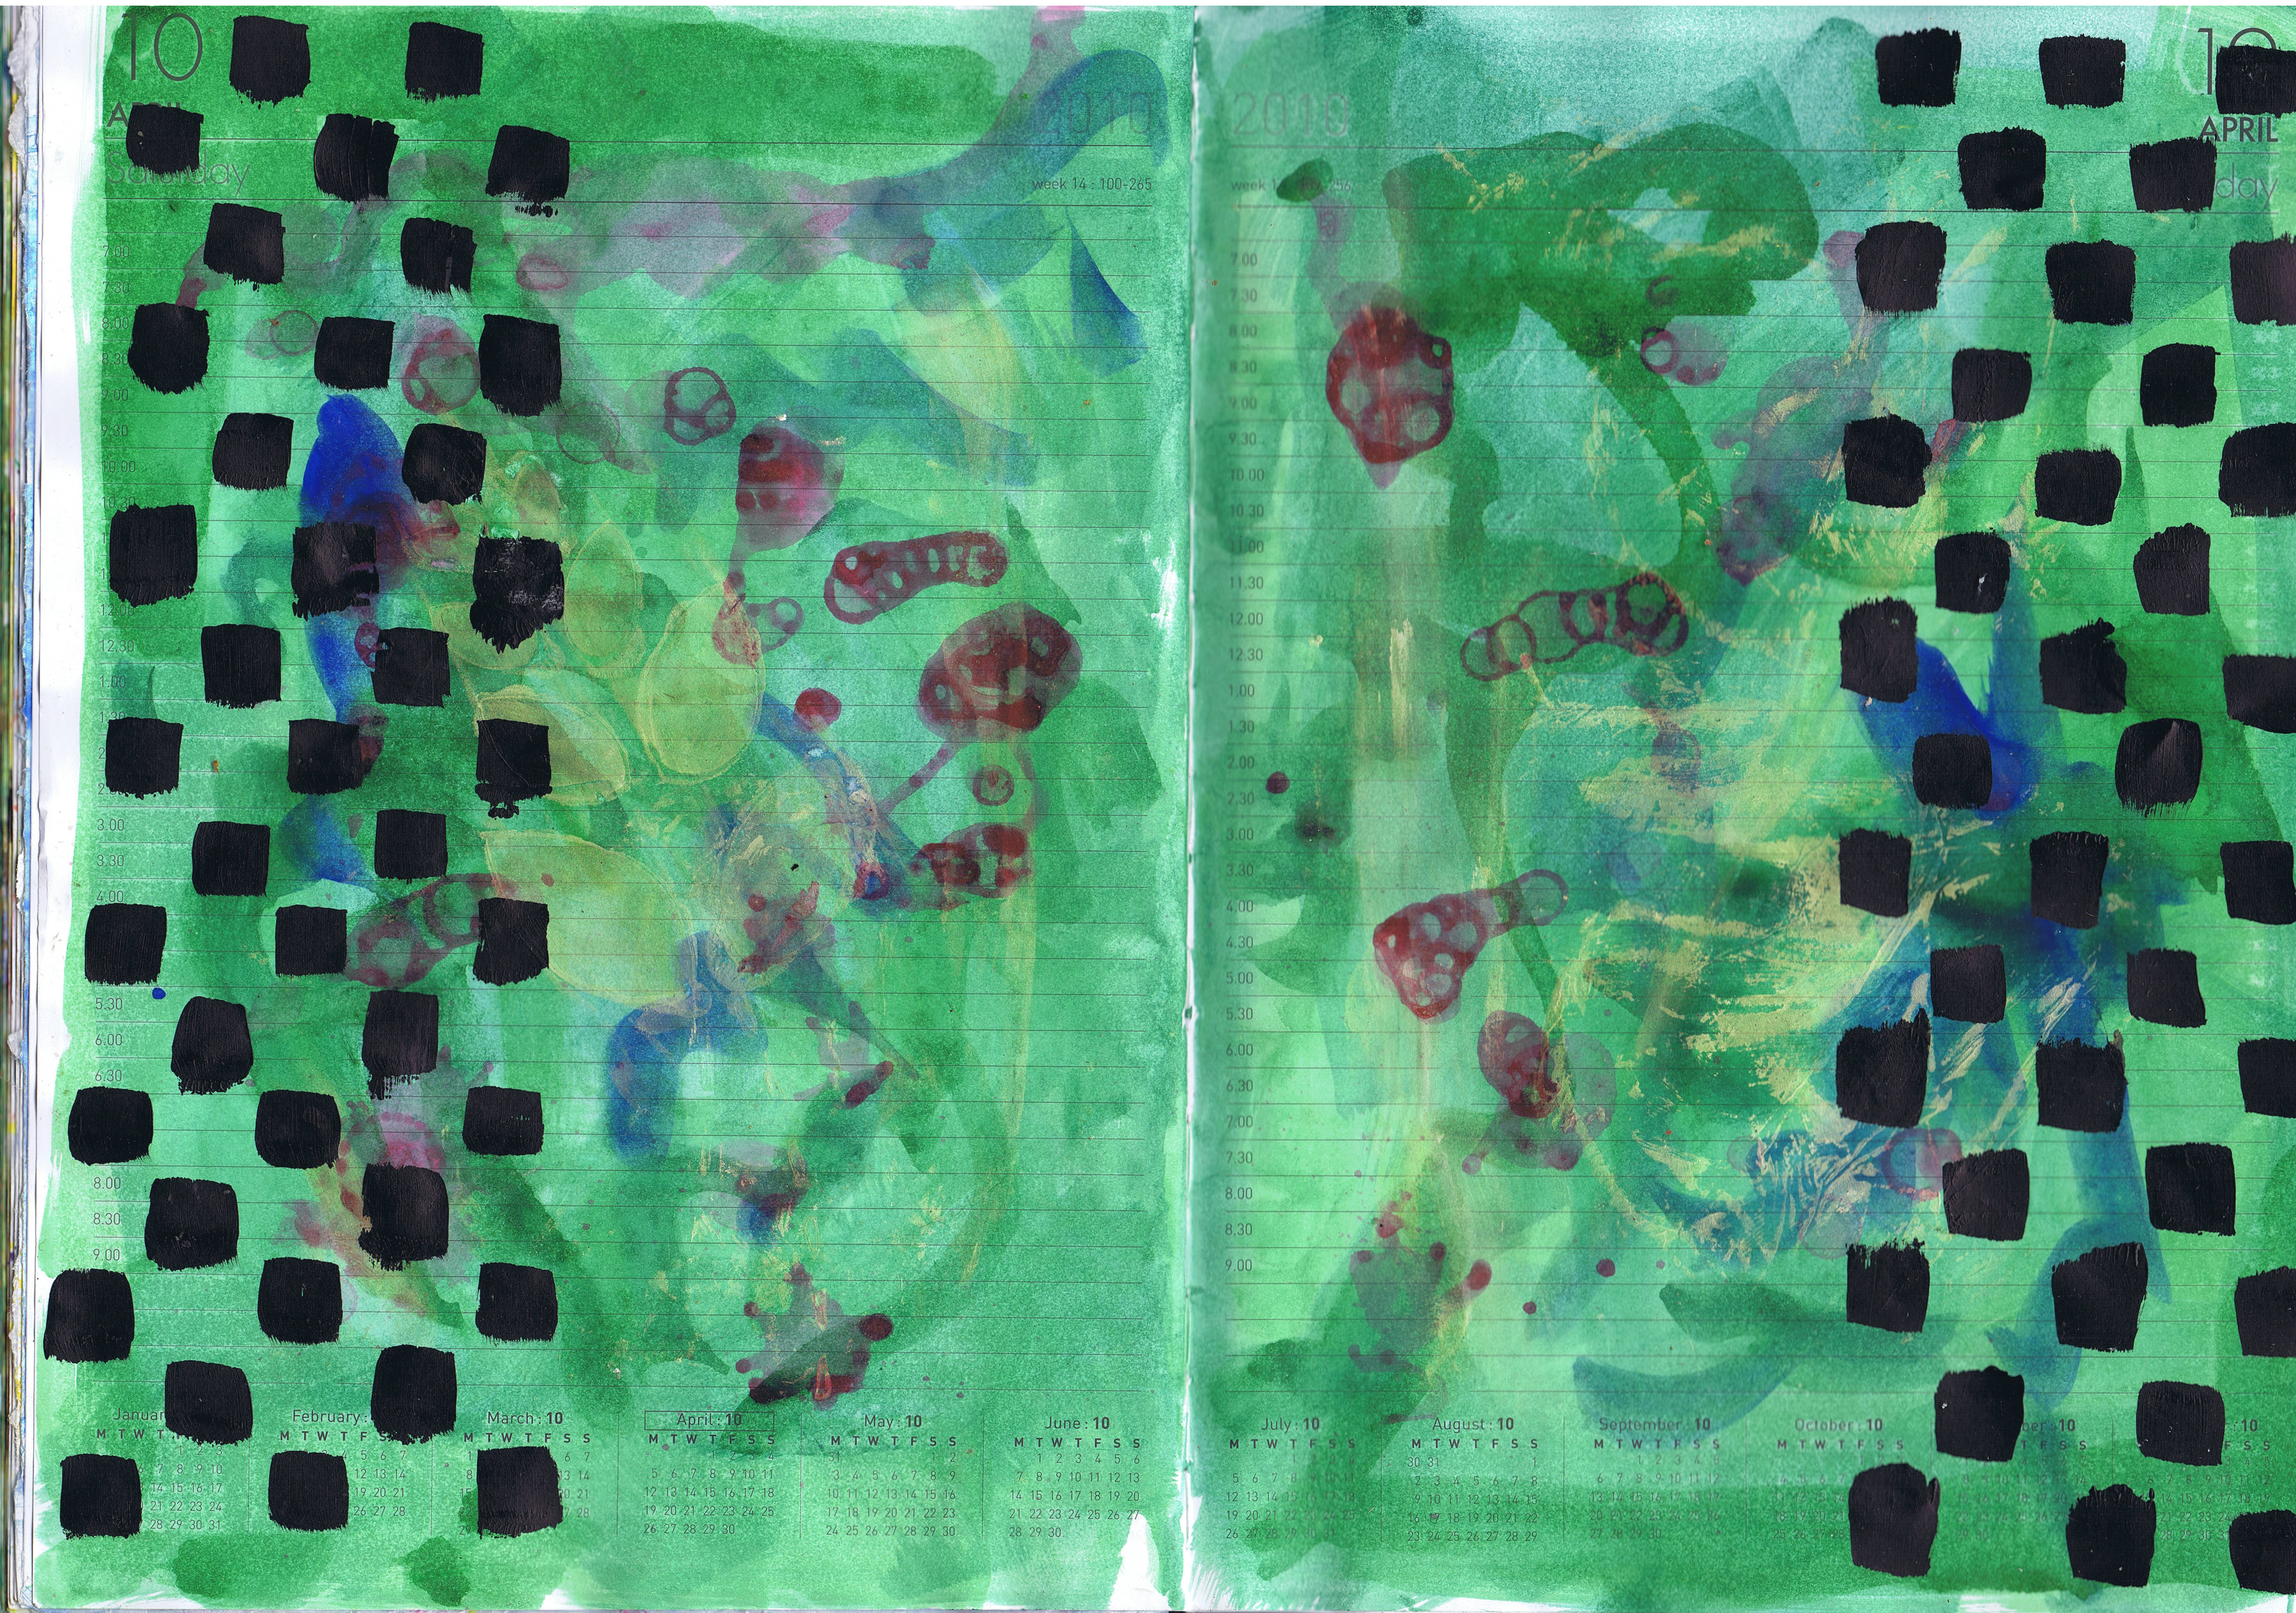
This is just a background, but I was playing with borders and just used a flat brush to make the squares in this grid. I liked that.
And on the crazy quilt front, I have done a little
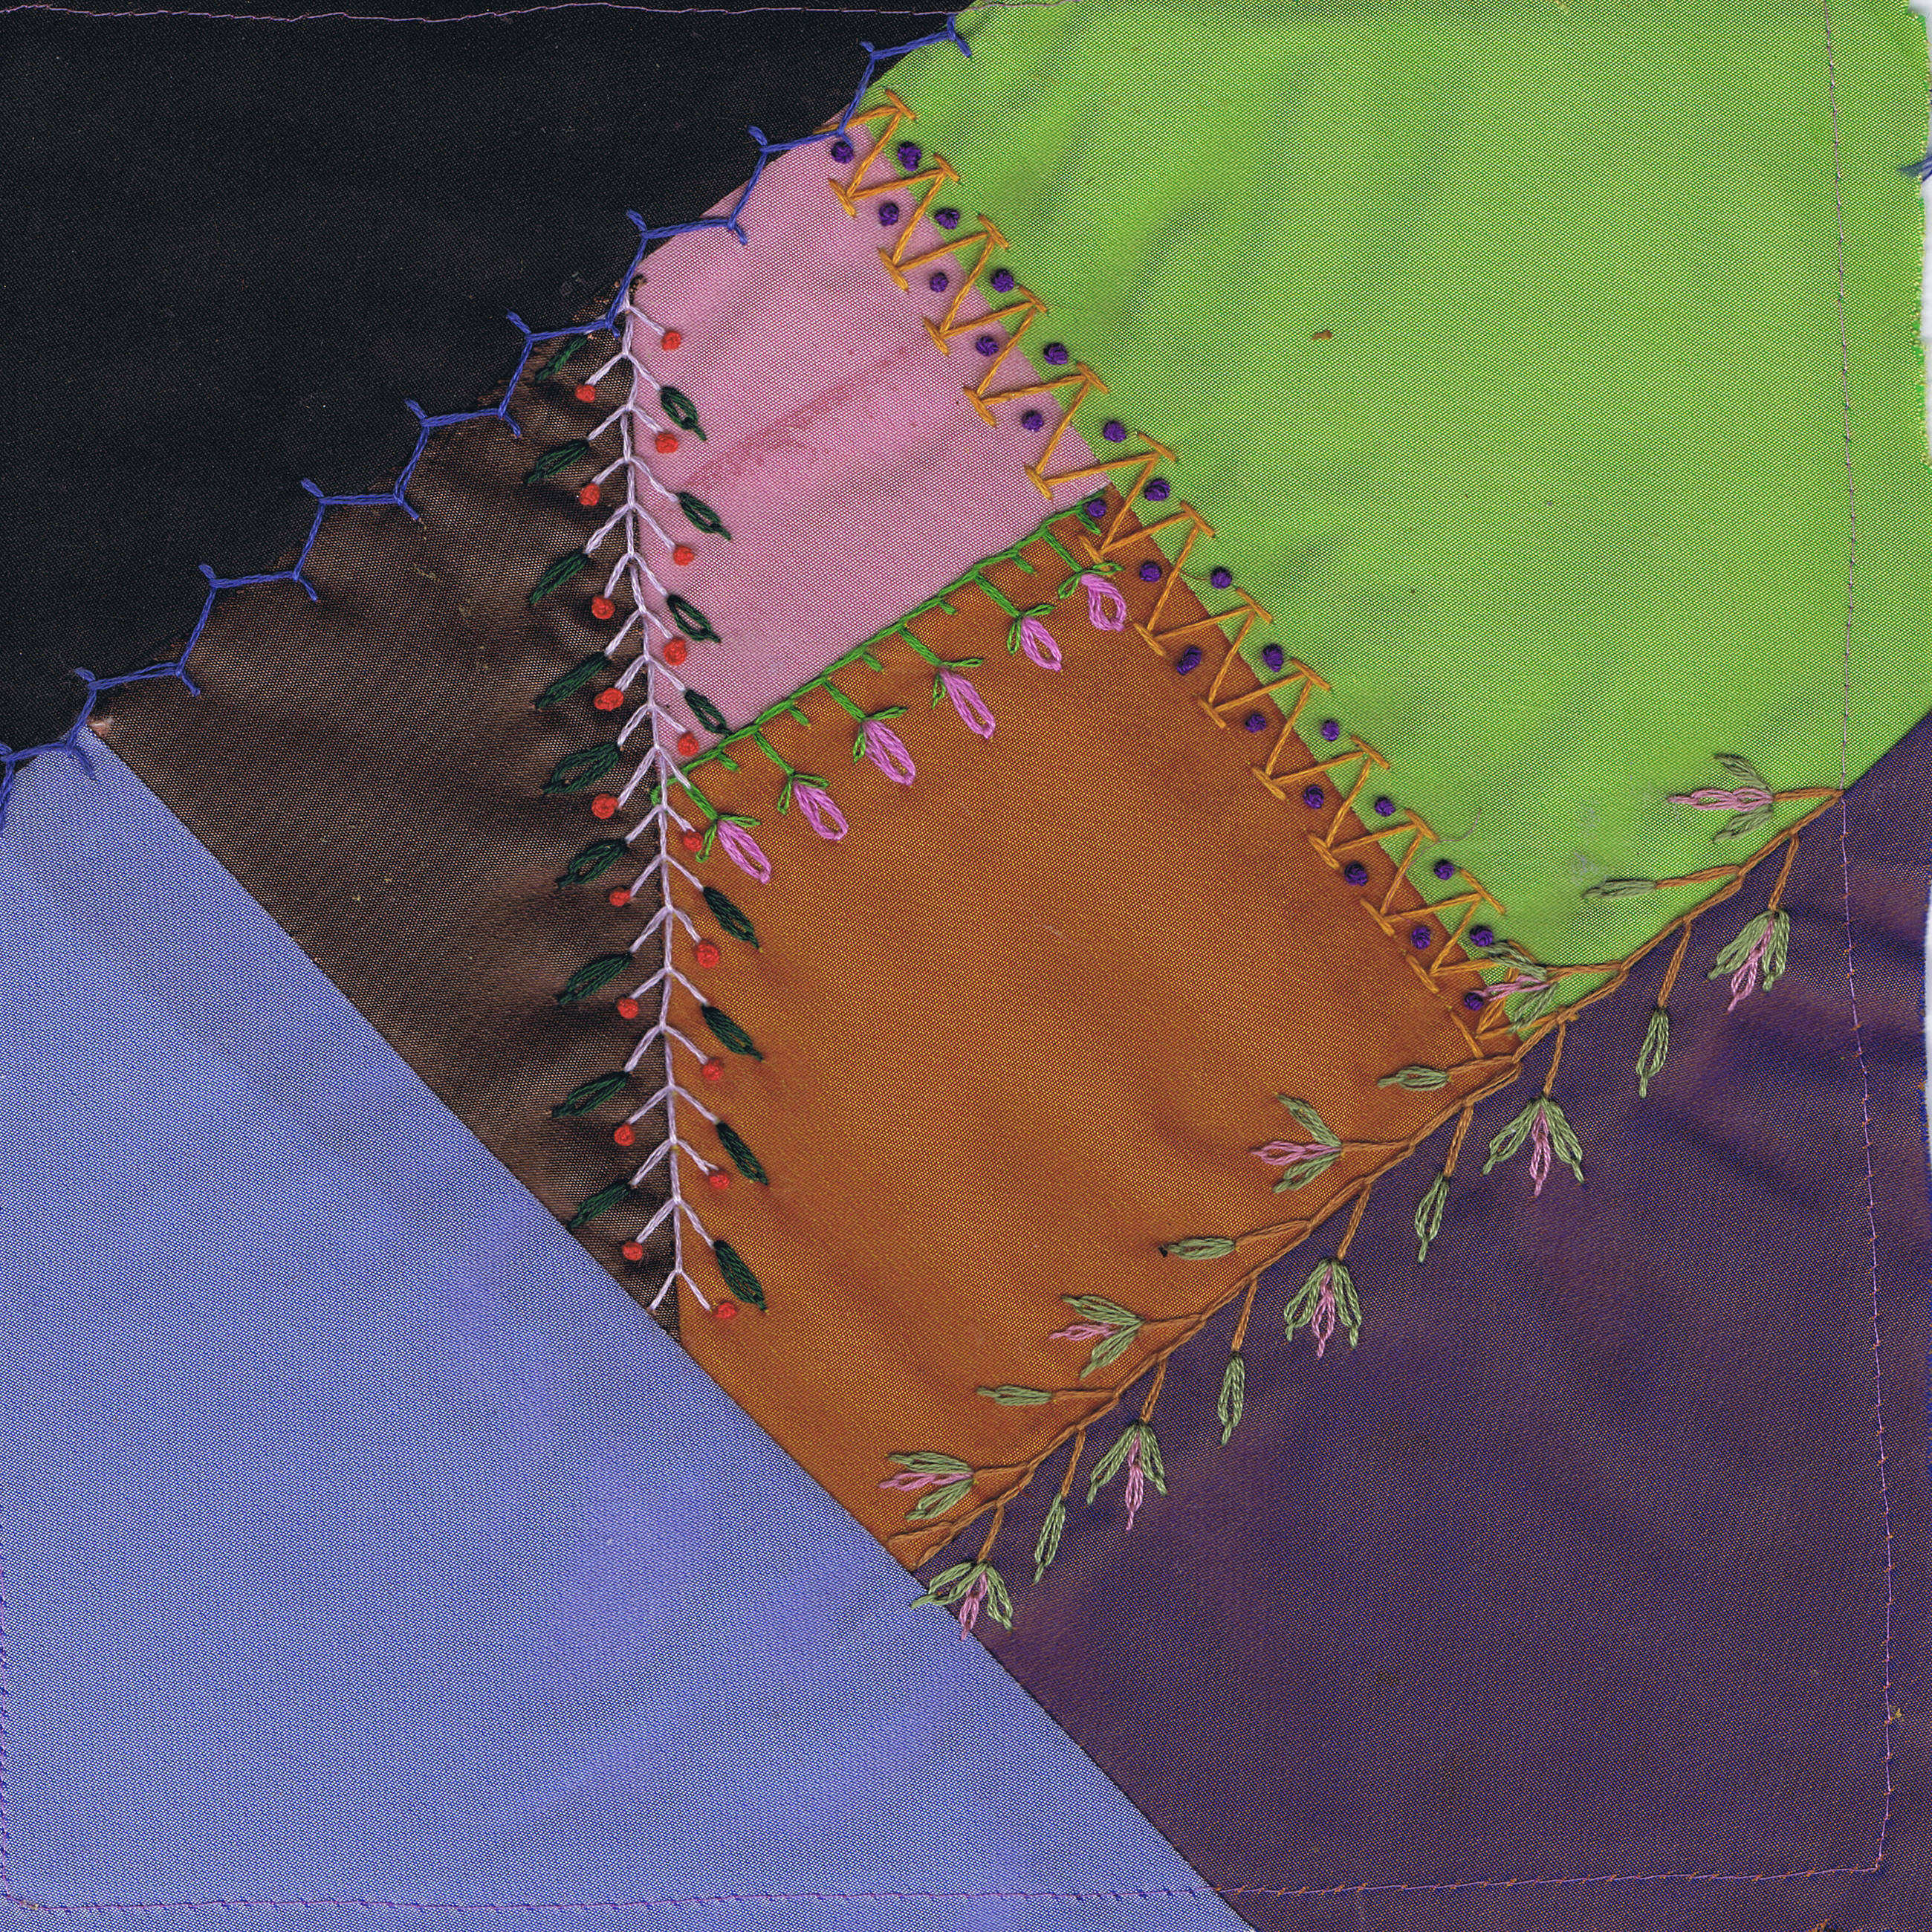
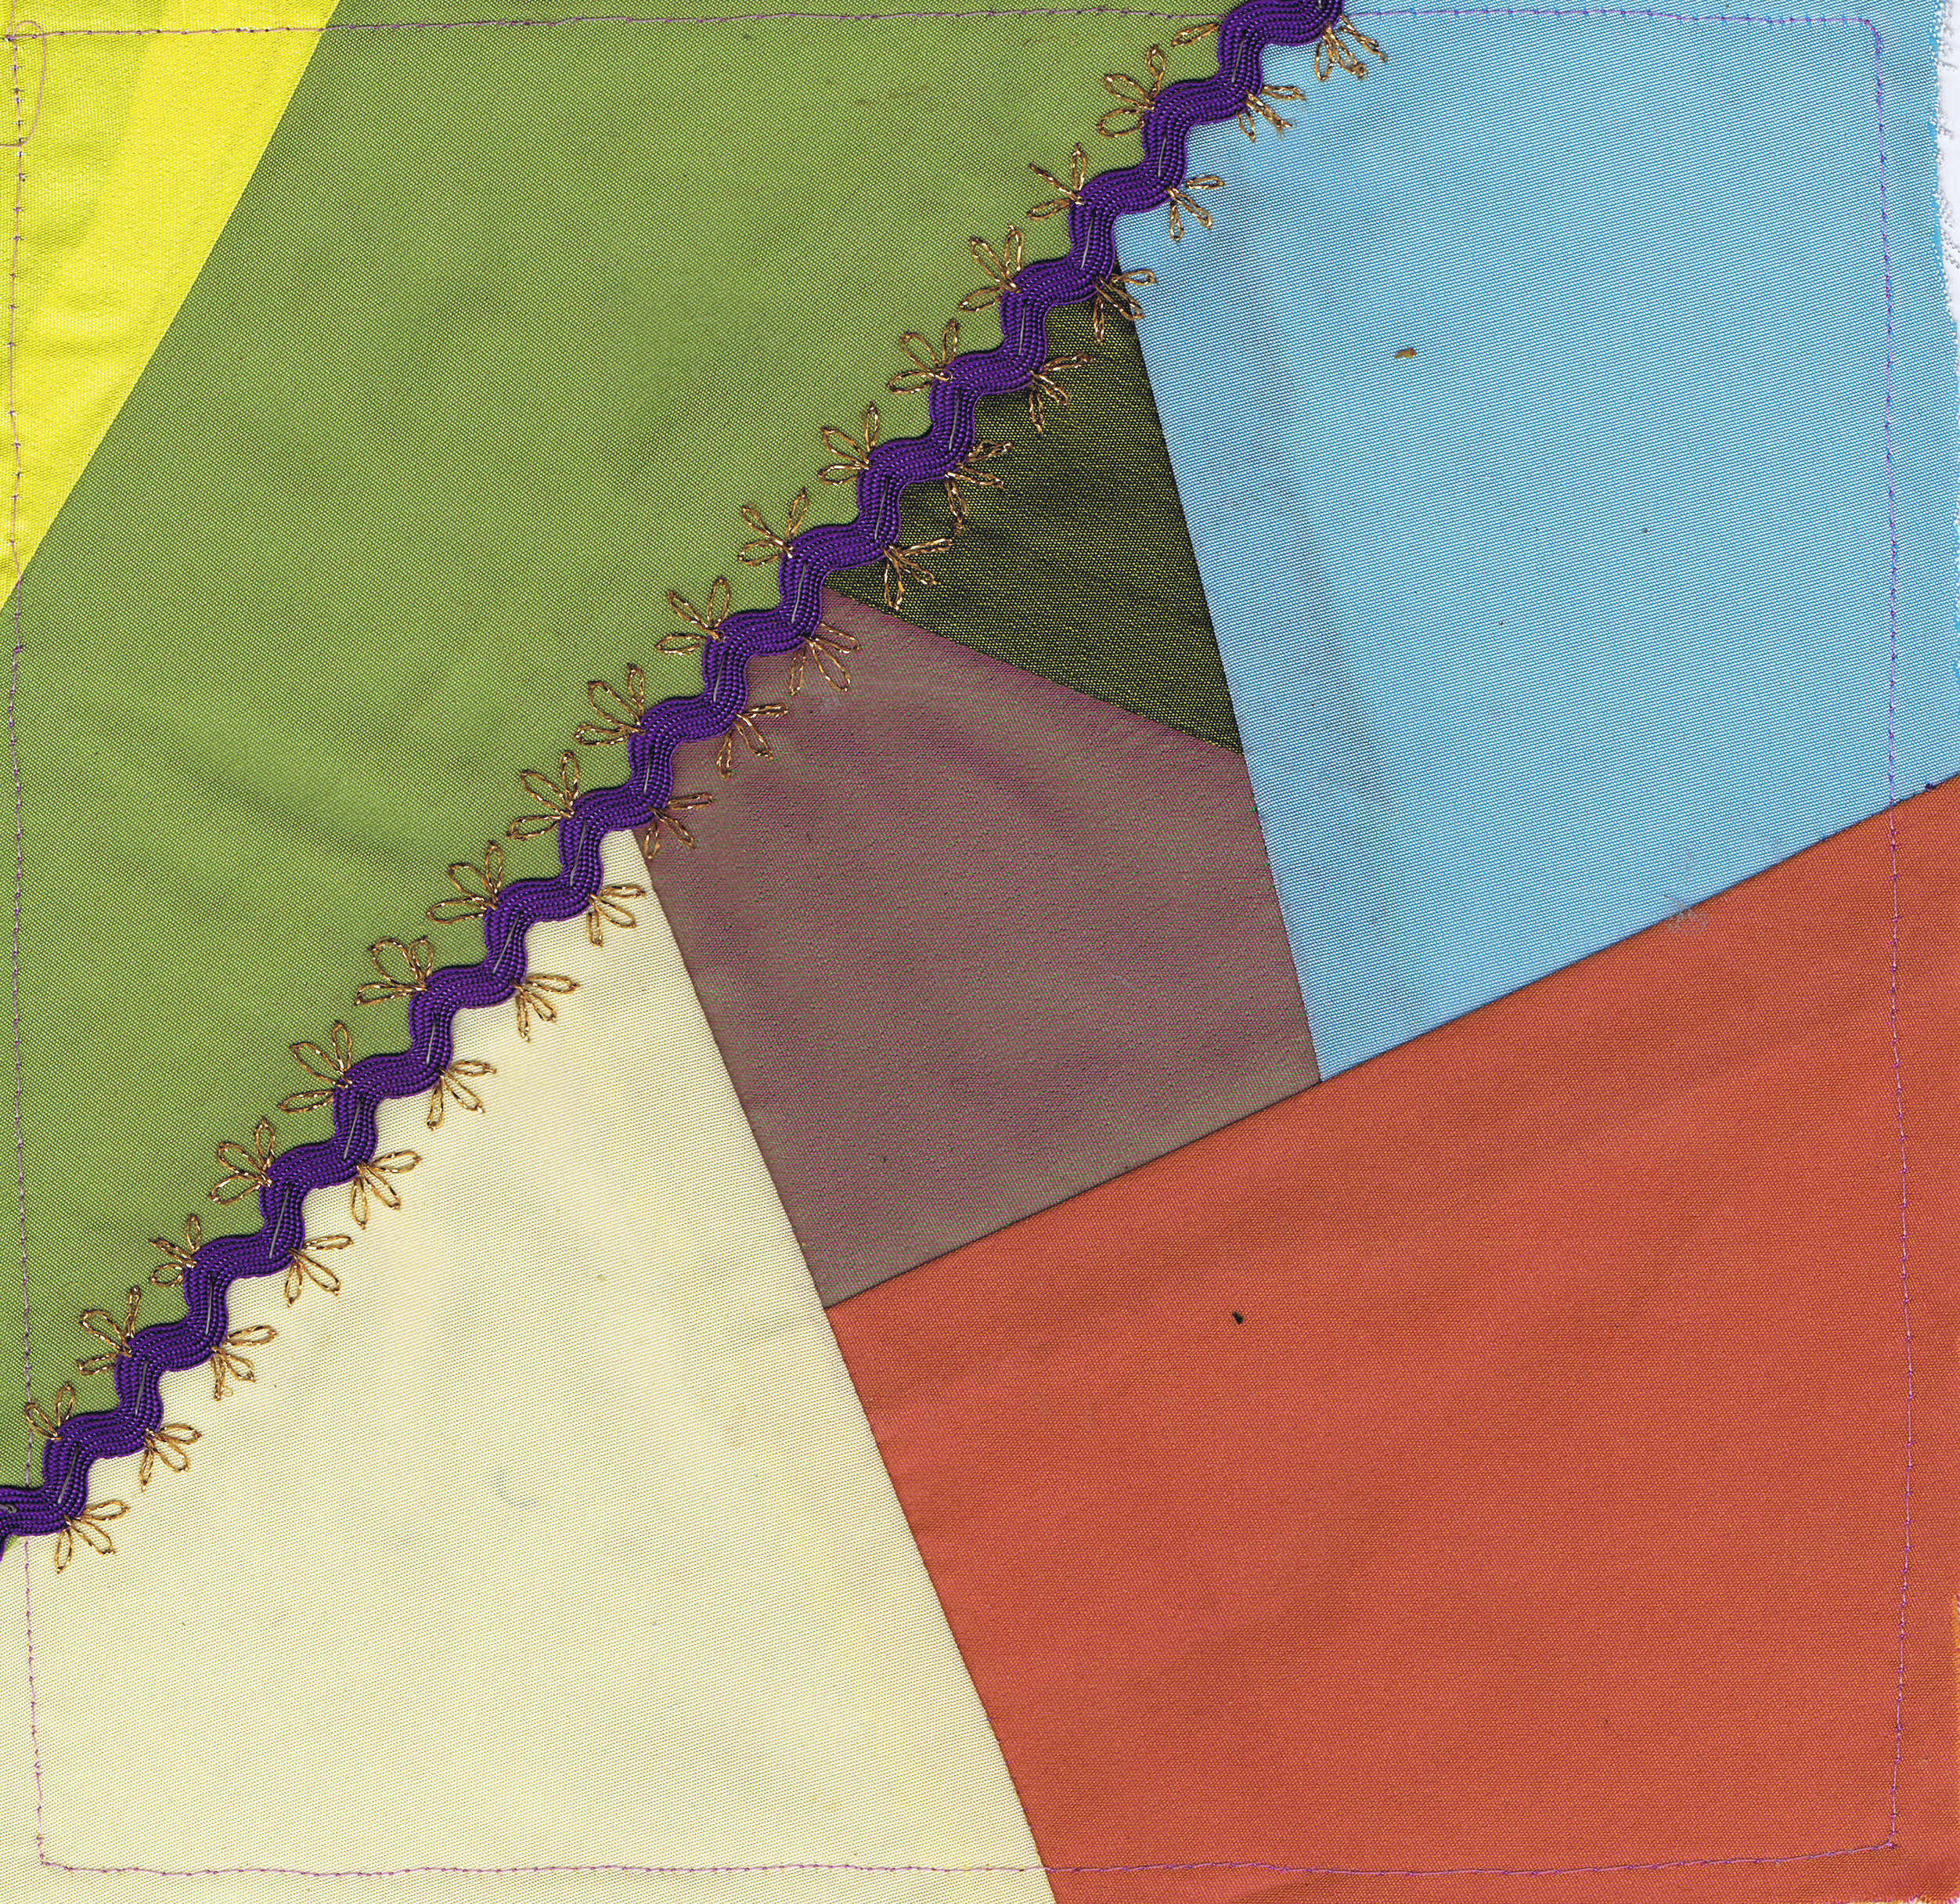
This is my first block with some satin samples. I have actually done the last two seams on this one, now. At present I have four blocks, but I may expand to nine, we'll see.
This second block also has a bit more since I took the photo.
I have also been practicing making flowers.
Here are a few pansies. The top one is organza, the middle one is satin ribbon and the bottom one is velvet ribbon. The top red bit is just a gathered poppy, but has no black centre as yet. The two red objects at the bottom are a rolled rose and bud, but they were not smiling at the camera like the pansies!
So, as you can see, I have been working away.
Remember to create every day
I have been continuing my free motion samples.
Here is a week's worth of patterns.
I have been working on my Creative sketchbooks course, which I won't share here, but have also done a little art journaling, as well.
This was a dragonfly I drew on a very red page I didn't know what to do with. I like this page a lot.
This was a very cathartic page to do. The tree was done using a mask. I sprayed over the mask, then printed with it instead of painting around it. I stencilled the butterfly with some lumiere paint. I am not happy with it's colour, and think I might change it to a green.
Another reworked failed page, This page had several incarnations and I now have this tree on it. It doesn't have very good contrast, but I think it might make a great fibre piece using bias applique.
This is just a background, but I was playing with borders and just used a flat brush to make the squares in this grid. I liked that.
And on the crazy quilt front, I have done a little
This is my first block with some satin samples. I have actually done the last two seams on this one, now. At present I have four blocks, but I may expand to nine, we'll see.
This second block also has a bit more since I took the photo.
I have also been practicing making flowers.
Here are a few pansies. The top one is organza, the middle one is satin ribbon and the bottom one is velvet ribbon. The top red bit is just a gathered poppy, but has no black centre as yet. The two red objects at the bottom are a rolled rose and bud, but they were not smiling at the camera like the pansies!
So, as you can see, I have been working away.
Remember to create every day
Thursday, August 8, 2013
Going crazy
My quilting group have decided to do some crazy quilting.
I decided to do a bit of practice before we start, so I enrolled in Alison Aller's course at Craftsy. It's a great beginner's course, and even includes her book as an ebook!
So here is where I am up to with my samples.
These are the samples from the course, but I also did a few more combinations.
I am enjoying doing this a lot. Each seam on the blocks is only a small bit of stitching, so there is plenty of variety and I don't get bored.
Here is my sample block, with the first round of stitches done.
The fabrics were all cotton, just what I had to hand, as I don't have too much in the way of quilting cottons these days, but this is only a sample. My real quilt is going to be made from satin, as I have a whole sample book of Belgian satin which are just the right size and I am a bit partial to shiny fabric!
So hopefully you will see some of that soon.
My free motion samples are mounting up and I am getting quite a stack, which I will show you soon, and I have also been doing a bit of journaling as well.
So, until next time, keep creating
I decided to do a bit of practice before we start, so I enrolled in Alison Aller's course at Craftsy. It's a great beginner's course, and even includes her book as an ebook!
So here is where I am up to with my samples.
These are the samples from the course, but I also did a few more combinations.
I am enjoying doing this a lot. Each seam on the blocks is only a small bit of stitching, so there is plenty of variety and I don't get bored.
Here is my sample block, with the first round of stitches done.
The fabrics were all cotton, just what I had to hand, as I don't have too much in the way of quilting cottons these days, but this is only a sample. My real quilt is going to be made from satin, as I have a whole sample book of Belgian satin which are just the right size and I am a bit partial to shiny fabric!
So hopefully you will see some of that soon.
My free motion samples are mounting up and I am getting quite a stack, which I will show you soon, and I have also been doing a bit of journaling as well.
So, until next time, keep creating
Tuesday, July 30, 2013
Journal quilt
I have made another journal quilt. I find these little pieces an easy way to do a little experimenting. I am slowly putting all of the information from all of them in an interactive database and this shows me which techniques I have not done yet. Although I have many of these pieces (and I have even been asked if they are for sale!), there are still lots of techniques I have not put into them and of course, I am always expanding and adding ideas to try as well.
Here is my latest one.
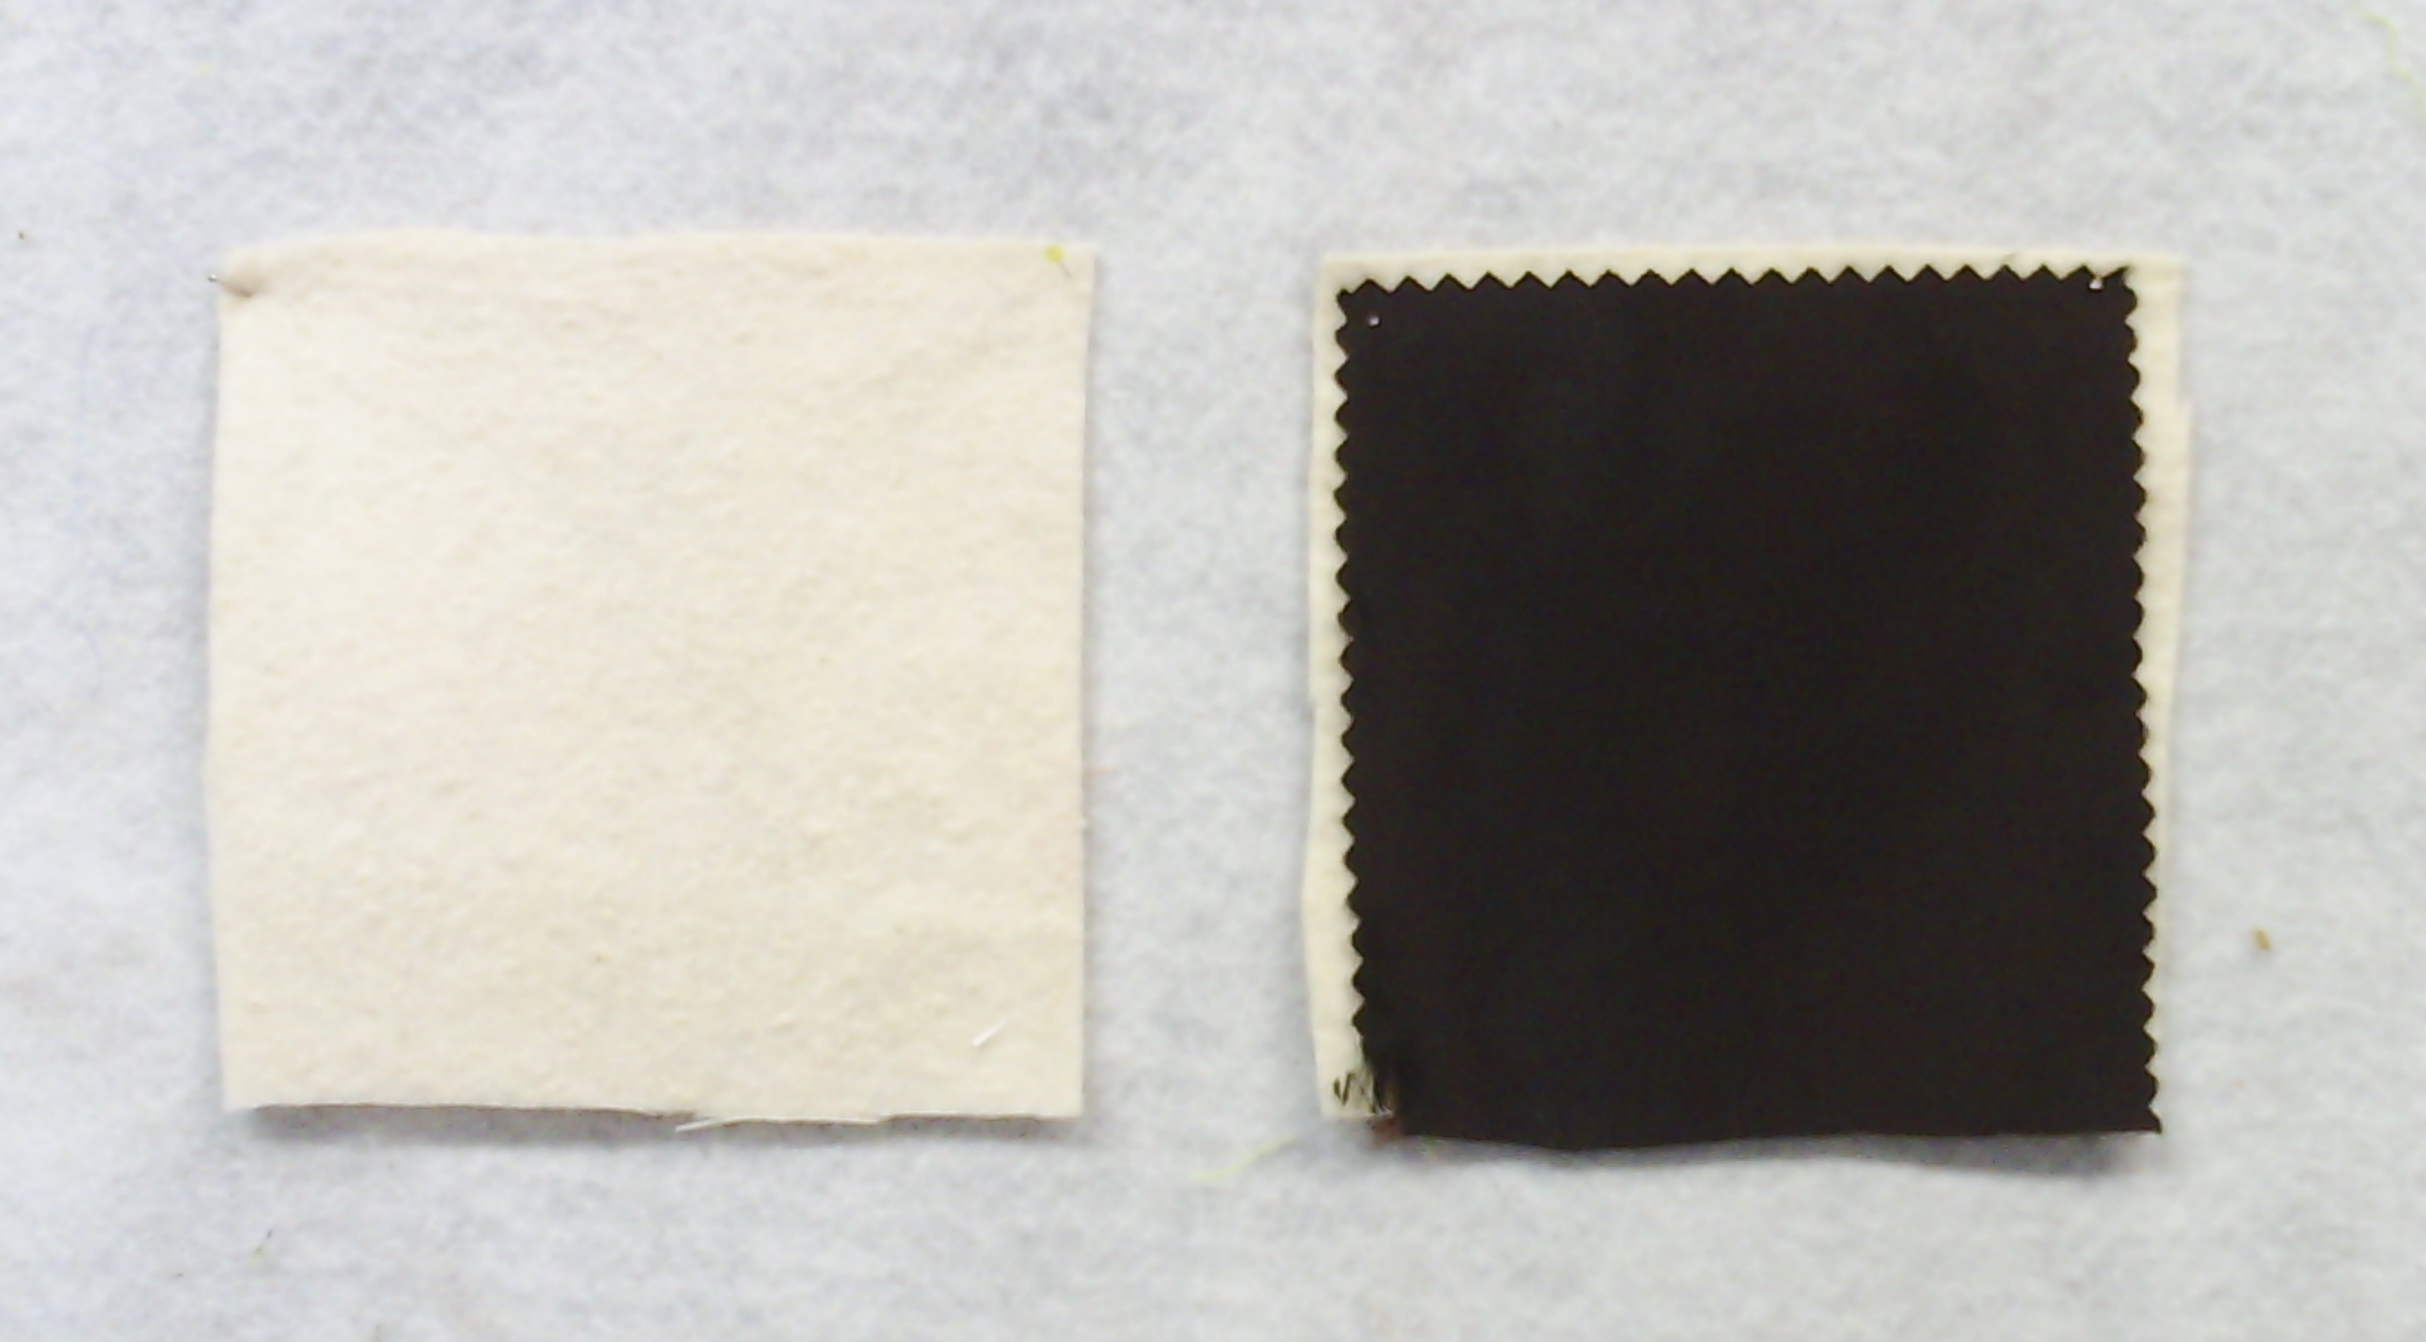
I picked the techniques I wanted to use before I started, but of course I always change my mind. I had intended to use batting as the foundation and cotton for the first layer, but I found this piece of very dark brown, almost black satin and used that instead.
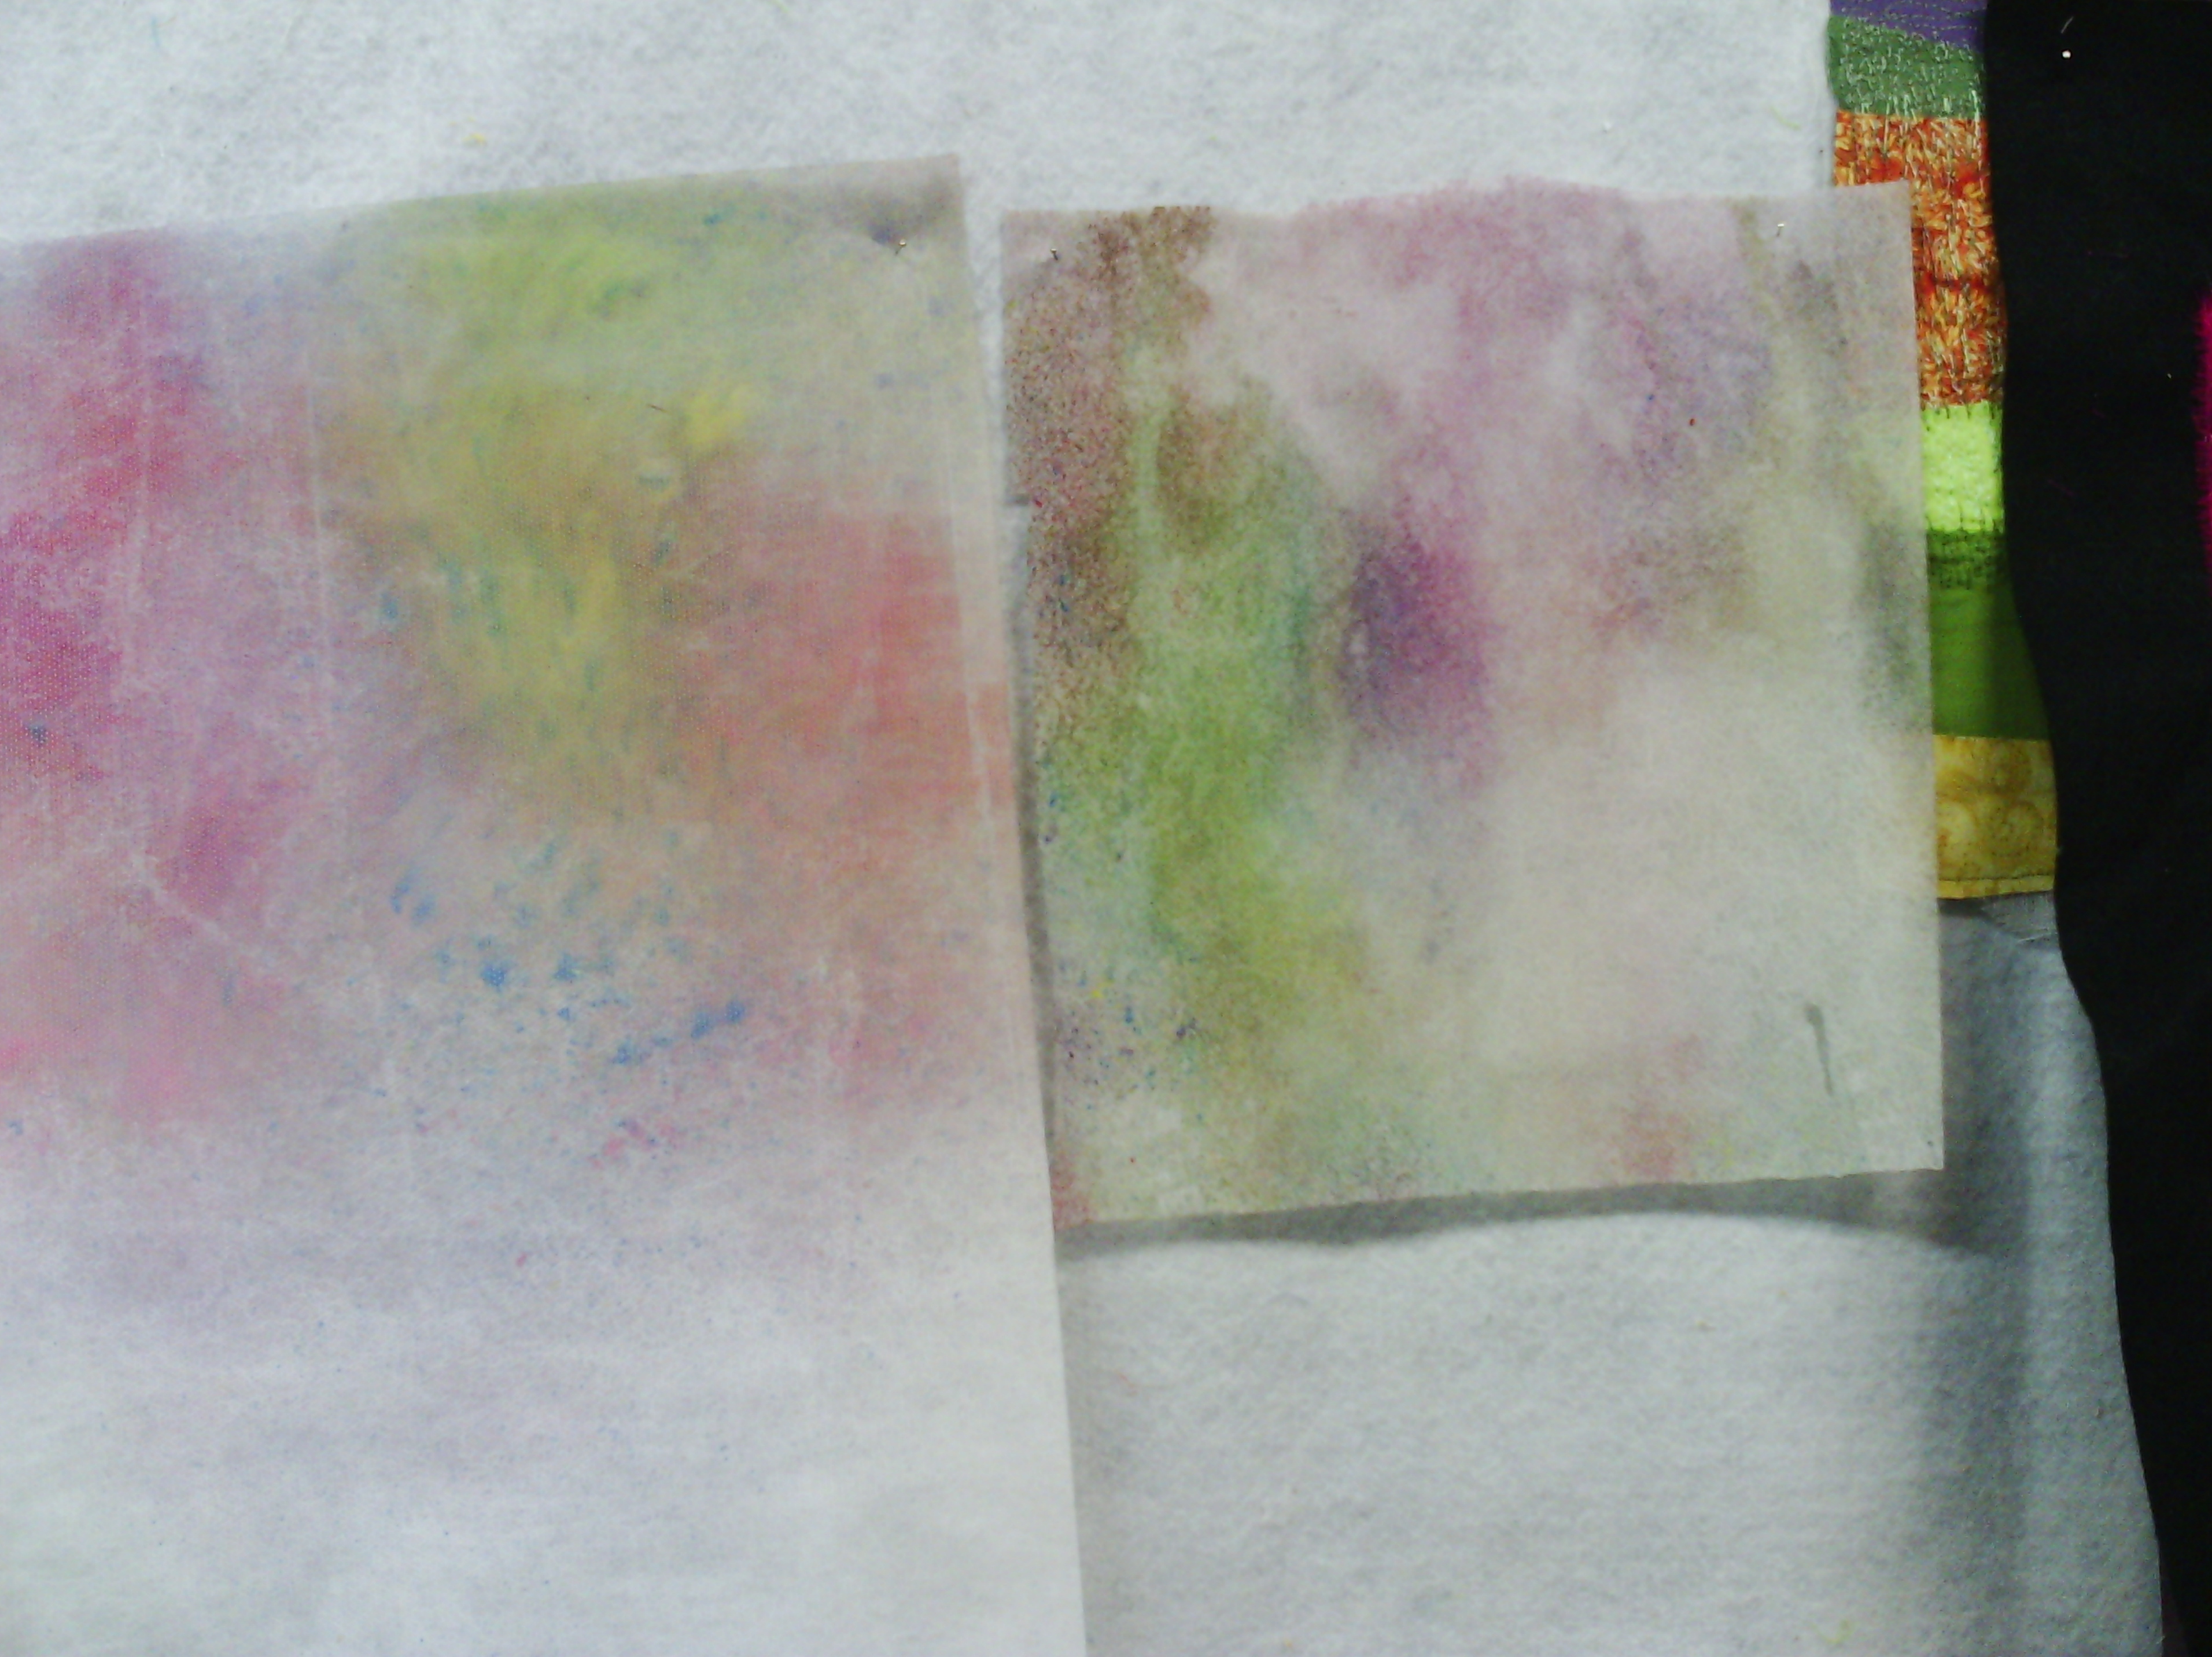
I got a couple of pieces of interfacing (don't ask what type as I get these from the recyclers and there are no labels. They are synthetic, I know that much) one was more like a lutradur and one was smoother. I sprayed them with fabric paint and let them dry.
Here is my latest one.
I picked the techniques I wanted to use before I started, but of course I always change my mind. I had intended to use batting as the foundation and cotton for the first layer, but I found this piece of very dark brown, almost black satin and used that instead.
I got a couple of pieces of interfacing (don't ask what type as I get these from the recyclers and there are no labels. They are synthetic, I know that much) one was more like a lutradur and one was smoother. I sprayed them with fabric paint and let them dry.
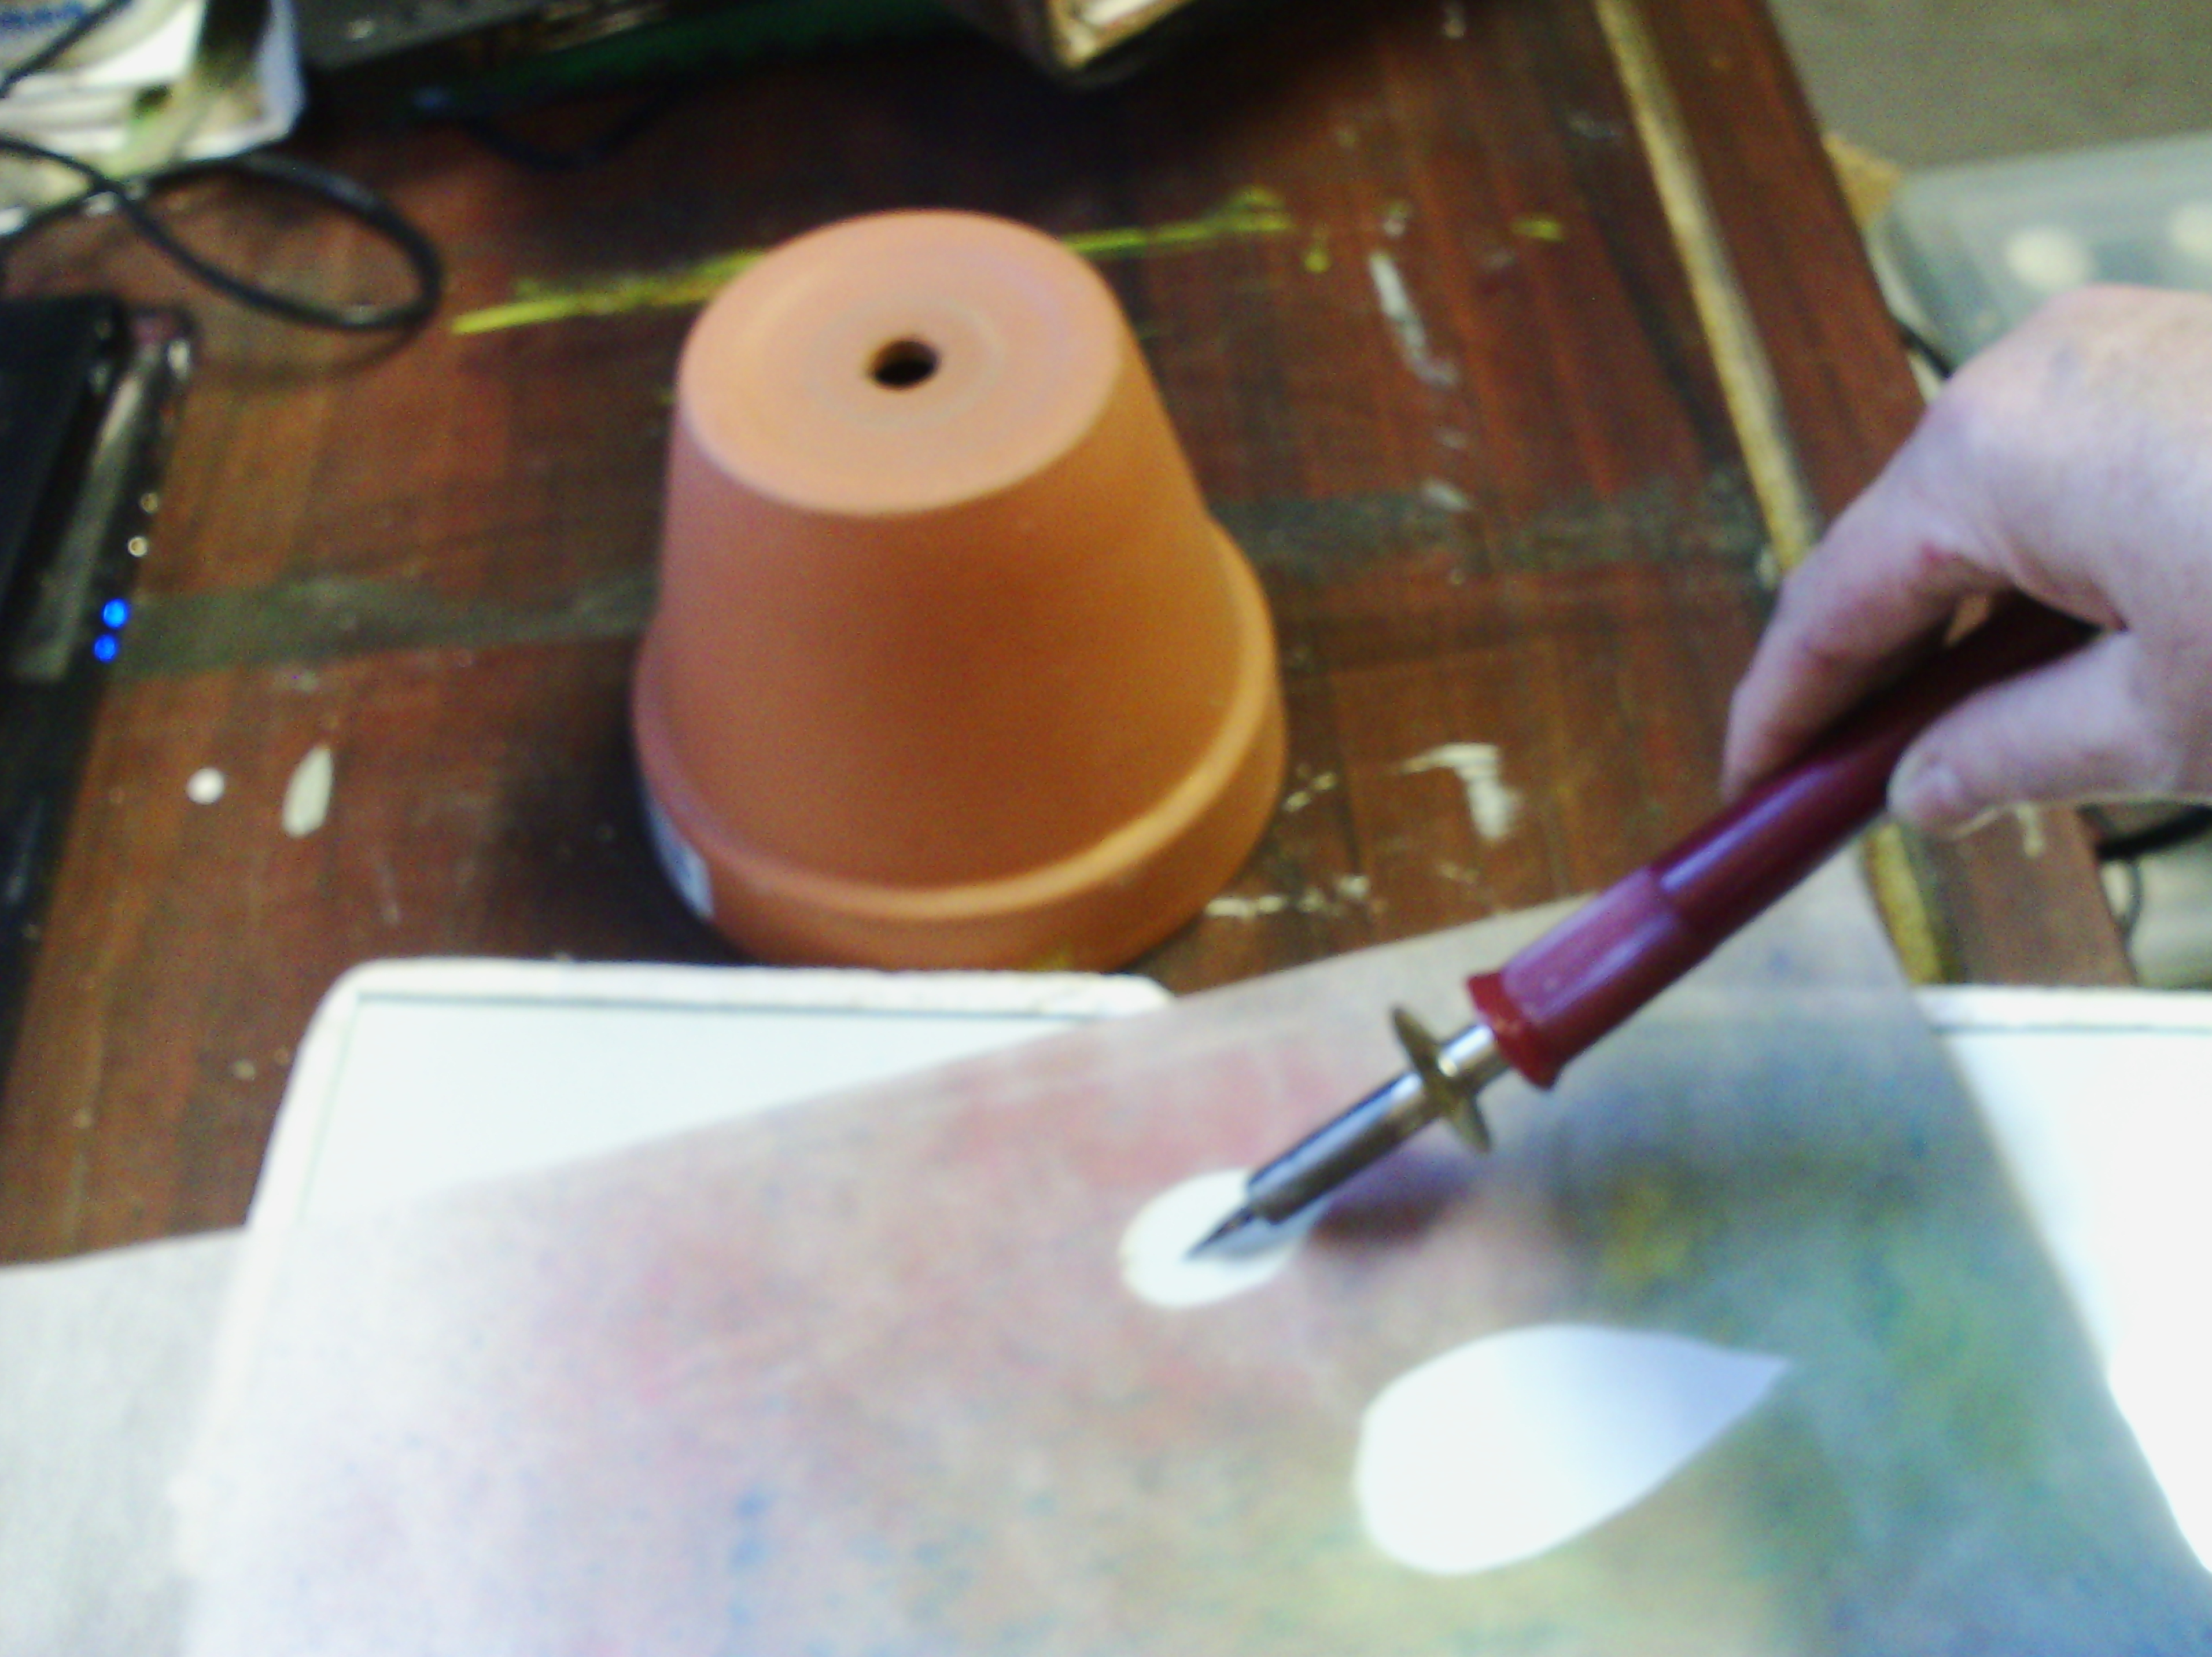
Then I cut a few leaf shapes out with my heat tool. They cut very cleanly this way. I could of course have used scissors since the fabrics wouldn't fray, but hey I wanted to be different.
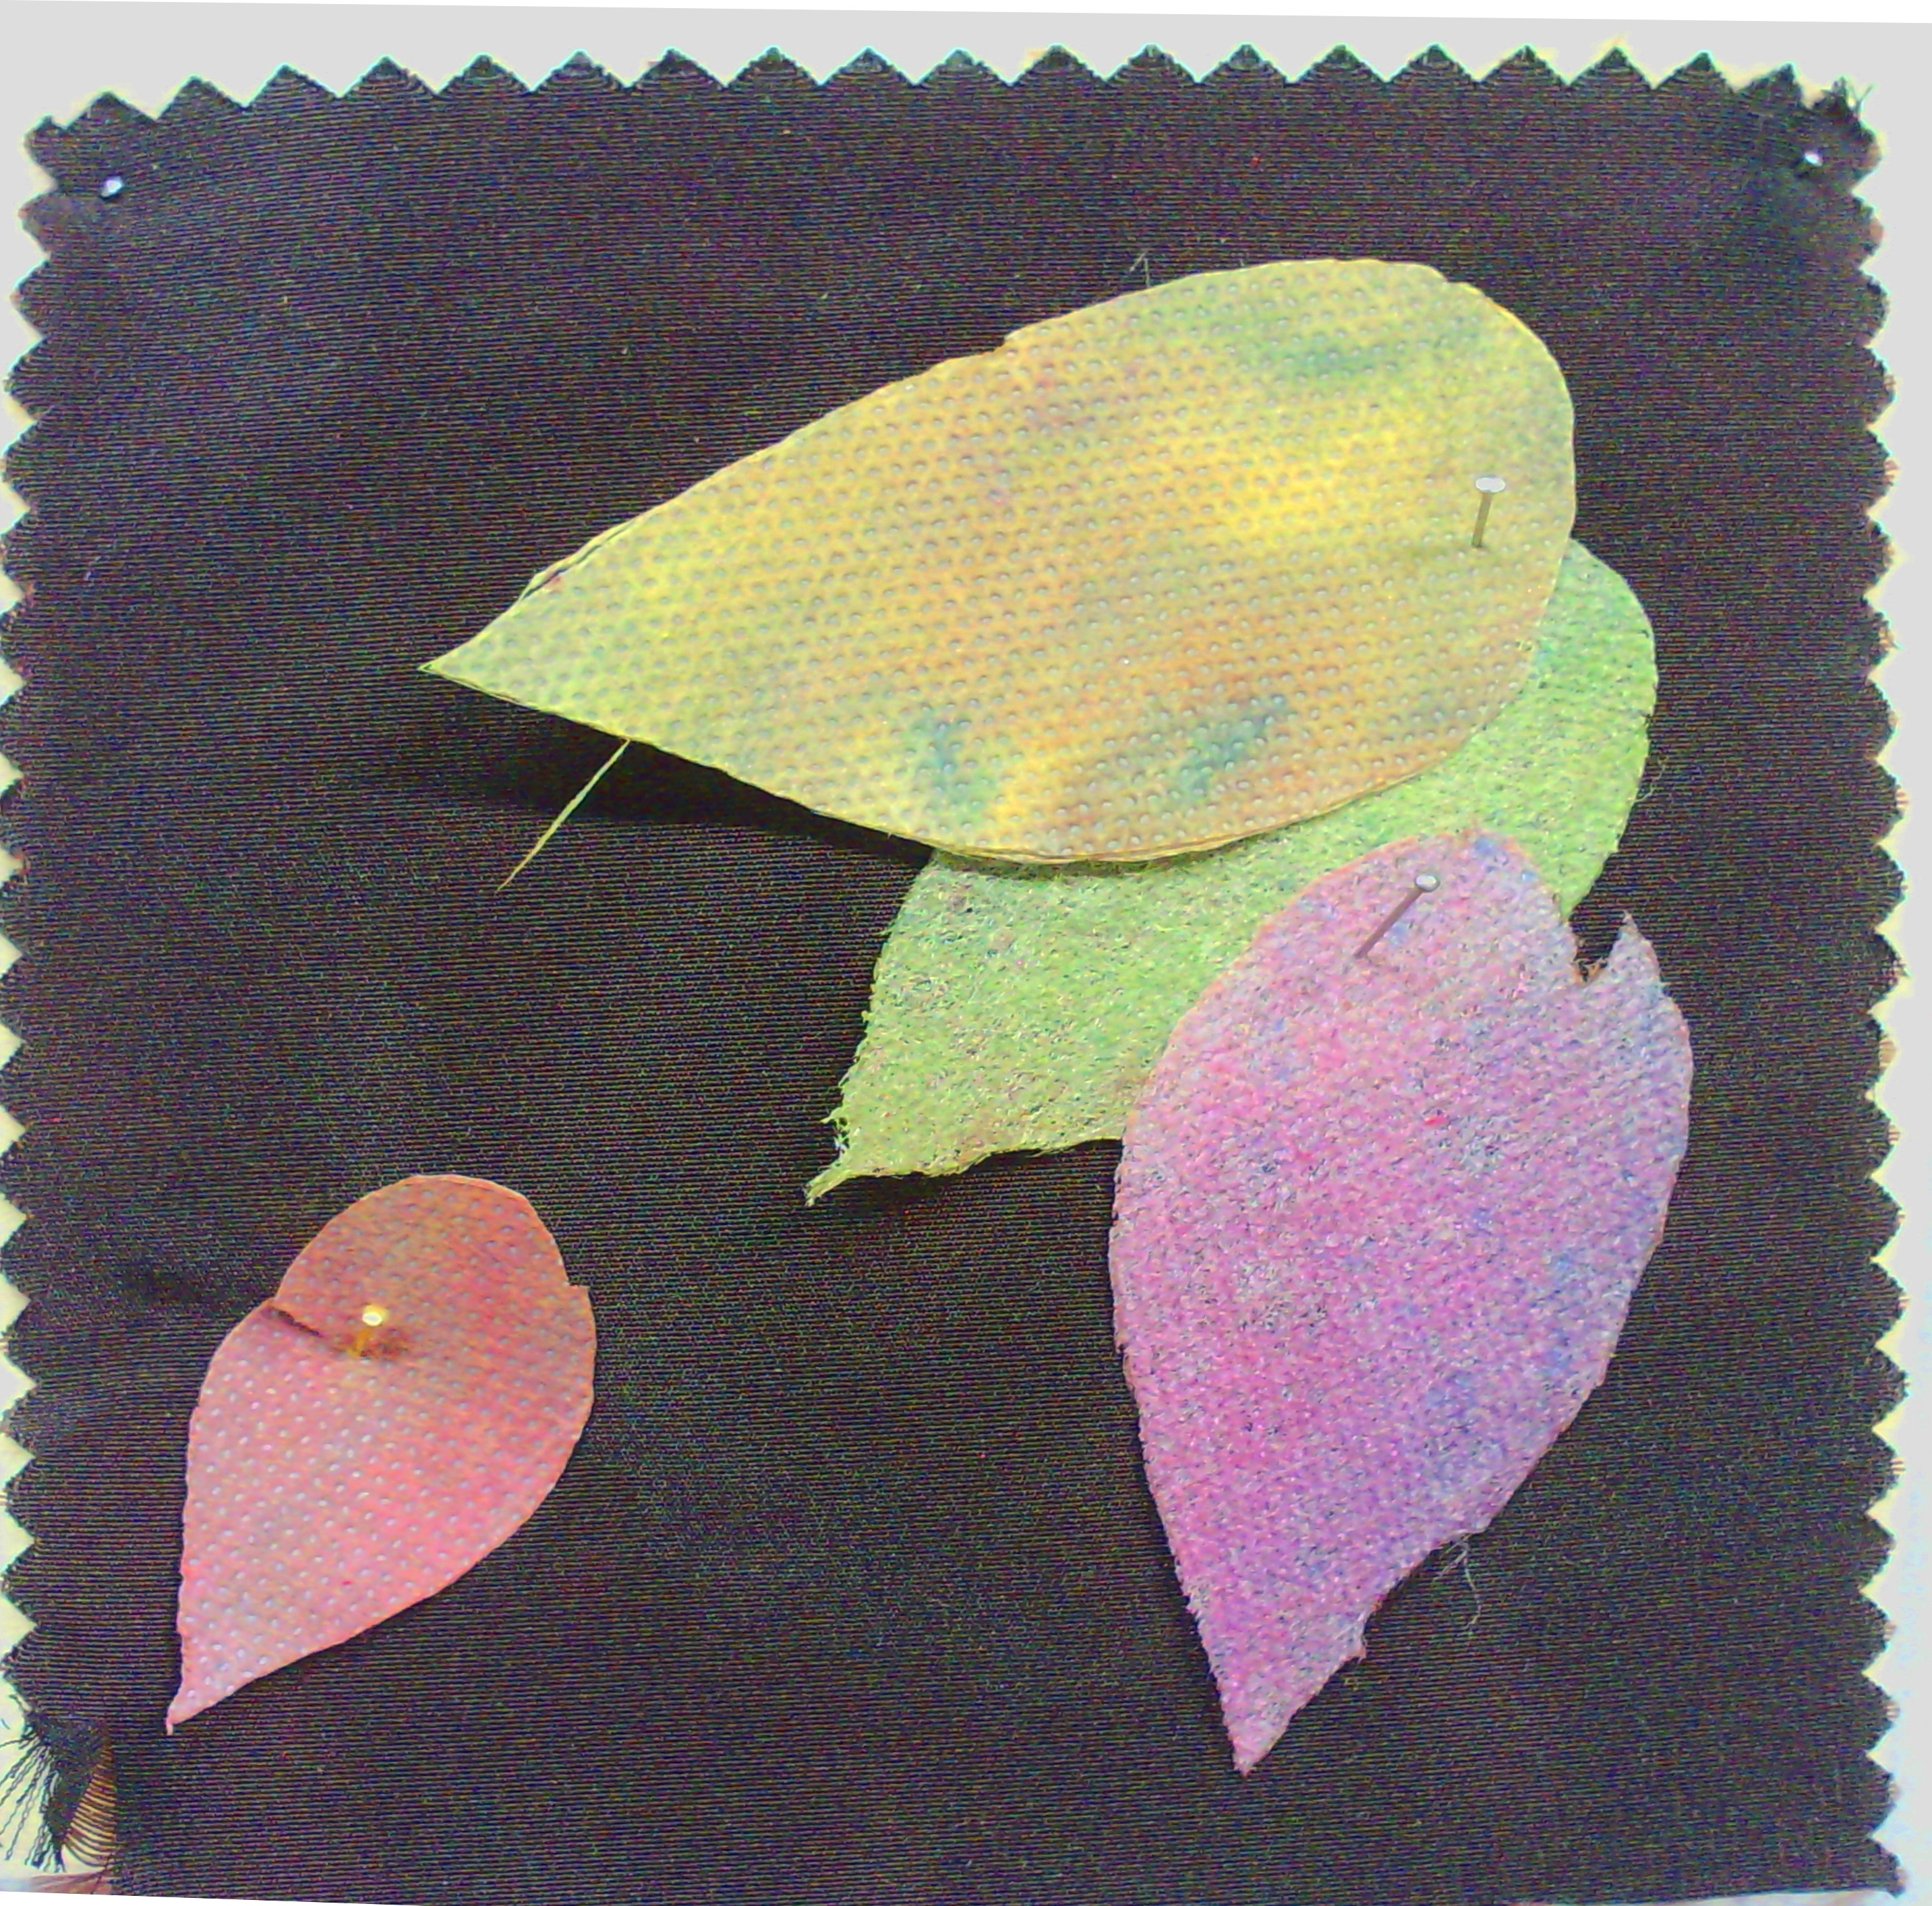
I arranged my leaves on the background. I decided to put the purple one in the centre at the top instead. I made it up as I went along, because this was not the design I had originally intended. What I had originally intended was to cut out a wavy shape with little curly bits.
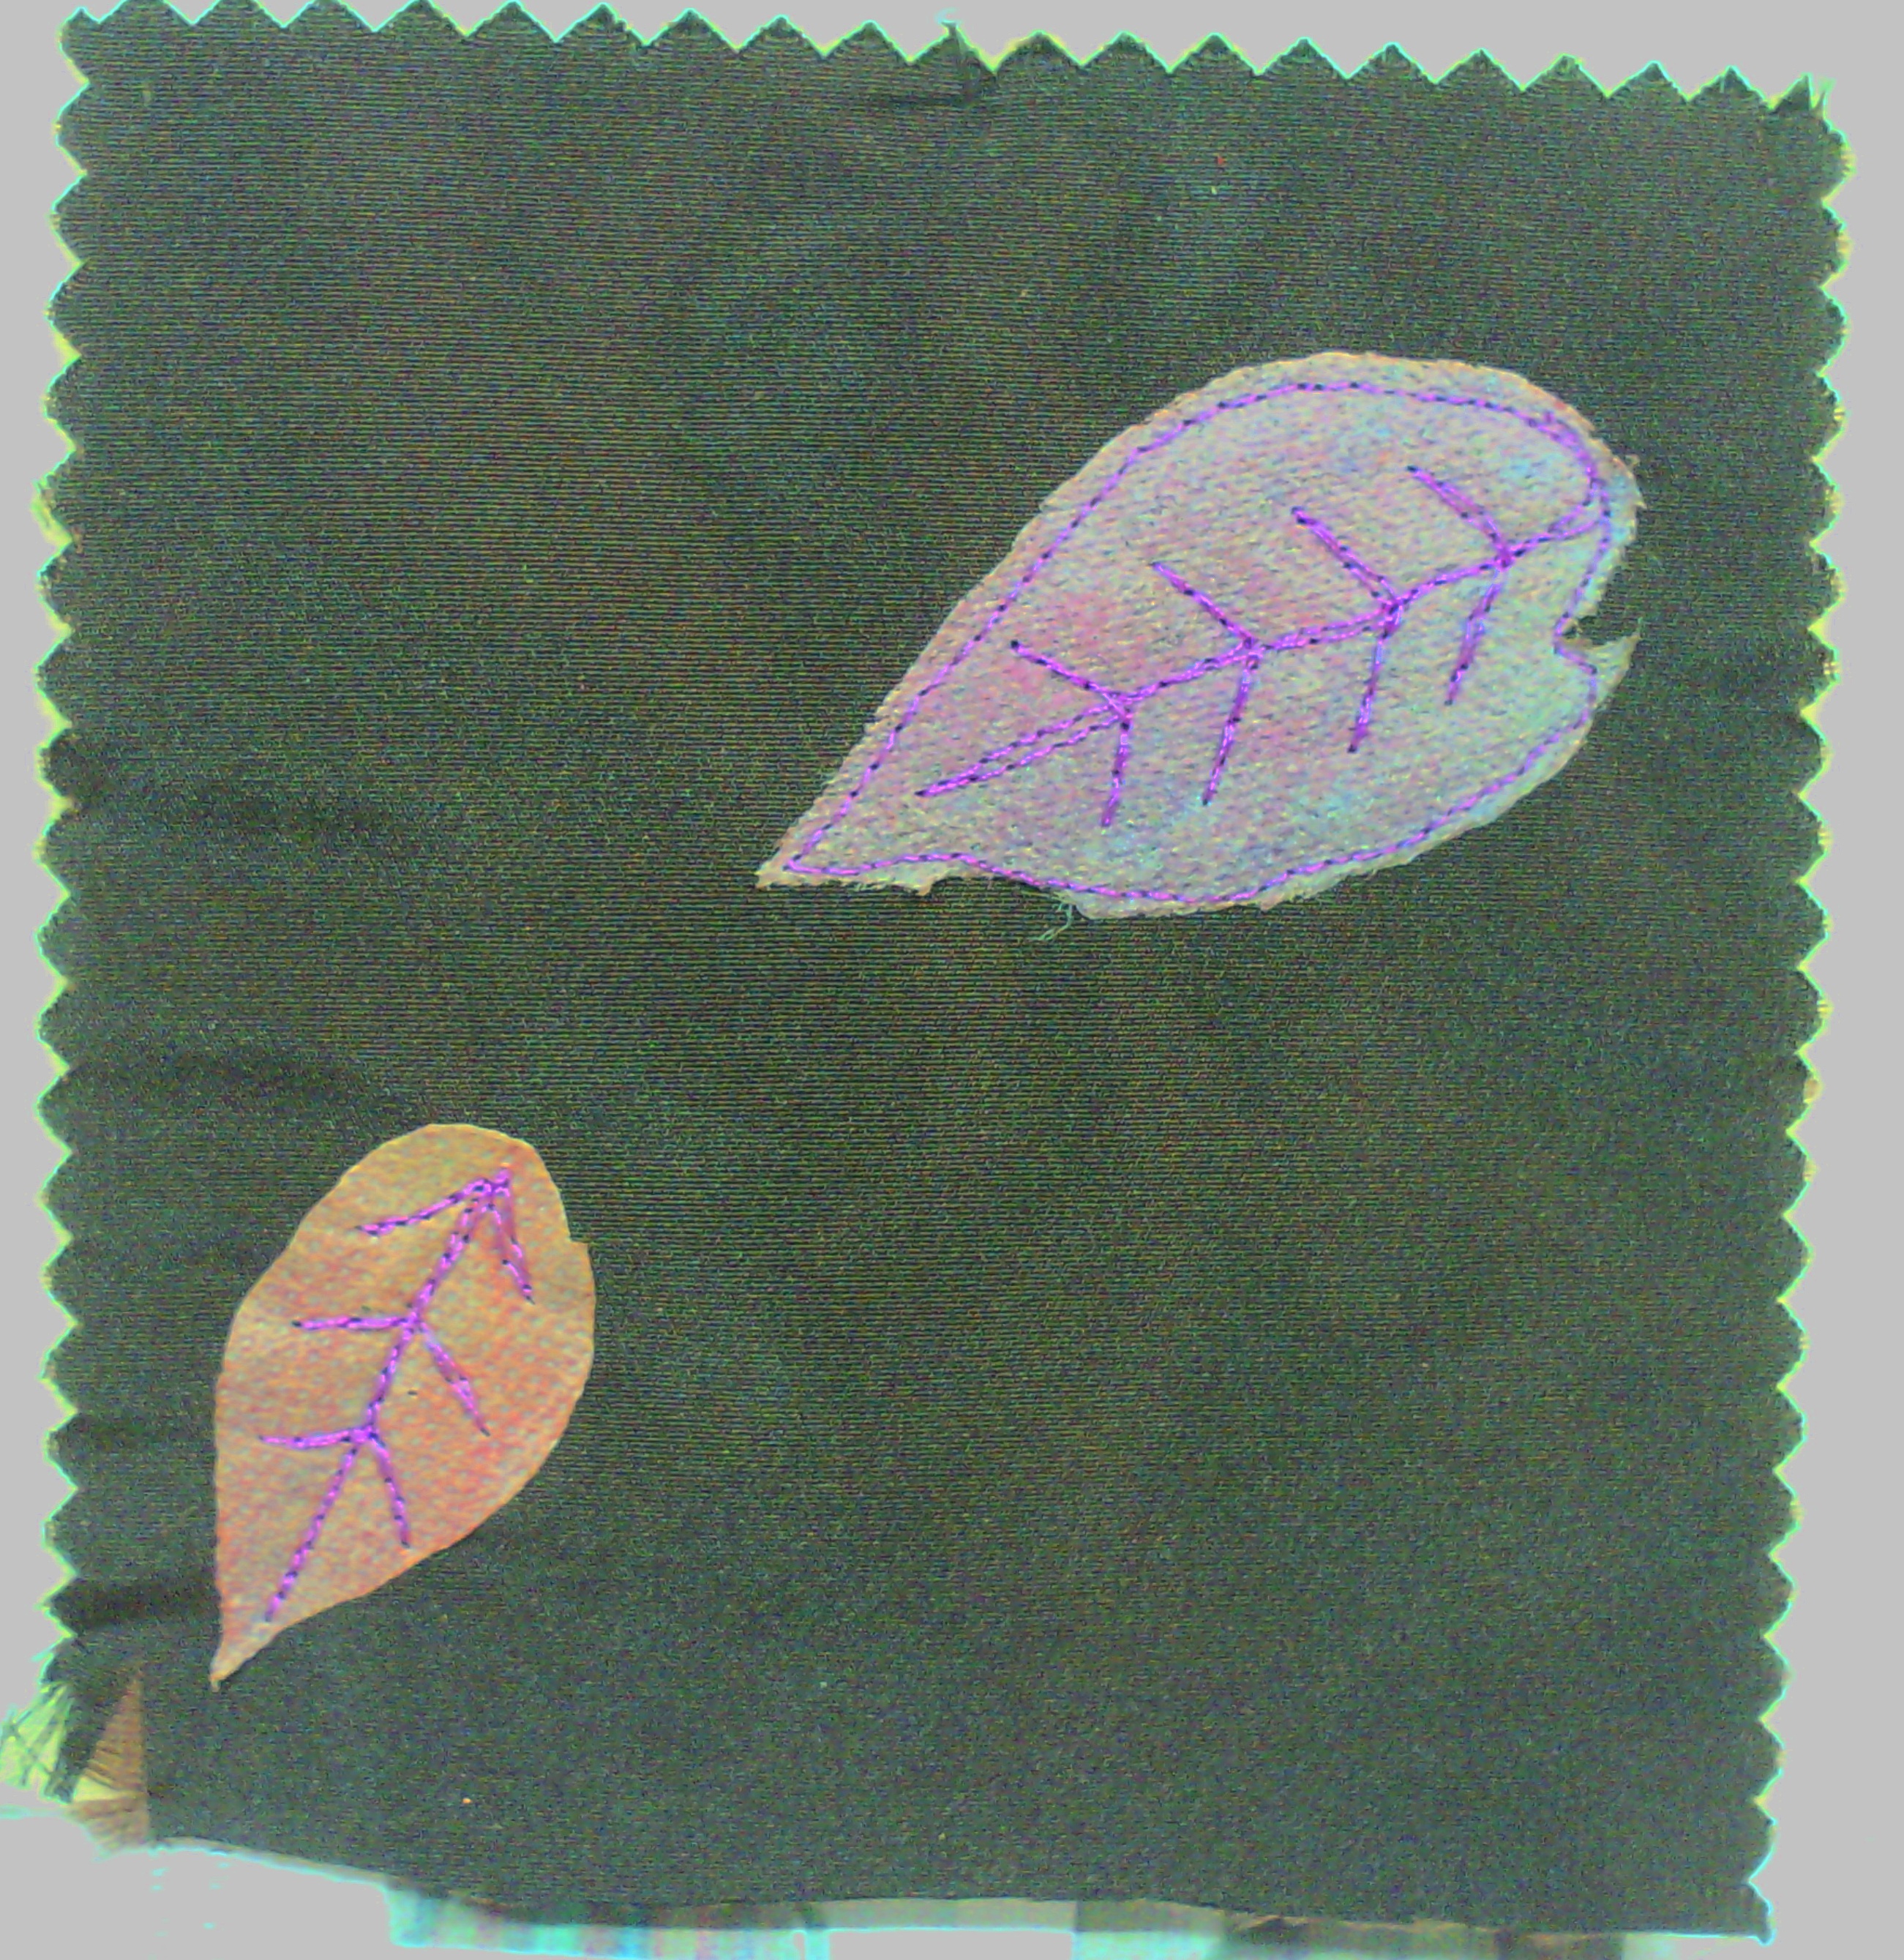
I started by attaching the two warm coloured leaves with free motion. I did the top one first and went all the way around the outside, but when I had put the veins in the small one, I decided I liked it being dimensional with the edges unattached.
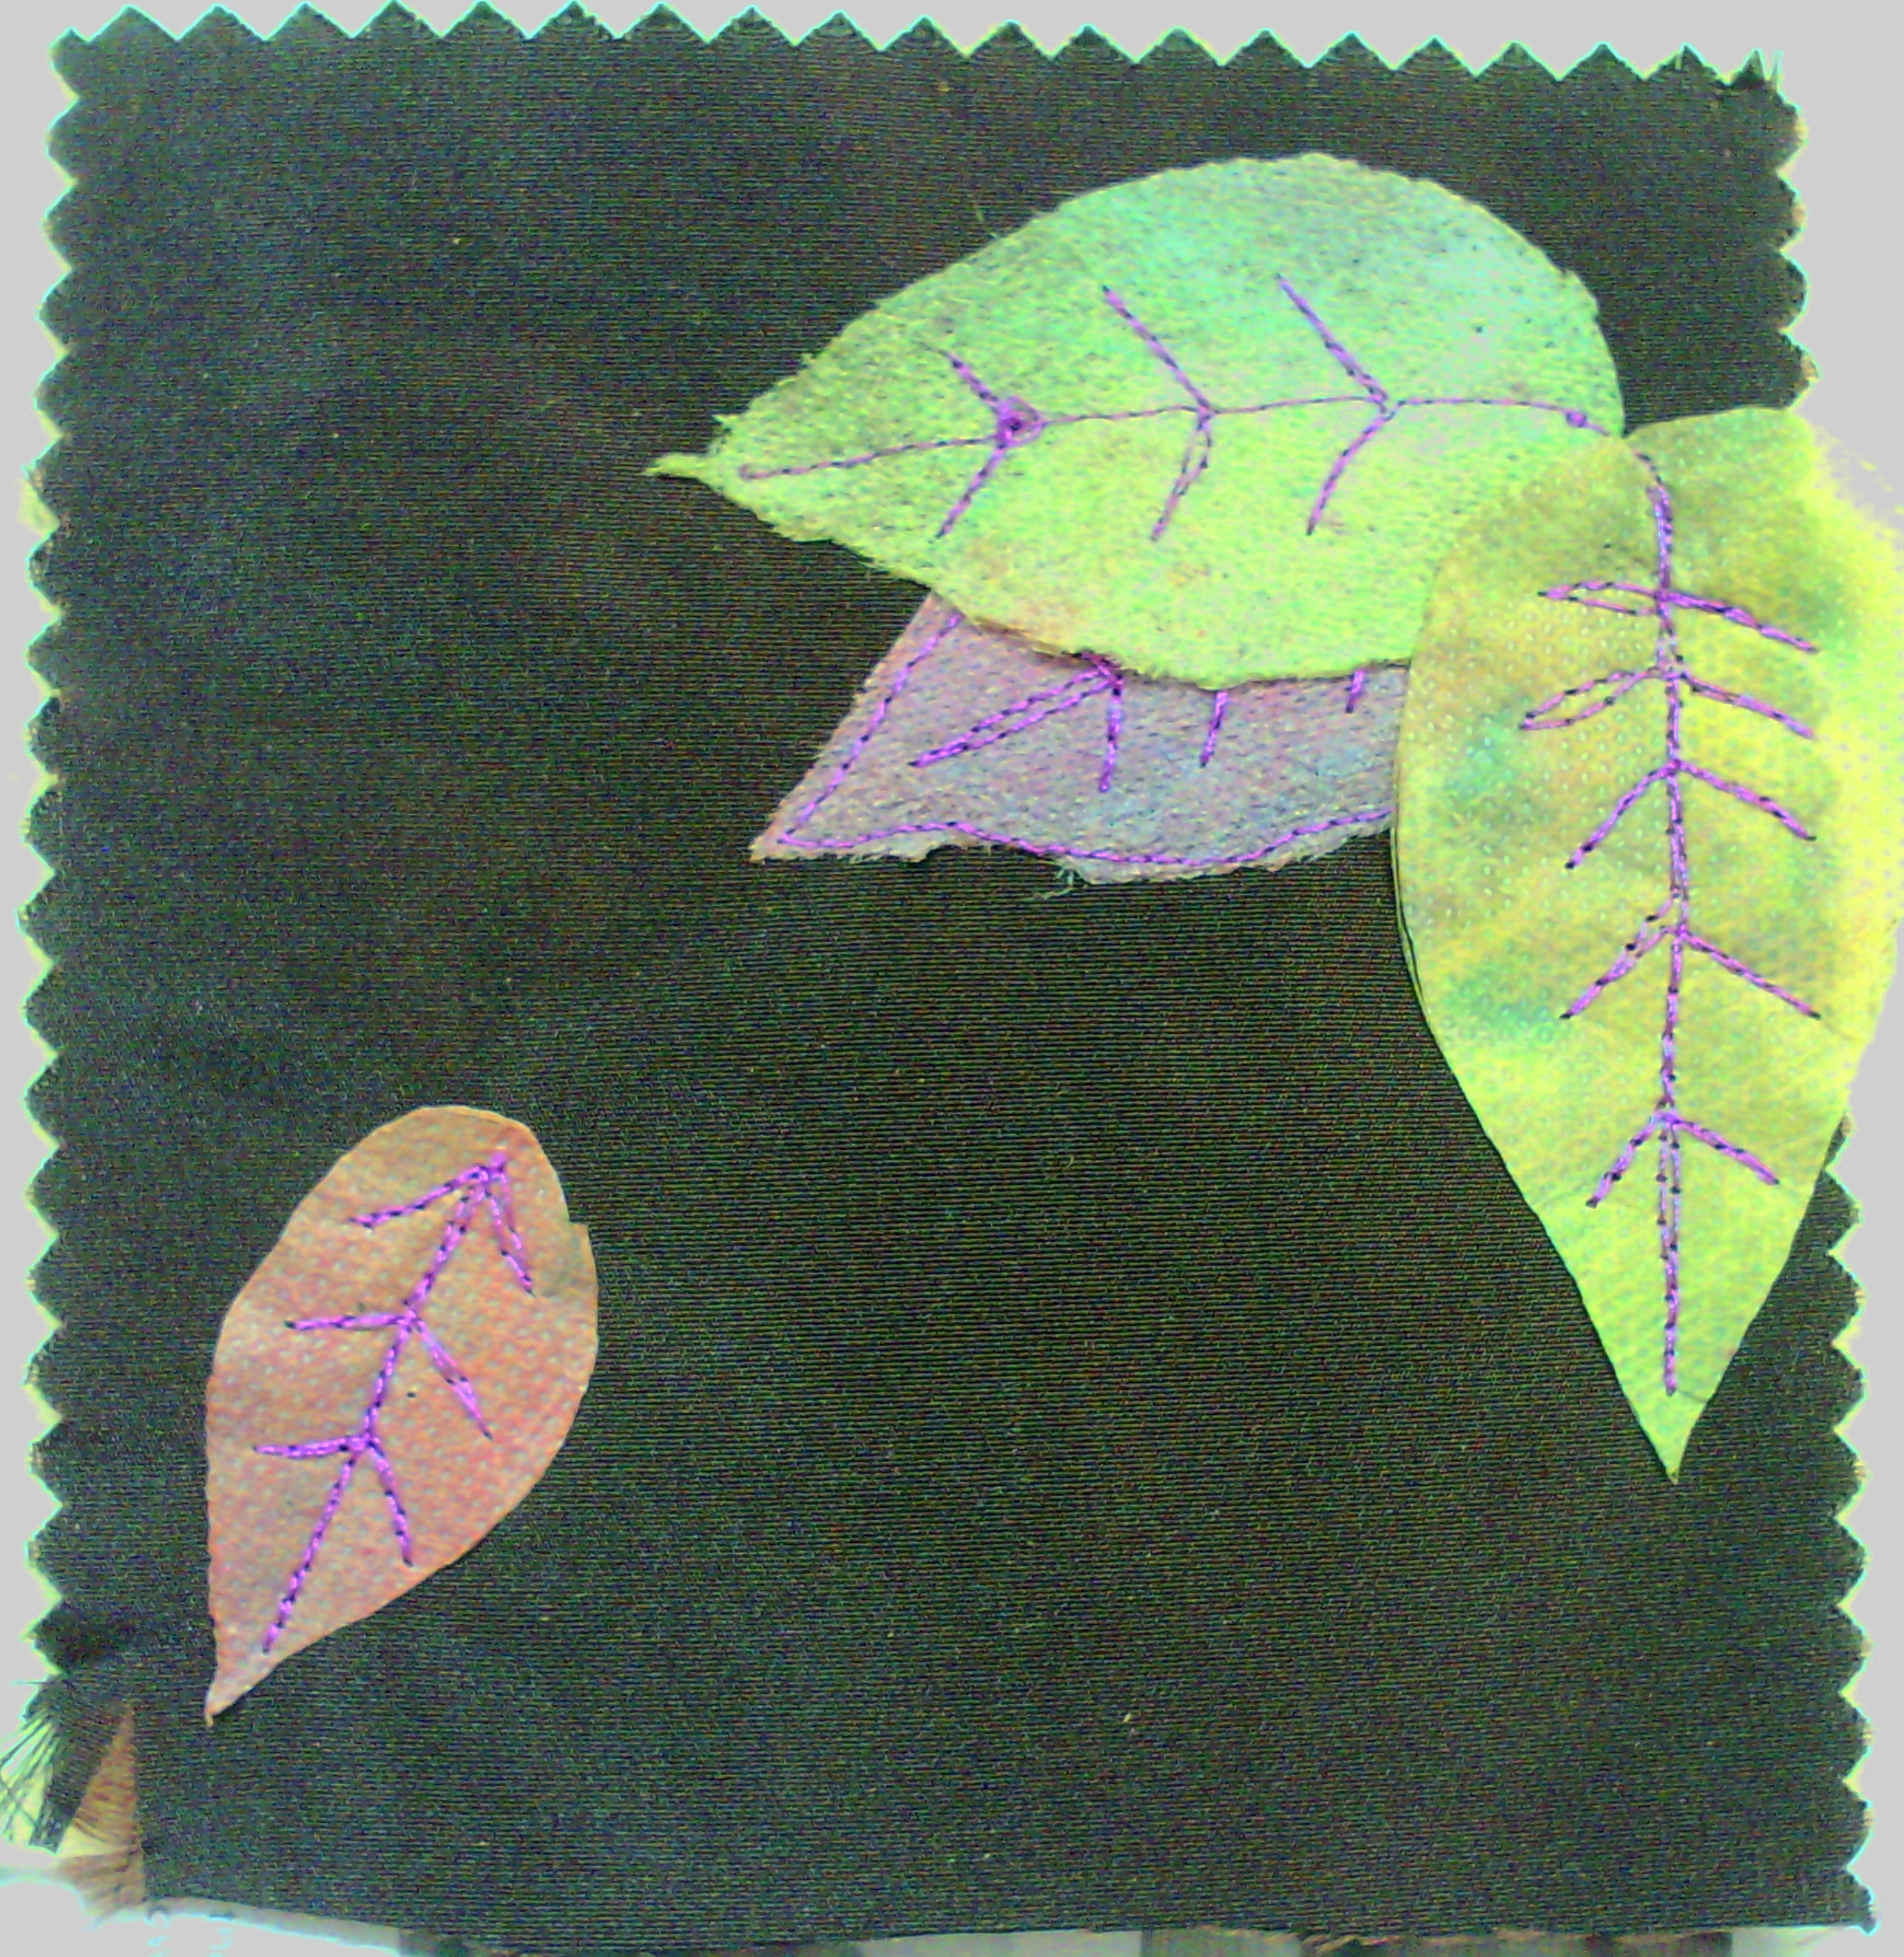
Then I added the two green leaves over the first one. I decided I liked the one that went over the edge of the piece. I did think about chopping it off, but decided it was nice the way it was.
I had a little think about the composition and read through my initial notes. I had wanted to use shape and motion as my design elements. I had the shape, but not the motion, so I went back and did a little more thread sketching.
Now, It had motion! It also was close to my favourite split complementary colour scheme, which I had not really planned, but it just goes to show doesn't it?
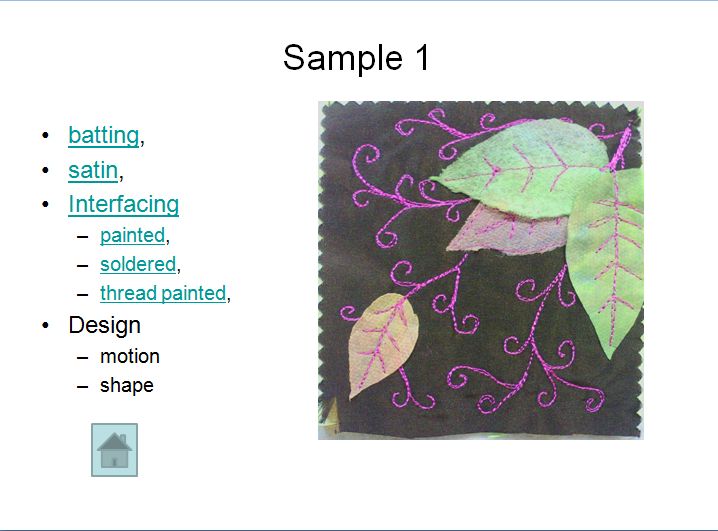
And this is how it looks in my database, with links back to the information for each part.
Of course, I still need to do the edges. i have some black organza ribbon to bind it. That's a TV watching job!
Create every day.
Subscribe to:
Posts (Atom)