Thursday, November 14, 2013

Tesselating

This morning, I was working on making a tesselation for use in a textile piece I have been planning.  I want to make an abstract water effect.   My idea required me to make the shapes interlock.
Here is how I made the template.
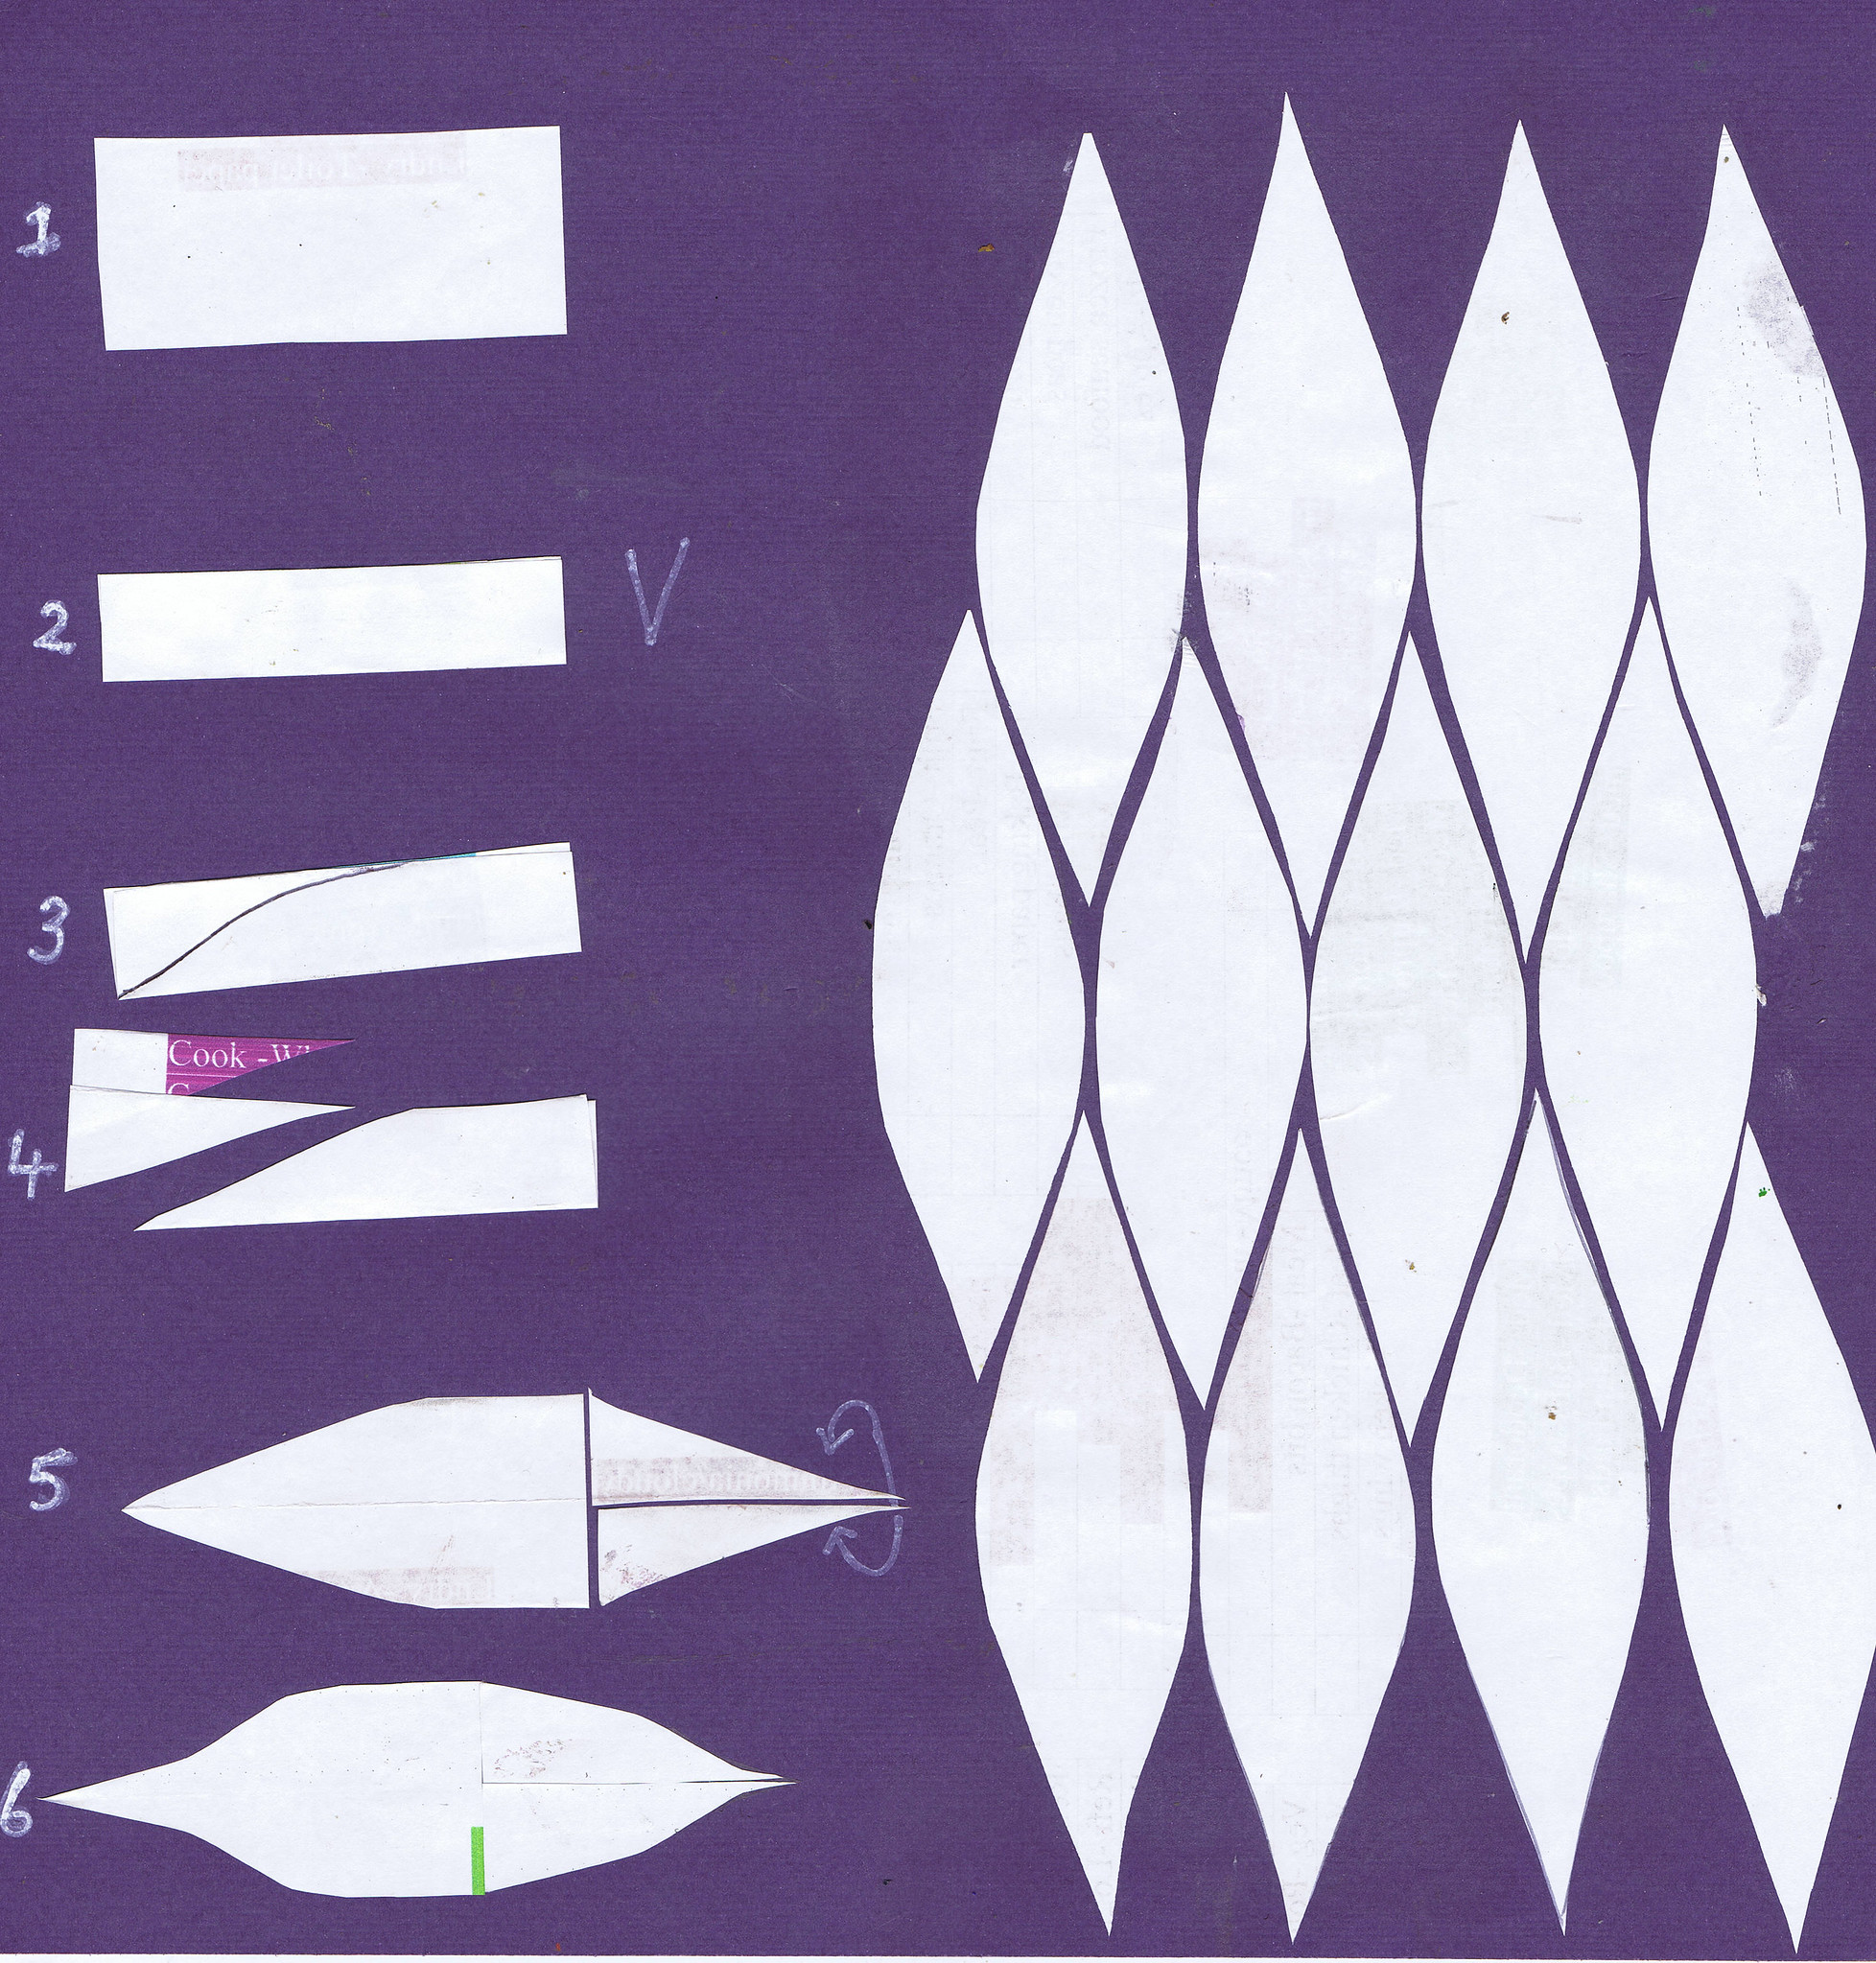
The steps are shown in the picture above.

  1. I cut a piece of paper.  The corners need to be square.
  2. I folded it in half lengthwise with the fold to the bottom
  3. I marked my cutting line.  Basically I drew how I wanted the end of my shape to be.  I started the line from the fold and curved upward to the edge.  The curve needs to be symmetrical
  4. I cut along my line and this gave me two little bits.  Each had a right angle.
  5. I moved the pieces to the other end of the shape and arranged them with the right angles to the centre
  6. I taped those pieces on. the actual shape in number five is actually a bodgy one where the curve was not symmetrical and you can see what happens, the shape is not right.  It will tesselate.  But it doen't look right.
On the right of the page you can see some shapes interlocked together.  I used my final template for this.
I think it looks a little bit Like water.
I tried the template out (roughly) on my journal page for today.
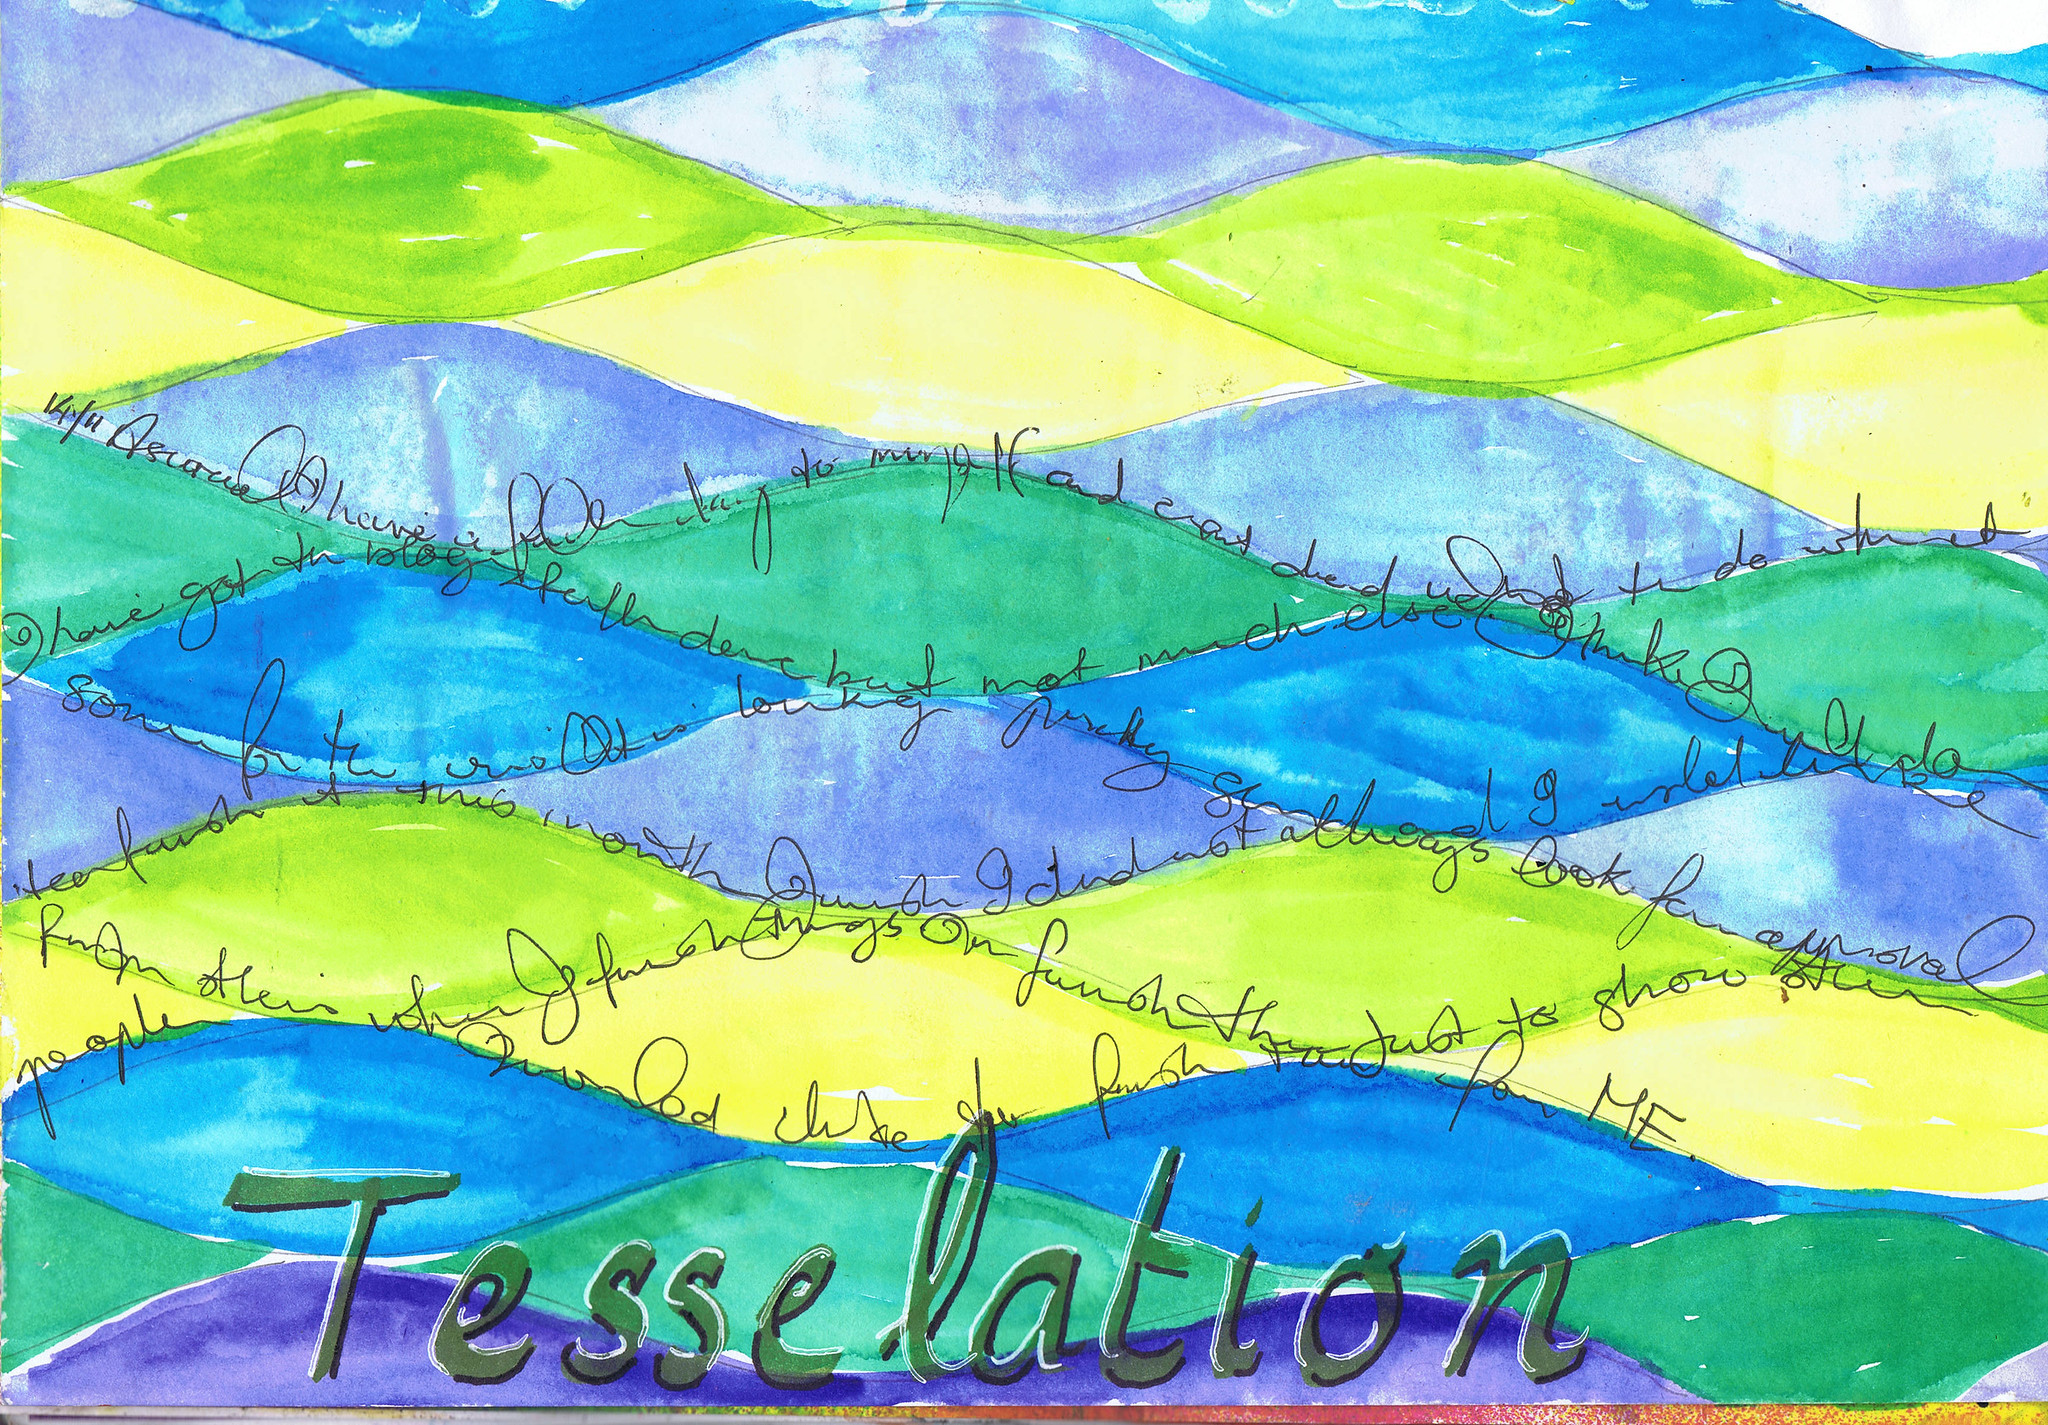
I traced around my template and then painted with some watercolour.  It looked quite nice.  In my project, I will be using fabric with fusible on the back, I think it will work out.
We will see....
Happy Creating

Wednesday, November 13, 2013

To recycle or not to....

Day 13 of AEDM!
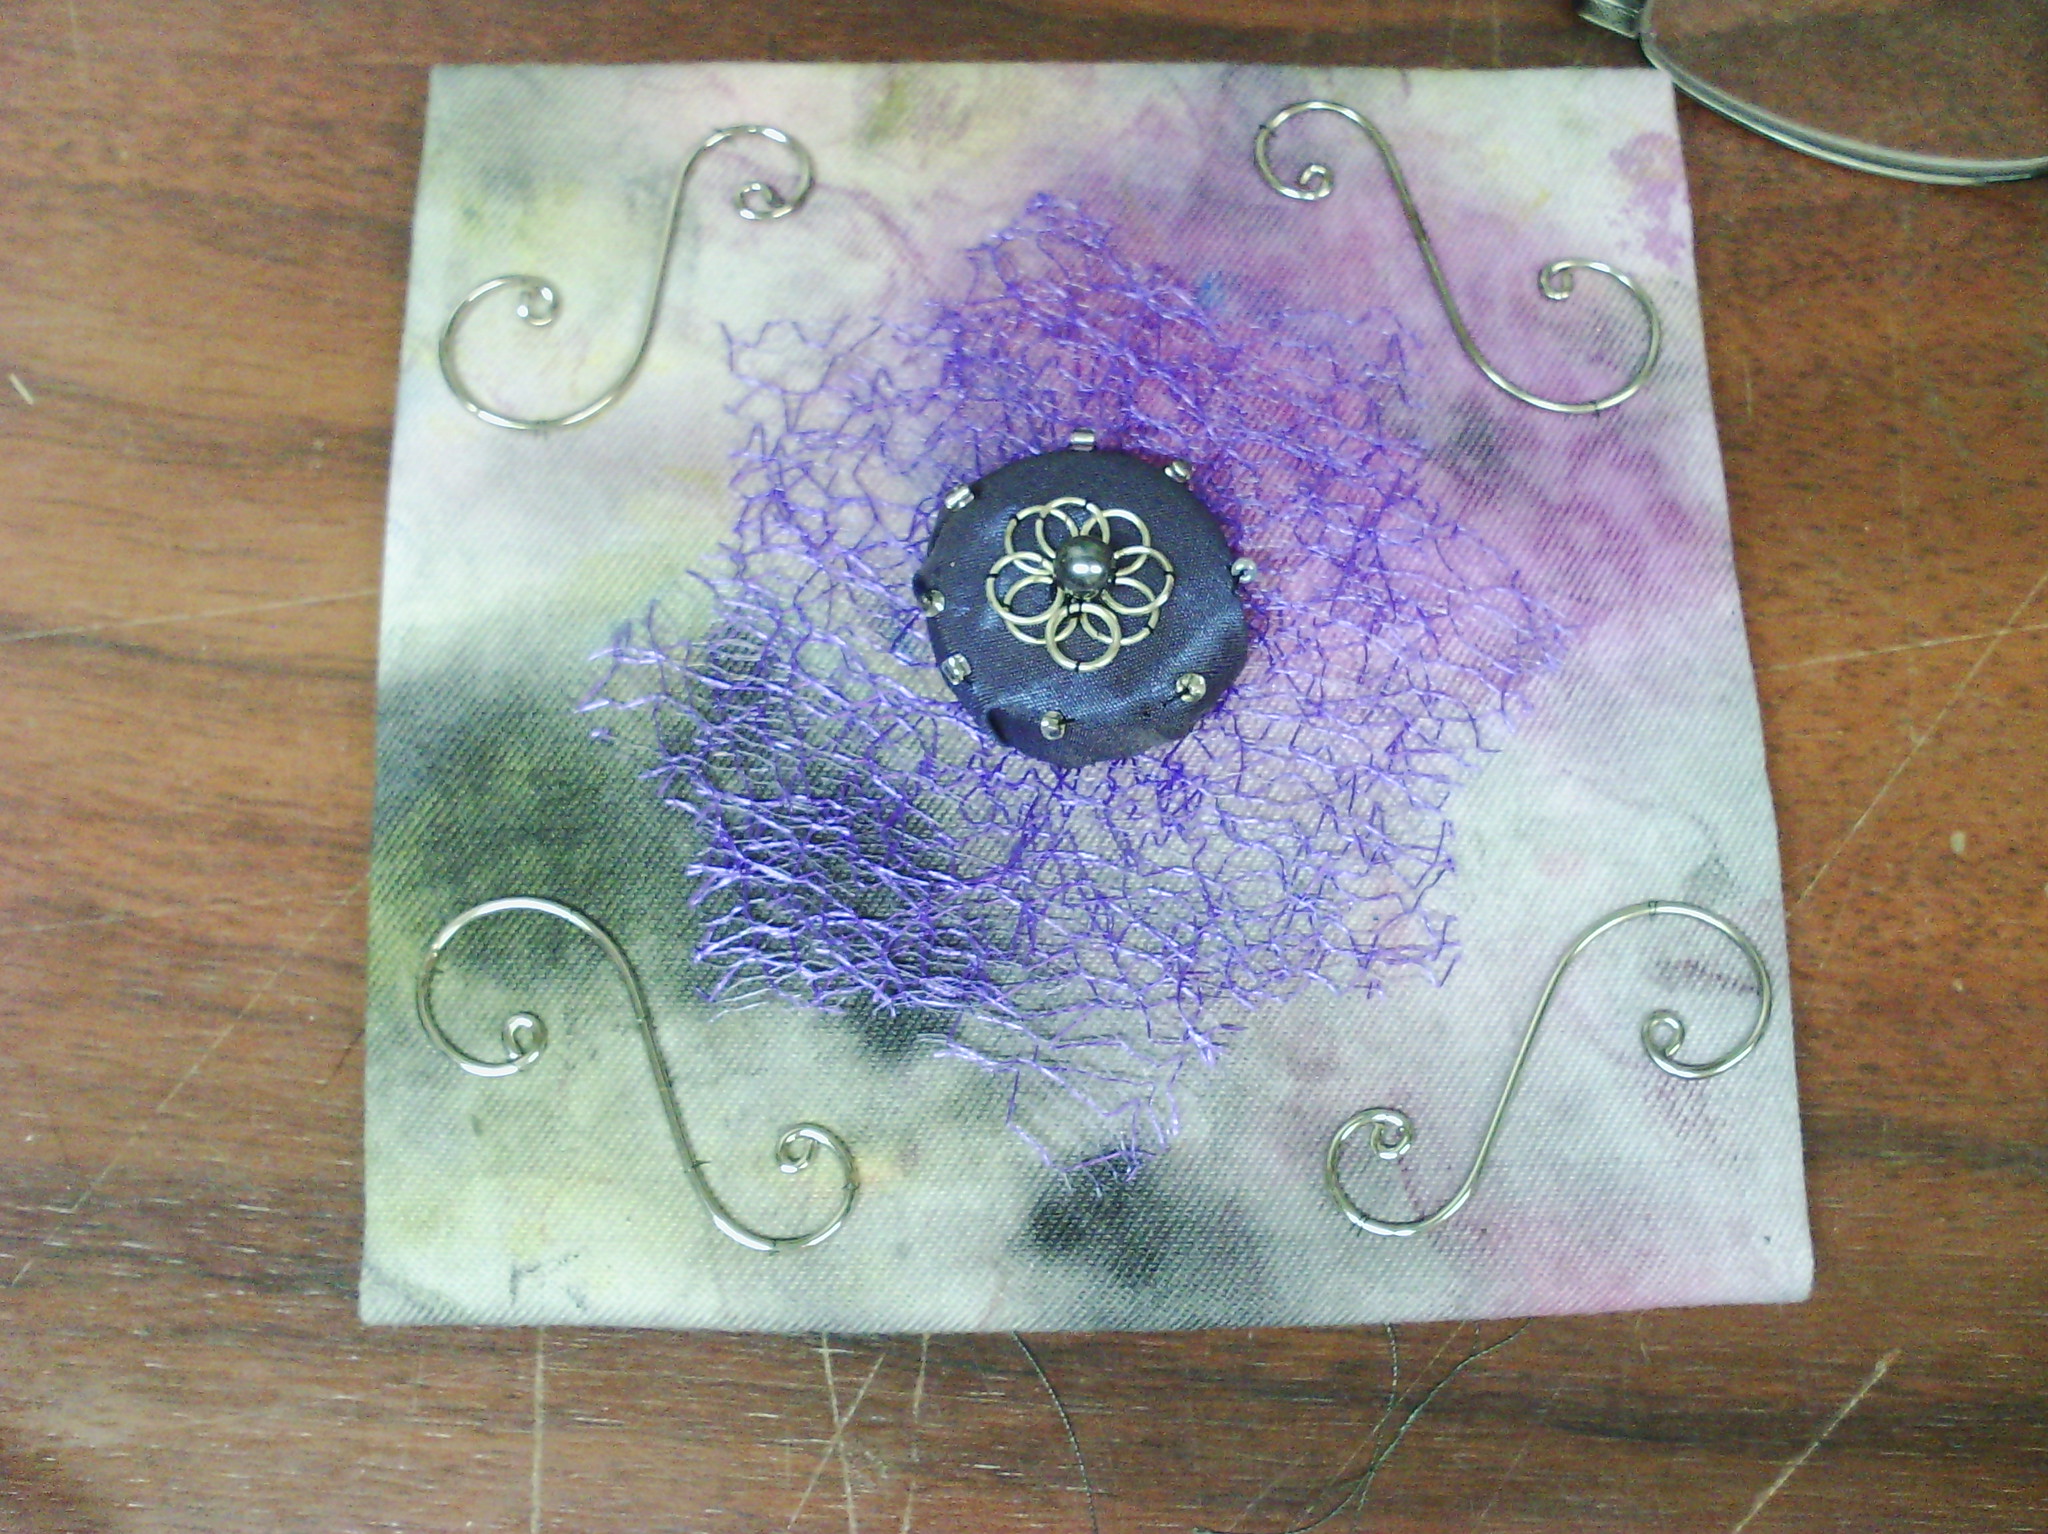
Today I was also out, teaching my Adult art class, but when I got home, I felt the need to make something and the first thing that came to hand was a milk bottle cap!
I decided to put together a quick journal quilt.
The milk bottle cap forms the base for the central button, covered in a little bit of silk.  The silver motif in the centre is simply eight chain links stitched on in a circle with a bead on top and some seed beads around the outside edge.  The purple 'stuff' is some wispy fibre ribbon (two squares overlapped and offset).  The silver swirls are some left over hanger clips for christmas cards, stitched down and the background fabric is one of my clean up cloths from painting.
I liked this one, but I think I might add a bit more stitching, perhaps some hand seed stitches
...and maybe a few beads....
Happy creating

Tuesday, November 12, 2013

busy as a bee

Day 12 of AEDM today, and being tuesday here,  means that I was away from my studio gossiping with the quilting group and teaching an art class and have only just got home!
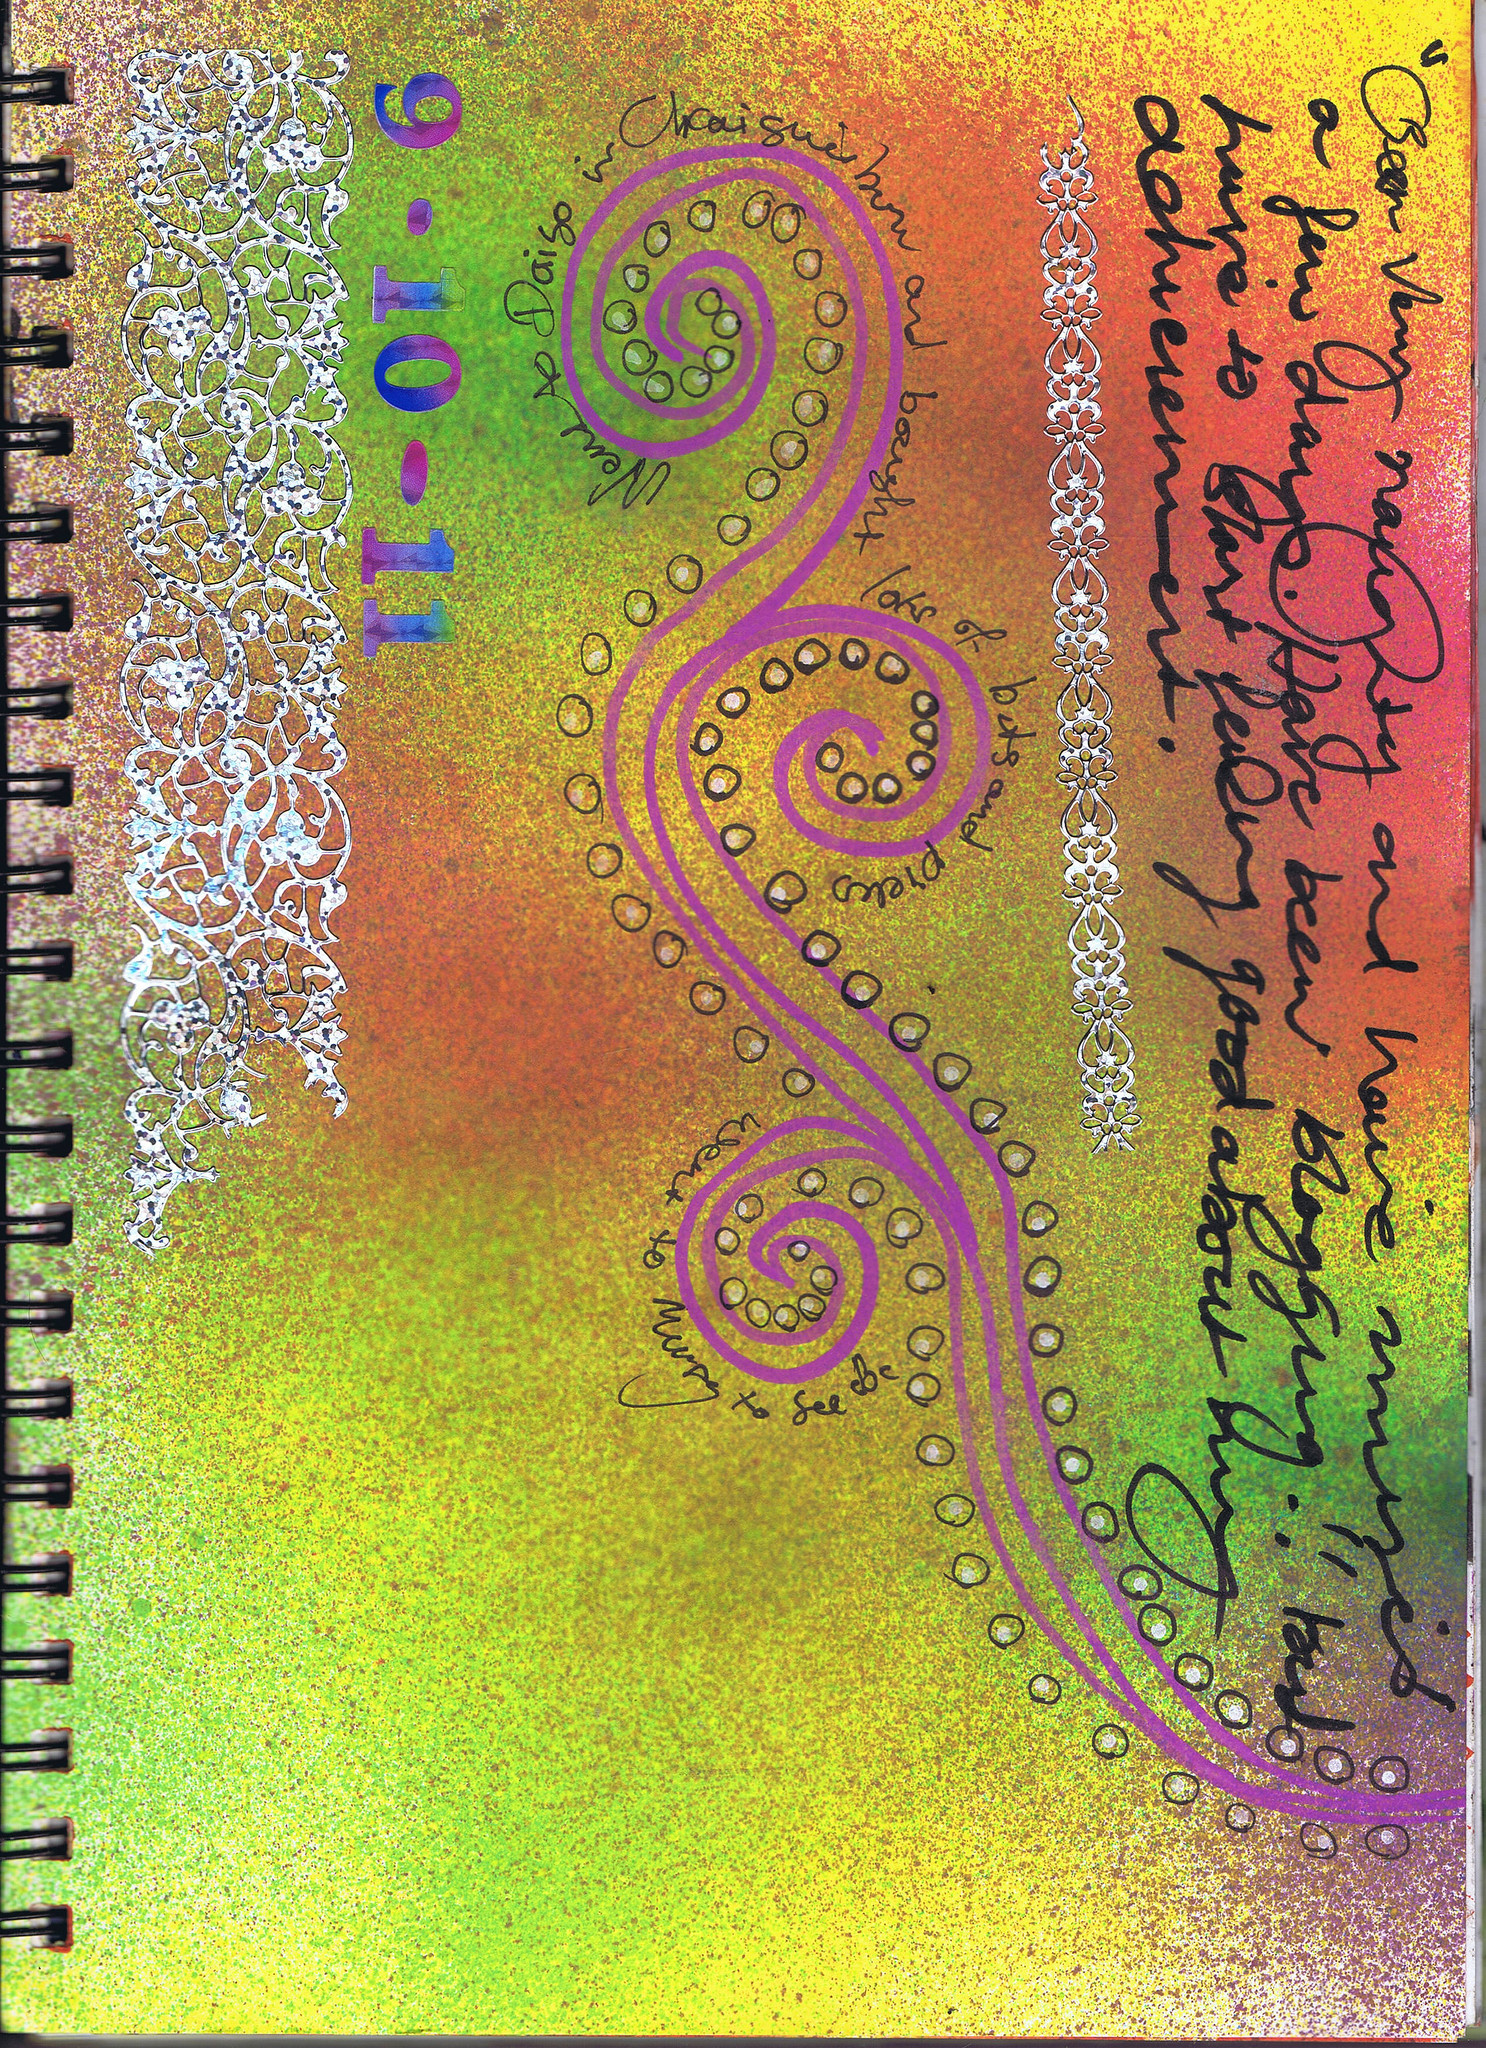
So today, I am just going to show you my journal page, which is extremely boring, but did involve some creativity on my part.  Not much, but some.  I could show something that was not done recently, but that would be cheating.  Luckily, I have been practicing making my writing extremely messy!
Hopefully Tomorrow, I'll have something more creative to show you.
Happy creating!

Monday, November 11, 2013

gilt quilt

Just a short one today.  I have been out down in the big city all day and I'm exhausted, but I did buy a ton of art stuff  ( not all for me, mostly for the art group)!
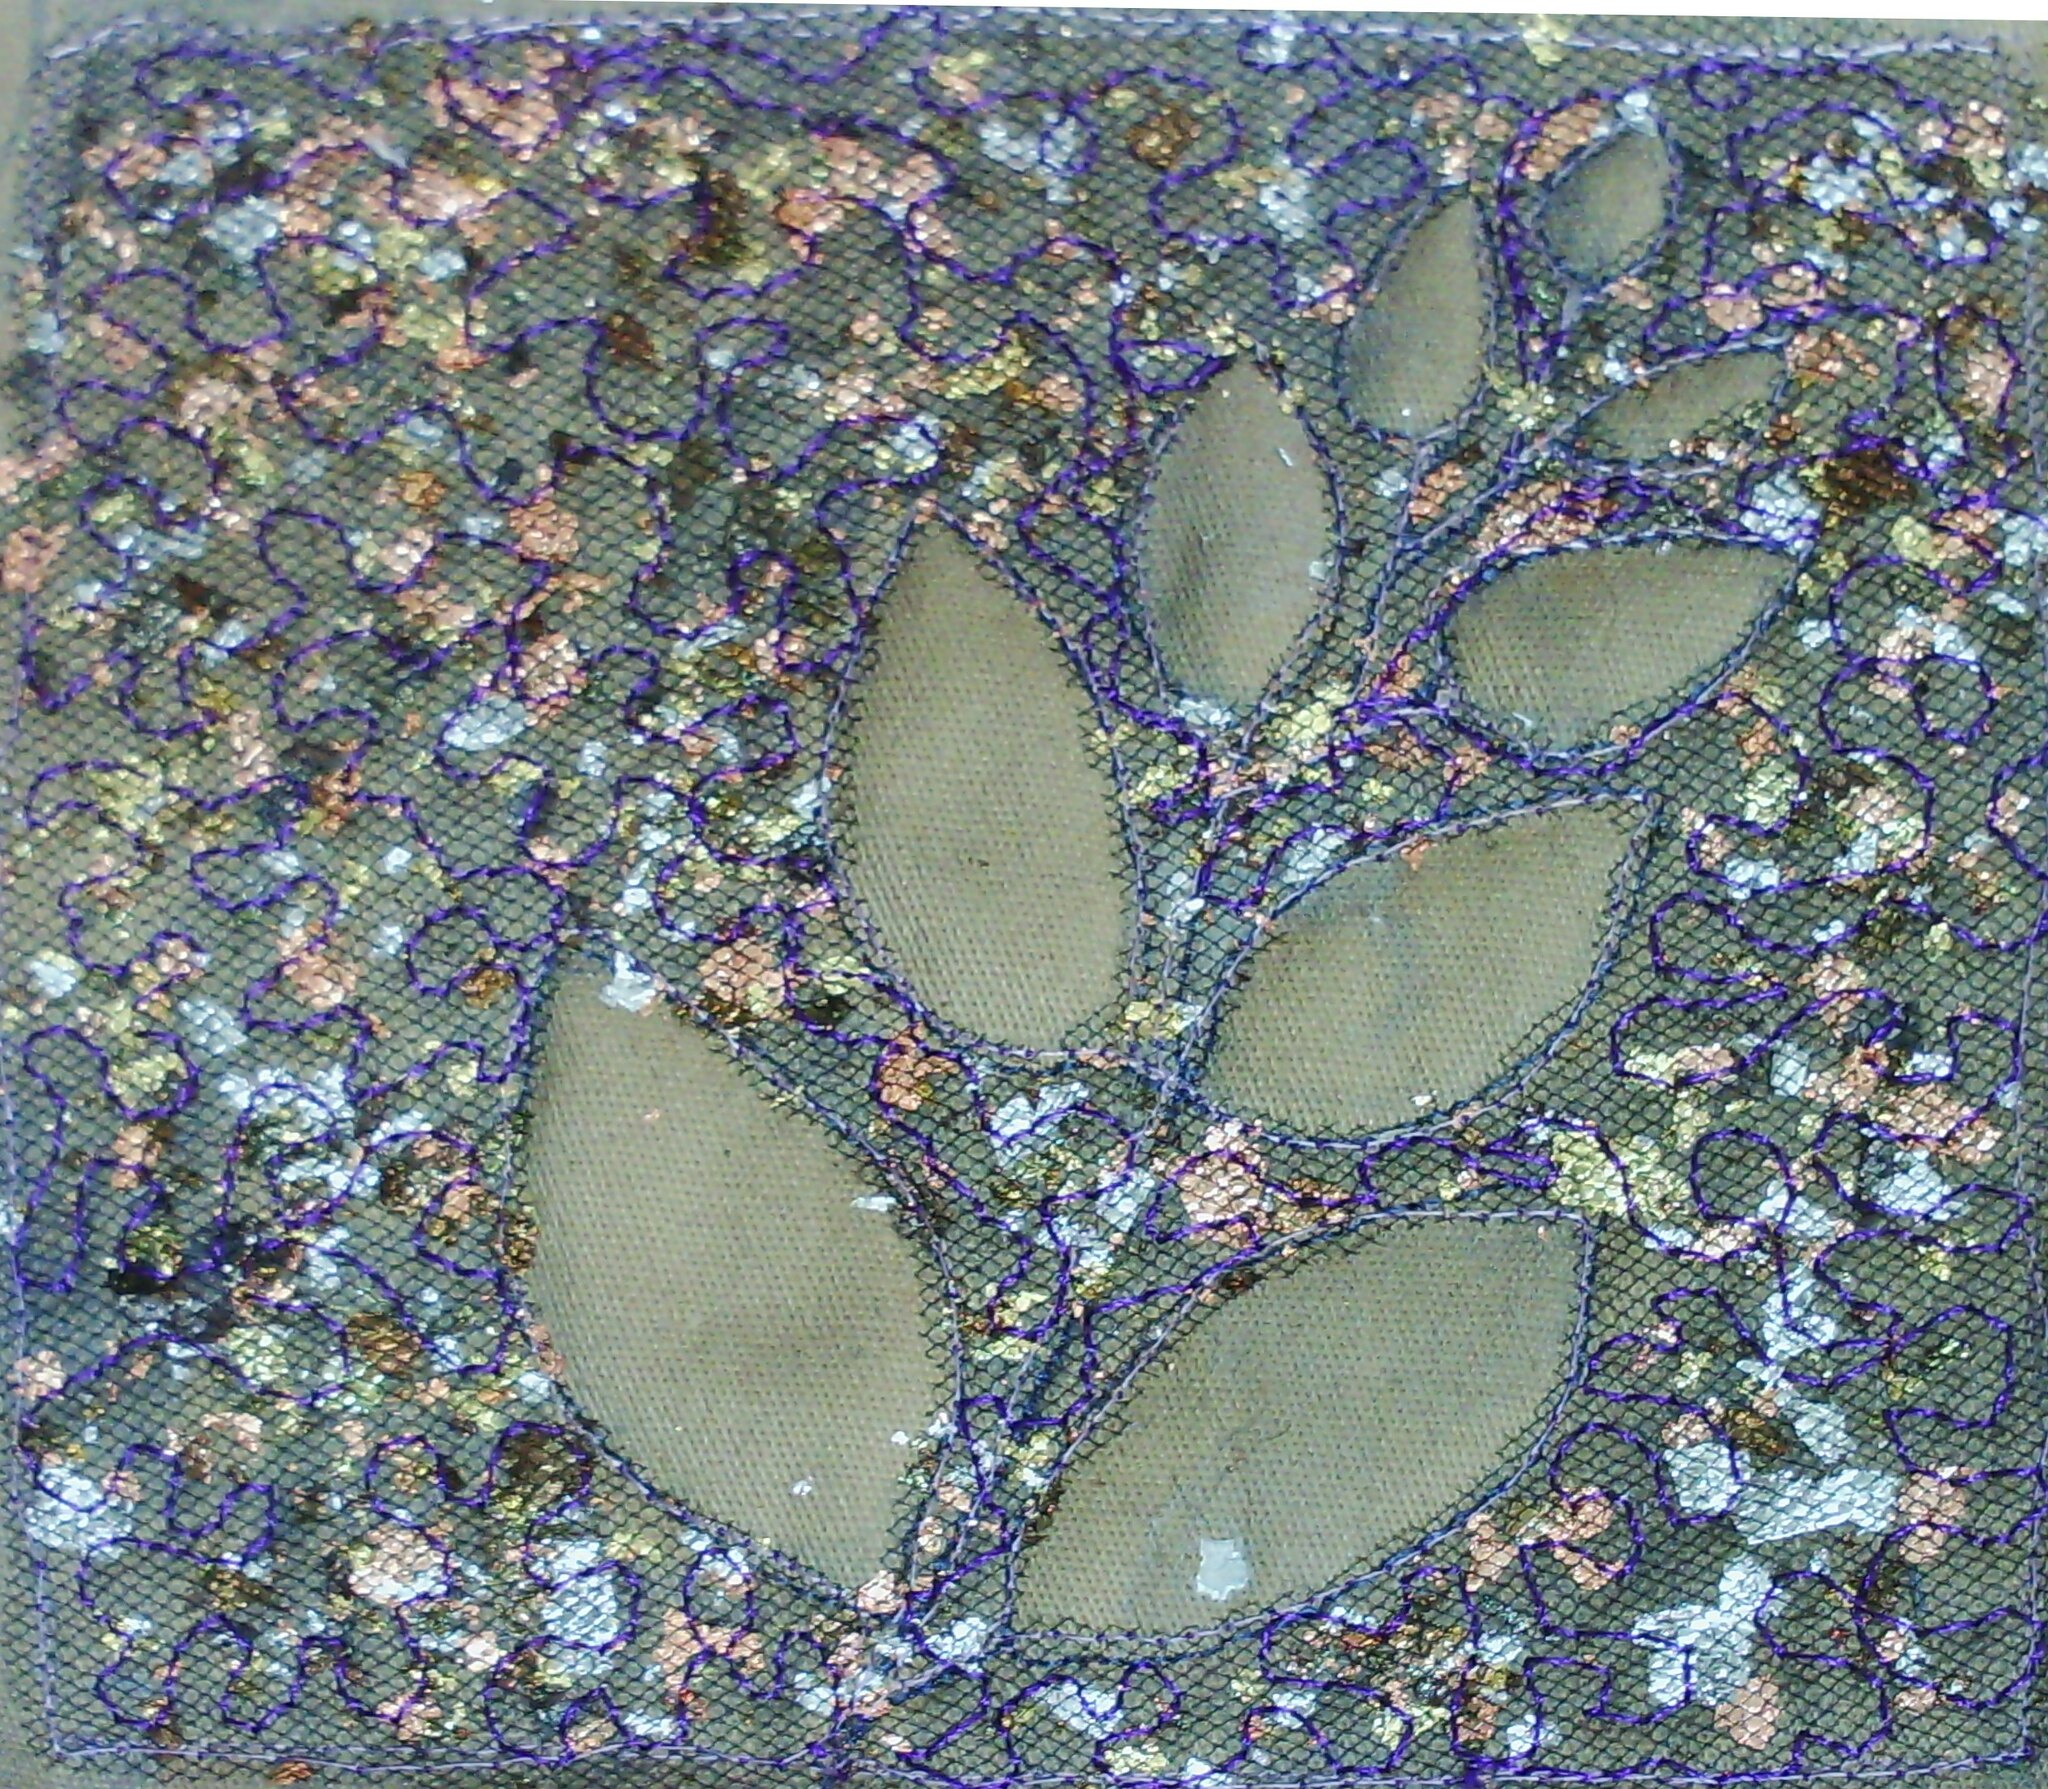
This journal quilt is a piece of one of my monoprints.  I have added some tulle and under it are metal leaf flakes.  The free motion stippling holds it all down  and I stitched round the print.

Sunday, November 10, 2013

Living large

Today is day ten of AEDM.
I have been thinking over the last few months that I would like to get a larger fibre piece done.  I have not made anything large for a few years and one of the other AEDM participants inspired me to take the opportunity to finish a UFO this month, so I decided to have a go at doing both at once.
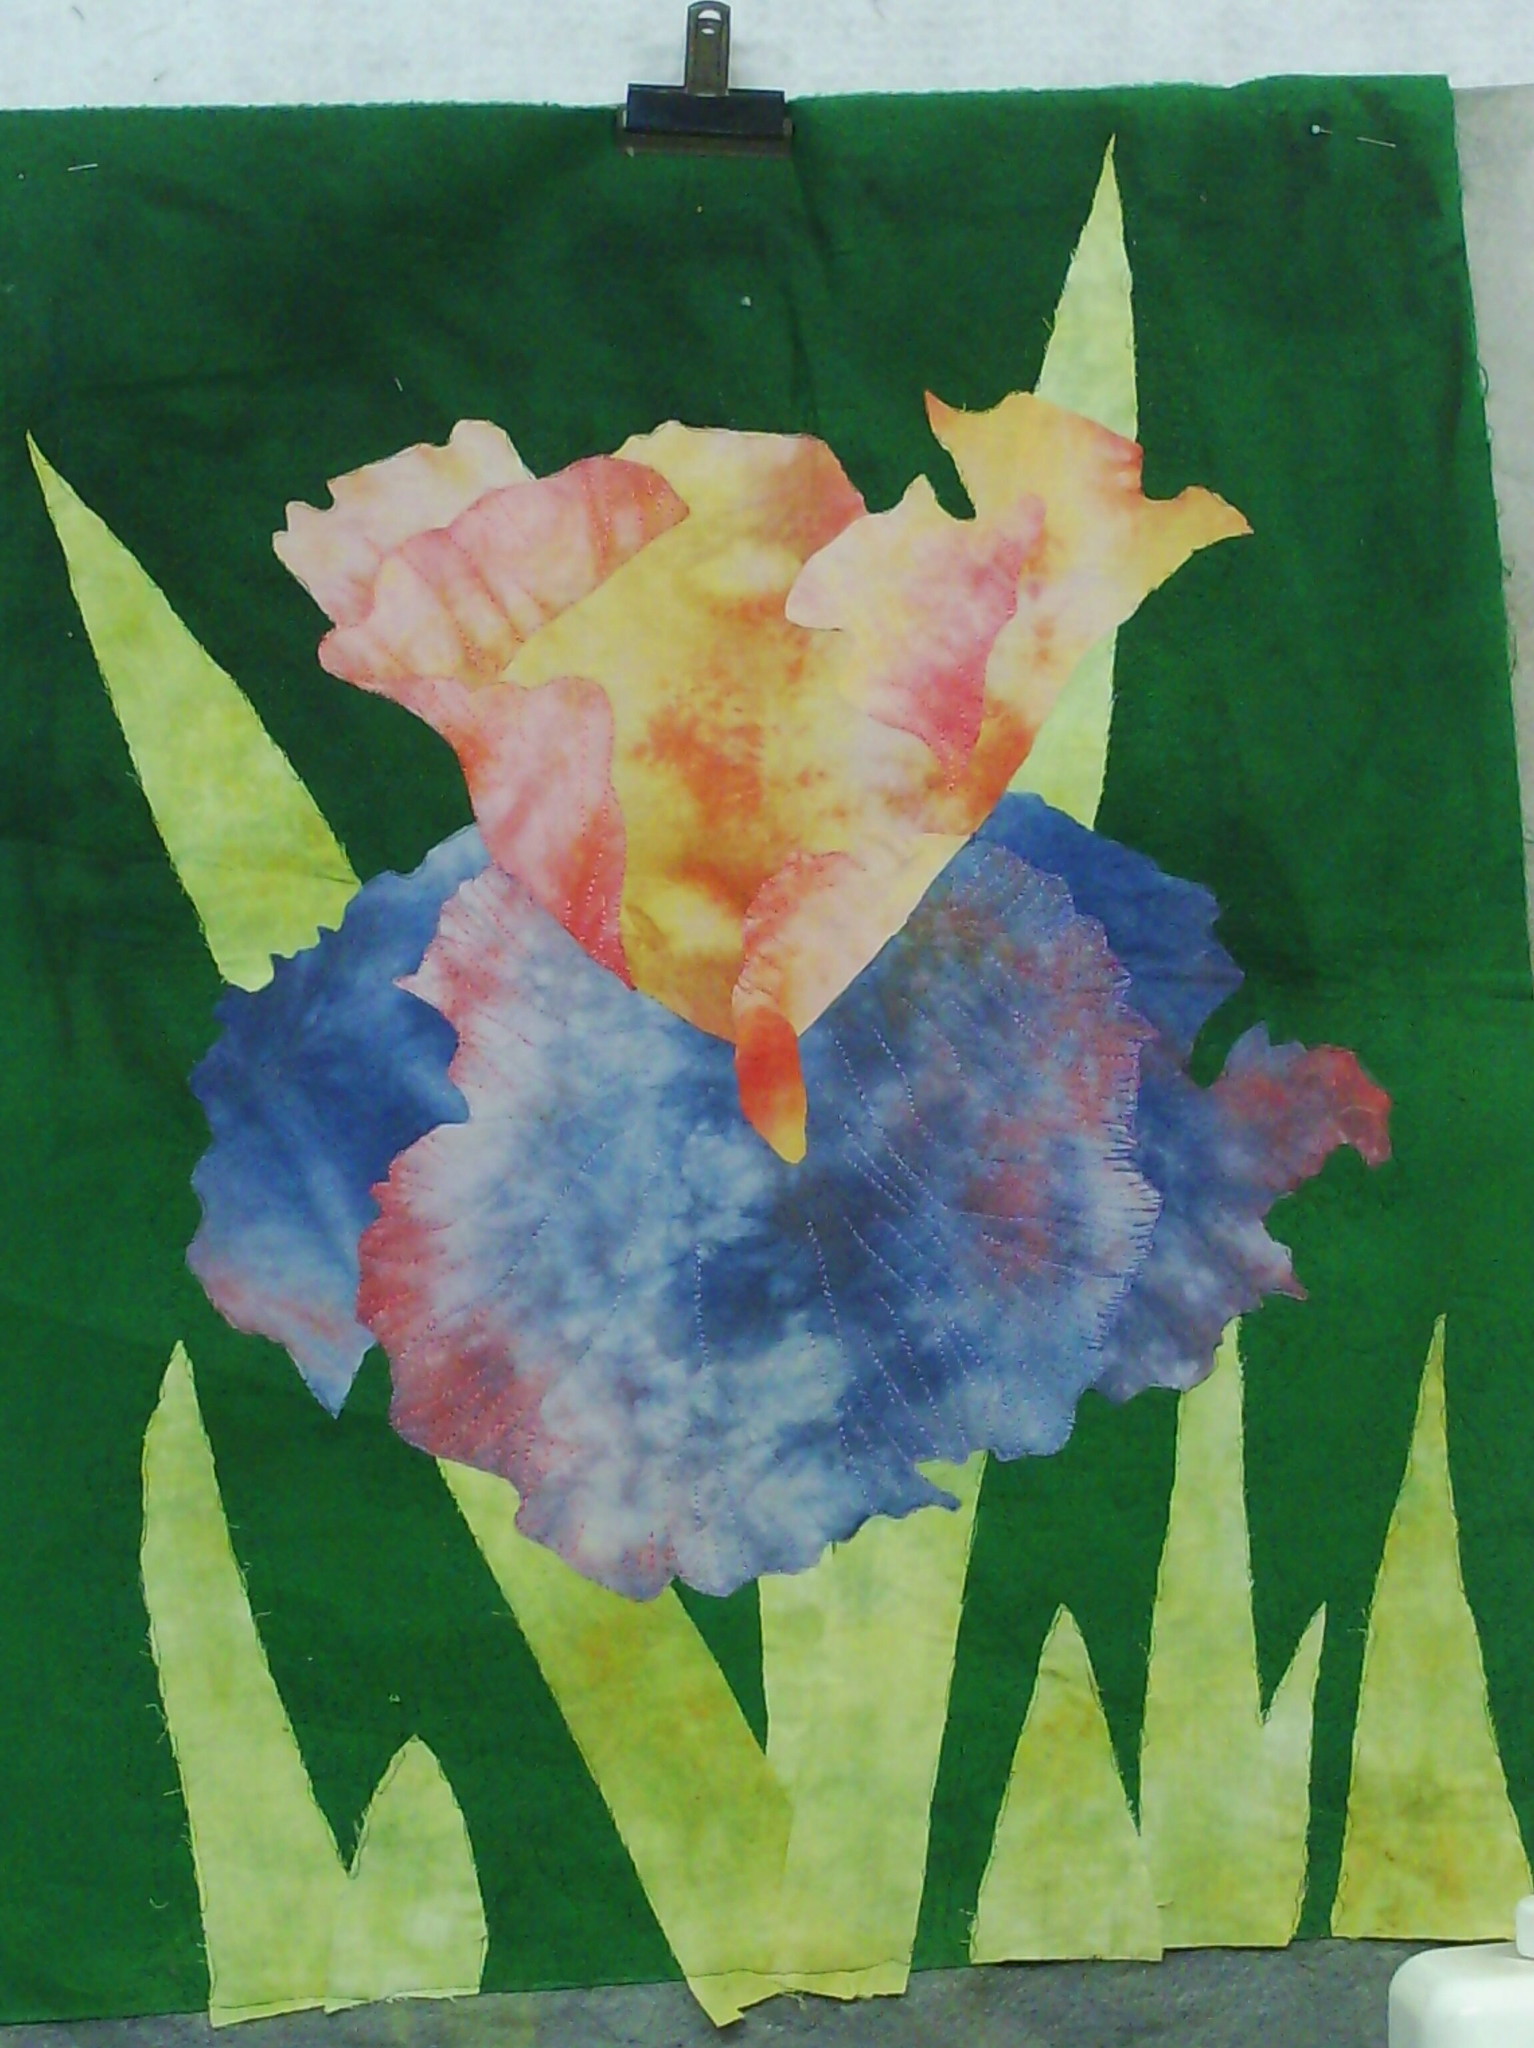
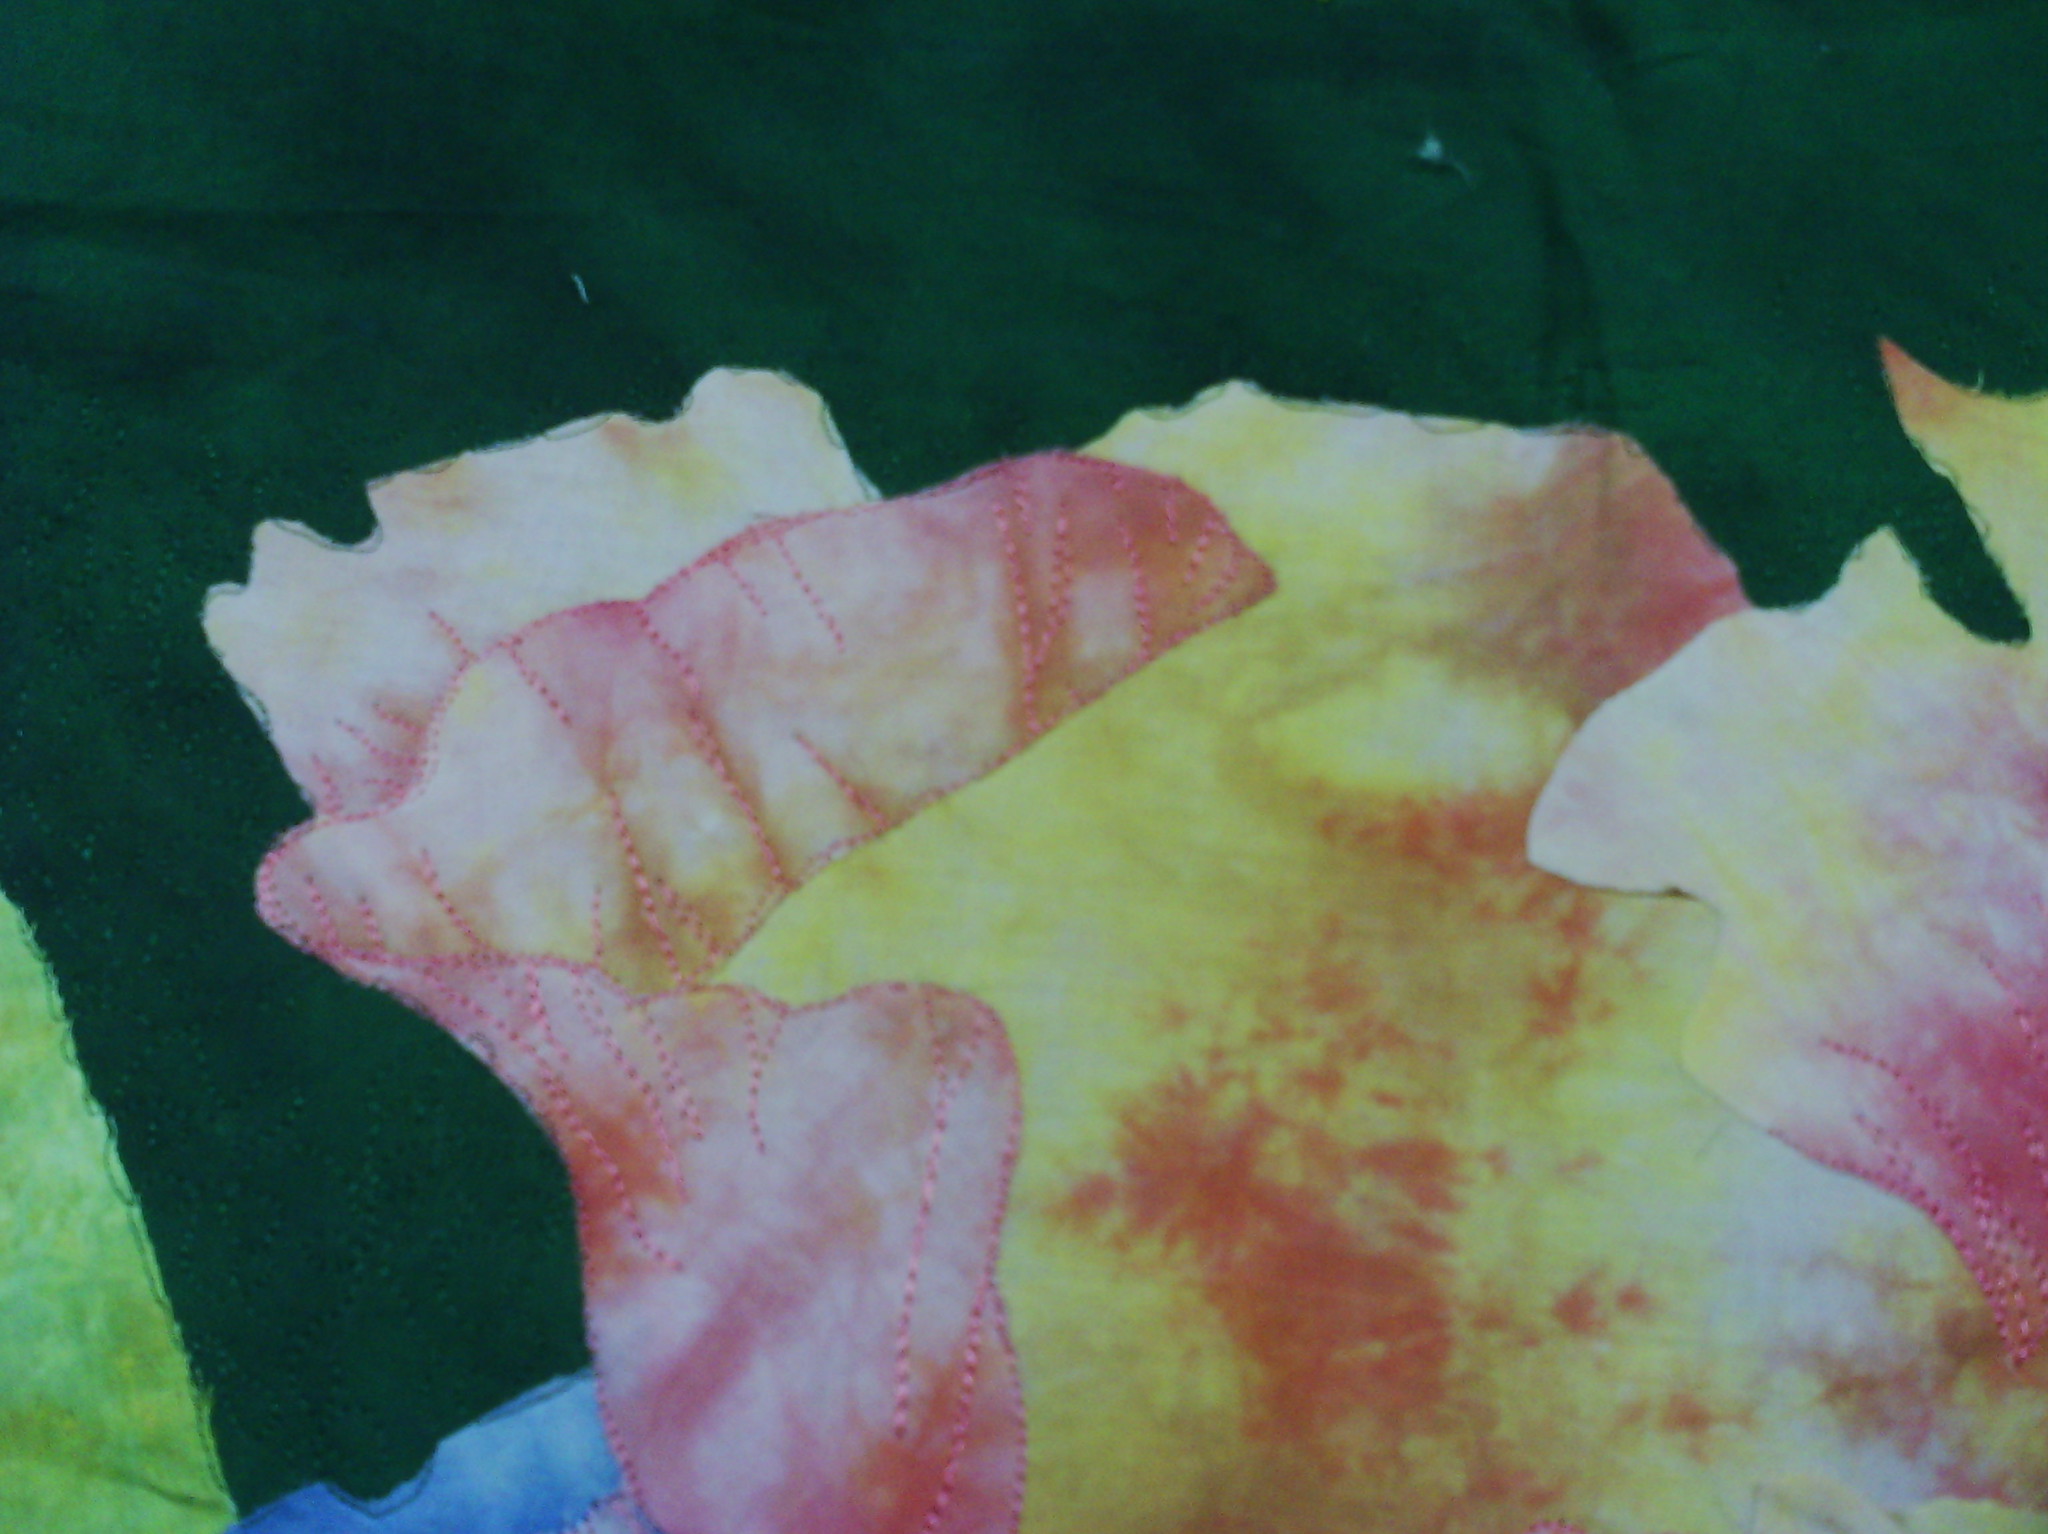
this is an applique piece I put together when I was dyeing some fabric a year or so ago.  So far all I had done was scribble on the background and stitch a little way along one petal.
the finished size is about 25 by 30 in, so it is not huge, but is quite large for a wall piece.  I already have a frame to put it in that has also been cluttering up the cupboards for a while.
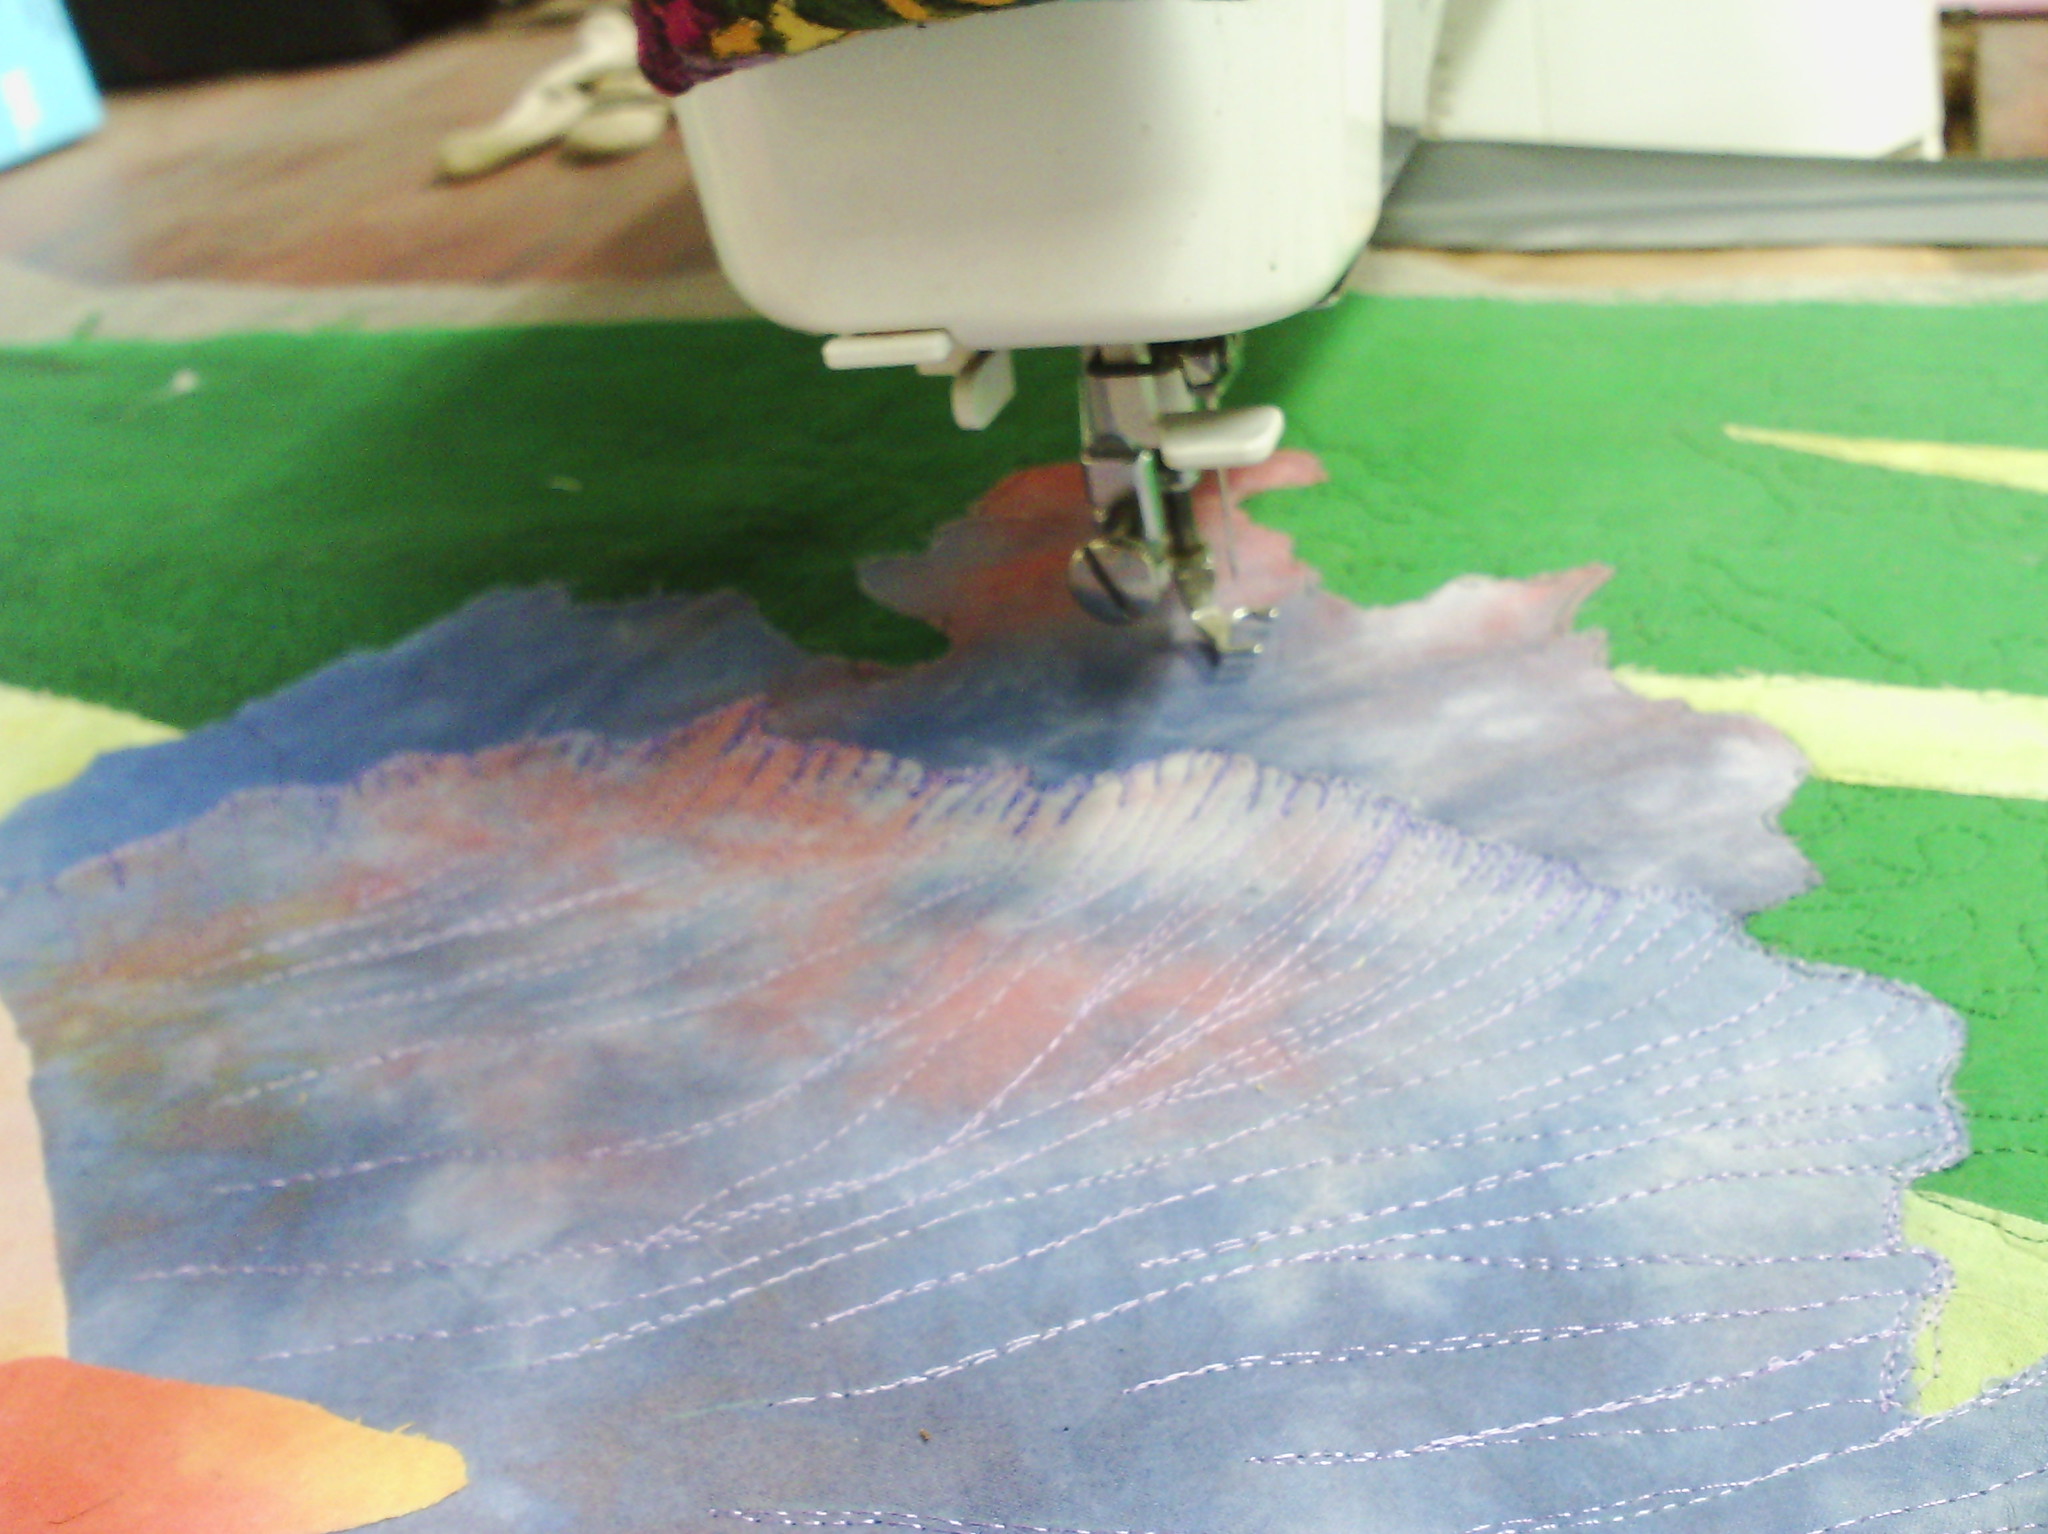
I did a little stitching today, but did not get as far as I hoped as we lost power for six hours.  This is something that happens a bit way up in the country.  There is only one road through and when a tree falls, it often takes the power lines with it.  Since a fire came through about five years ago, the number of dead trees falling increases every year and I often hear them up in the forest behind us.
but enough of that.  Here are a few shots of the stitching I did today.
Not too much, but there are quite a few days left this month.  I'll see how far I get.

Happy creating!

shelly beach

Today I'm sharing a journal quilt I just completed yesterday for day 10 of AEDM.
The background is rusted fabric and the green stripe is painted teabag paper stitched down with gold coloured wire.  The shells are held down with a piece of red netting from some fruit.  As you can see, I do like to recycle, lol.  I am happy with this one, although it did not end up being what I first planned.  Sometimes you just have to use up the junk that's sitting right in front of you.
Happy creating!

Saturday, November 9, 2013

bead creative

Today is day 9 of AEDM.
And today I have been surrounded by beads!
This is my beading tray.  At the top right is a cuff I am beading on a loom.  At the bottom right are two more projects, the monoprint I am beading and a piece of gold and brown brocade I am beading for a journal quilt.
It is very hard to see but on the bottom left is a perspex beading tray which my hubby made for me.  He routed some slots on it so I could sort out beads easily.  Comes in handy when you spill them!
I do love beading on my work, but it is very time consuming, so I wouldn't hold my breath for the finishes of these pieces.
I did recently heavily bead a piece for a commission, here.
.This one took an enormous number of hours, but at least my friend was not in a hurry.  I was very pleased with it, but it will be a while before I repeat the effort!

Have fun creating!