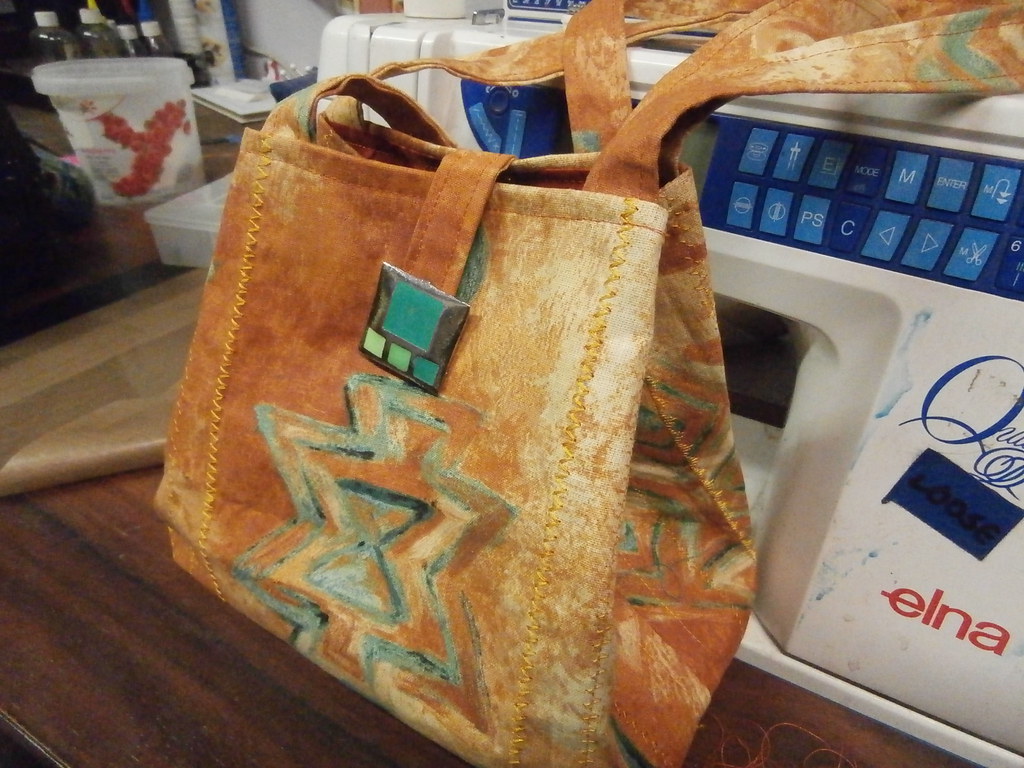
Easy Bag construction
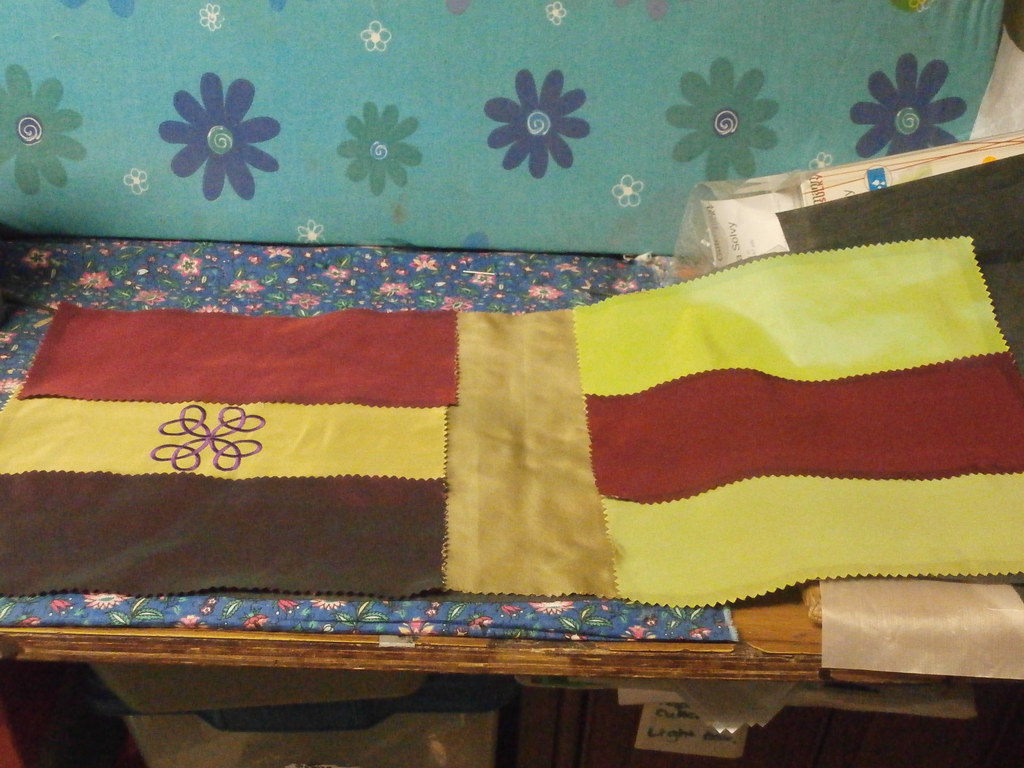
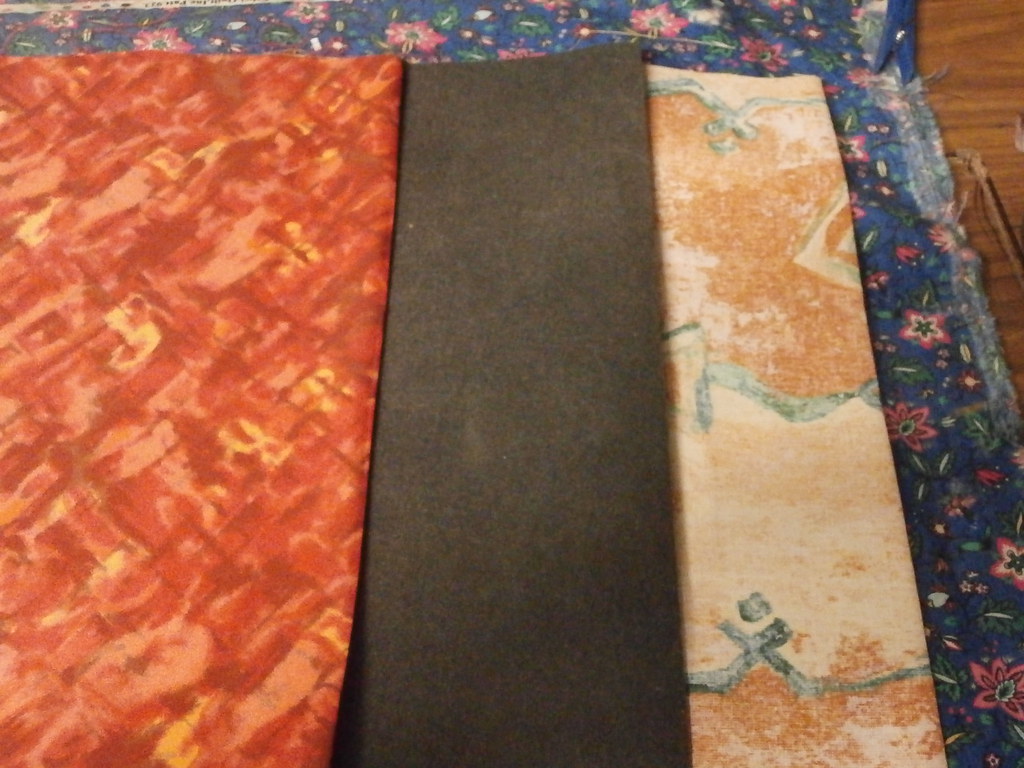
Main Bag fabrics
Decide on the size bag you want
Basically, the base size for my bag is 25 (height) x 16 (width) inches. This is a good size to start and as you get experienced at the technique, you can change it to suit.
If you want a taller bag, add to the height, conversely if you want a wider bag, add to the width. Getting your shape and size will come with practice and, you can also change the proportions slightly during the shaping process
In the picture above, there are three pieces which are cut to the size you have decided on.
- A lining. I use a light fabric like satin, but for easier handling, a simple cotton will work. It is sometimes a problem to use black, simply because, you might find it hard to find things in your bag later. This is a personal preference.
- Interfacing. I generally use a heavy interfacing for most fabrics, as it gives a sturdier result.
- Outer fabric is a personal choice. Choose what you like, as it will be with you for a while!
Some other alternatives are to use quilted or embroidered fabric, which might not want any stabilizer.
Handle construction
The handle lengths are dependent upon the wearer, but for a long handle, about 32 inches is standard. For short handles 8 to ten inches is suitable, but you can change it to suit yourself.
1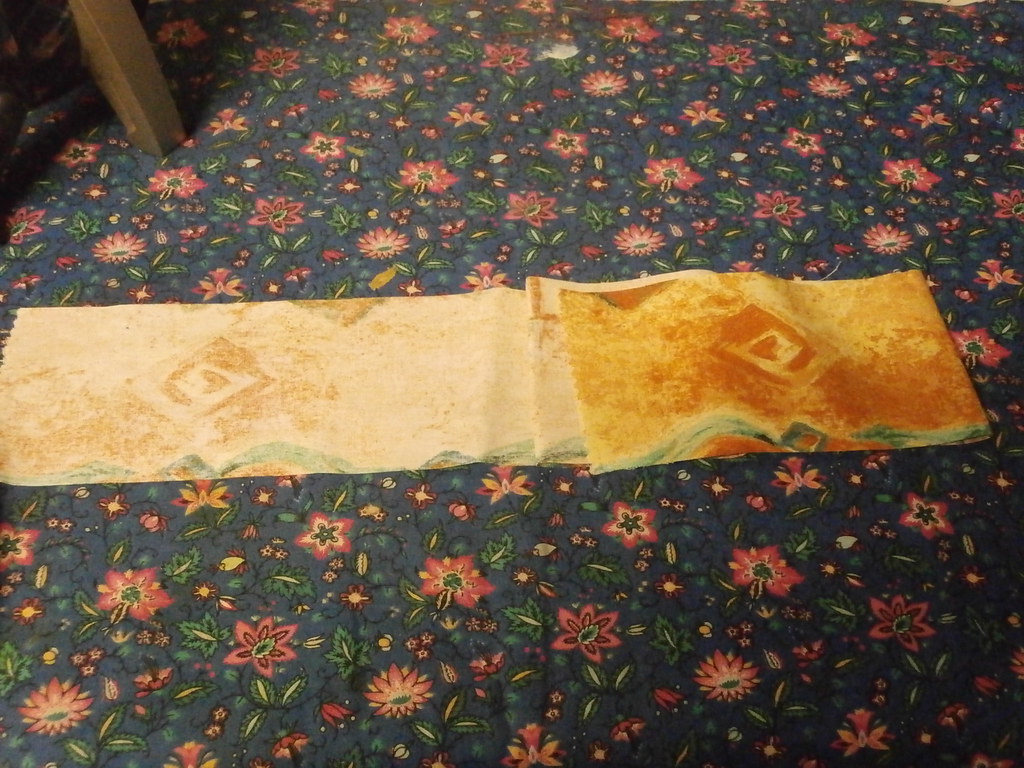 2
2
2
3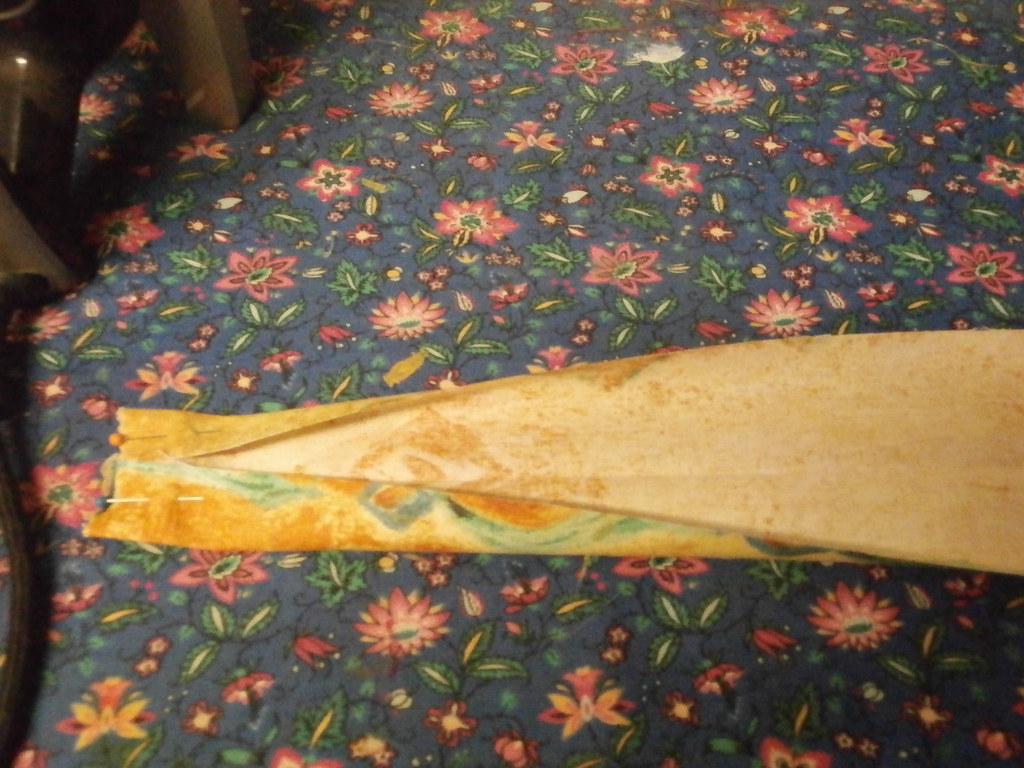 4
4
4
Following steps 1 to 4 above
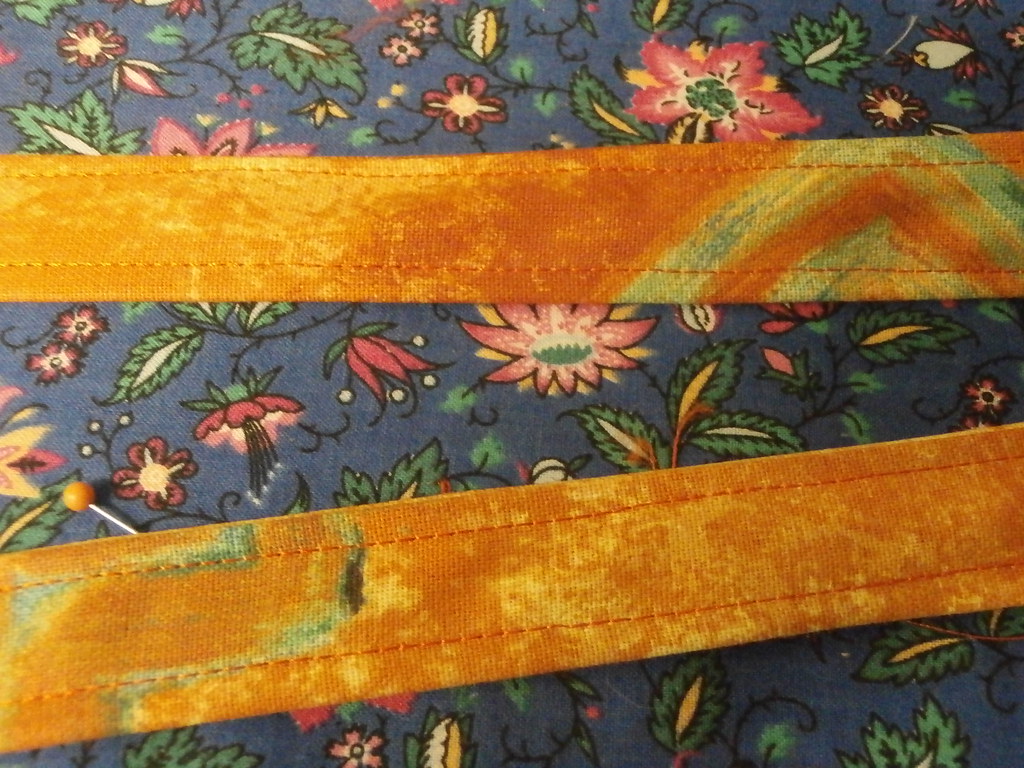
- Cut two 4 inch wide strips of your chosen length. If you wish to use interfacing or batting to made them thicker, cut 1 inch wide strips of the same length (not shown)
- Fold and press the strips in half and open out. If you are adding batting or interfacing, add it at this stage and place to one side of the centre fold.
- Fold each side of the strip into the centre and press. Use pins if you need to.
- Finally fold in half so the raw edges are in the middle.
Depending on your bag, you can either topstitch each edge of the handle, or use decorative stitches to match the bag.
Constructing and shaping the outer bag
The fabric needs to be attached to the interfacing to create a quite sturdy fabric. This can be done using some decorative stitching, foundation or crazy piecing (if you are using several fabrics) oreven hand stitching and/or beading (however with hand work, keep the stitching an inch or so from the edge so that the threads are not cut during trimming)
You can fuse the fabric to the facing, but the fusing will come away with time and use, so for a sturdier bag, all over stitching is advised.
Once you have the hang of the method, you will be able to stitch up 'blanks' or rectangles of fabric and interfacing using any technique you like to make bags from (I will post separately about this)
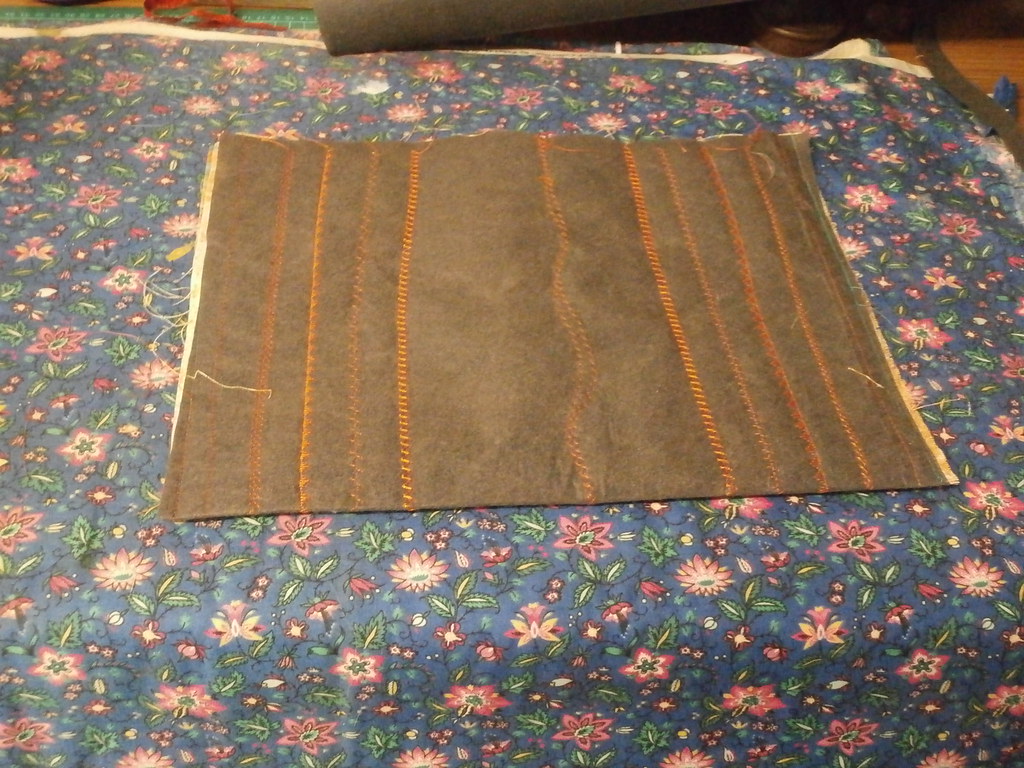
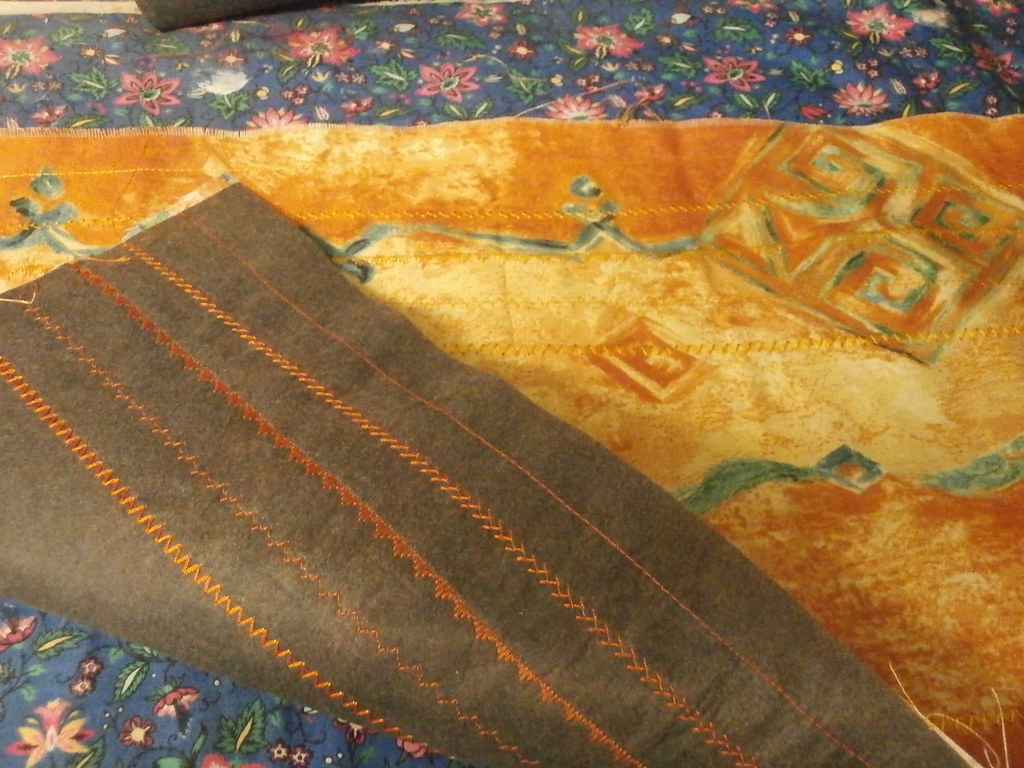
Fold the main outer bag piece in half along the width. Sew a 1/2 inch seam along each side.
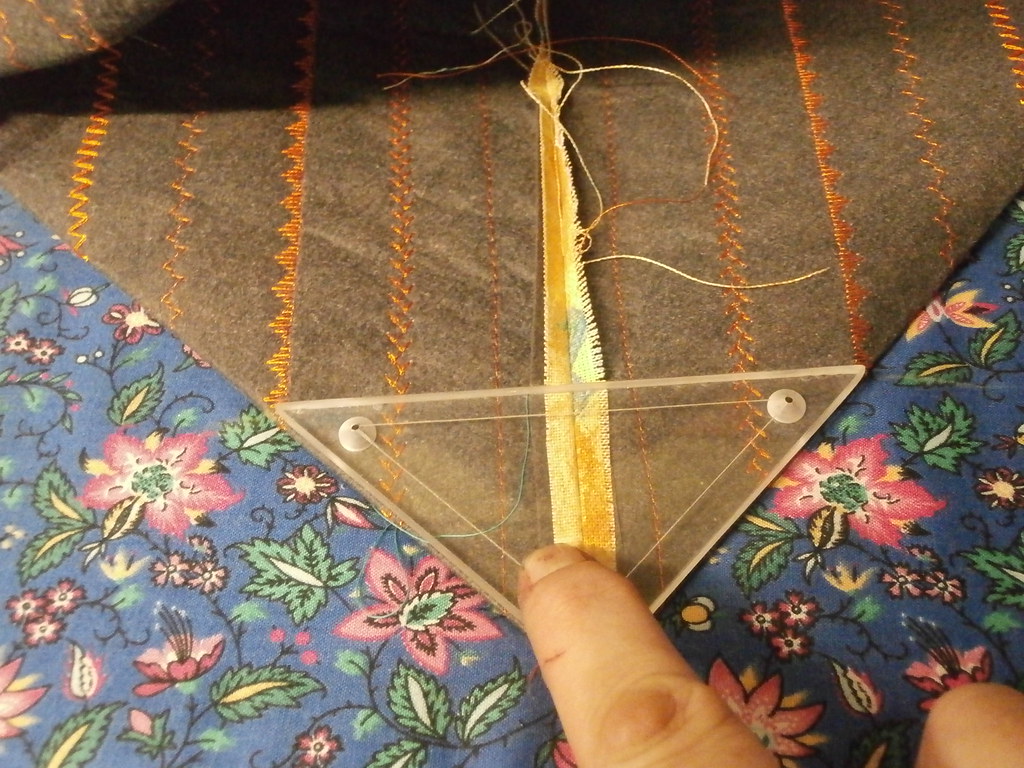

Turn the piece inside out and fold the bottom of the side seam back against the base of the bag See first photo, above. You can see that the seam splits the triangle formed in half. I use a triangle template to mark the stitching line.
Stitch along the line, reinforcing at the start and end for stability and repeat on the other side.

When the bag is turned right side out, it will stand up easily on it's new base.
You can trim the triangles, but leaving them in gives the base more heft.
Support the base of the bag (optional)
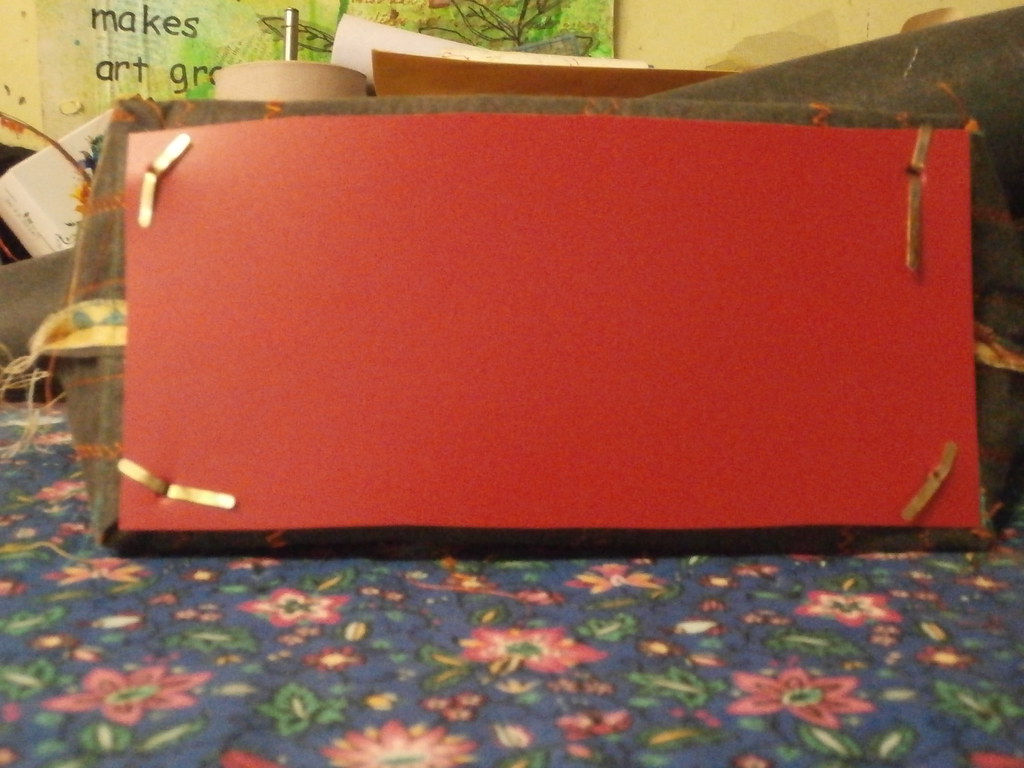
To add support to the base. Cut a piece of thin plastic (I use plastic covers from plastic pocket books) the same size as the base of the bag.
The easiest way to attach the bag is with some glue on the folded in triangles inside the bag, but I like to use large brads to make little feet to protect the base fabric. I make small holes in the plastic and the base fabric and push the brad legs through, opening the legs on the top of the plastic inside the bag. You can add a little bit of tape over the legs, to stop them wearing on the lining if you want.
You can also sew buttons through the base and the plastic in the same way.

Construct the lining
This is exactly the same as the main bag construction (leaving an opening for later)
1 2
2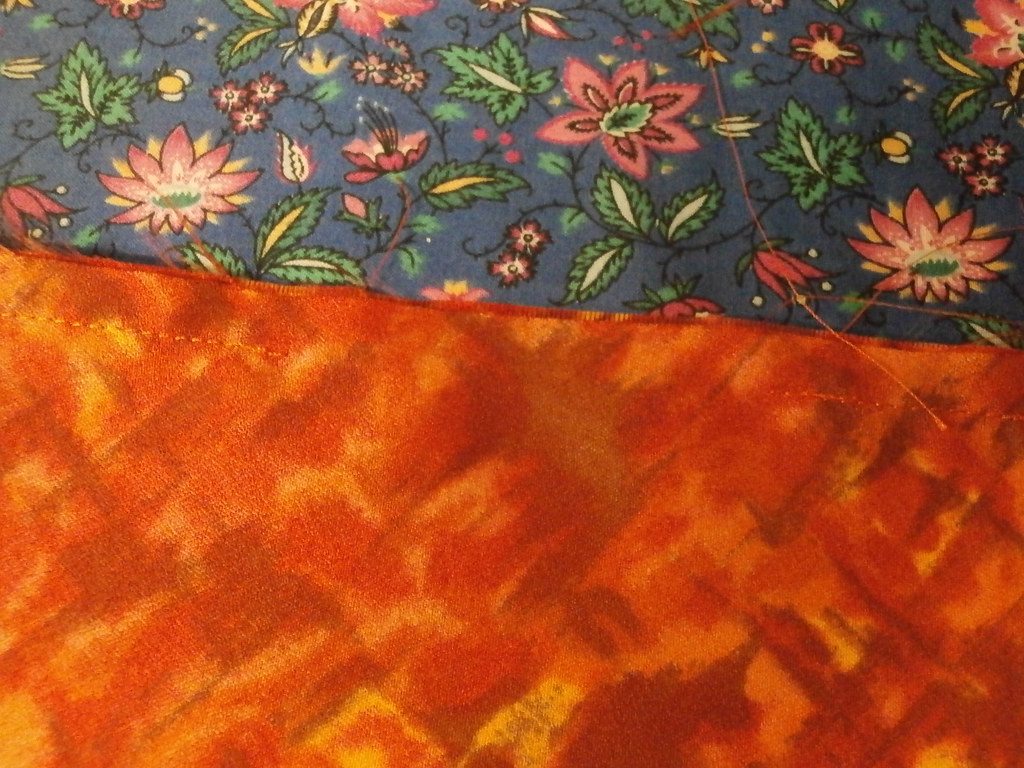
2- Sew up the edges of the lining (right sides together)
- Leave an opening on one side for turning the bag out later
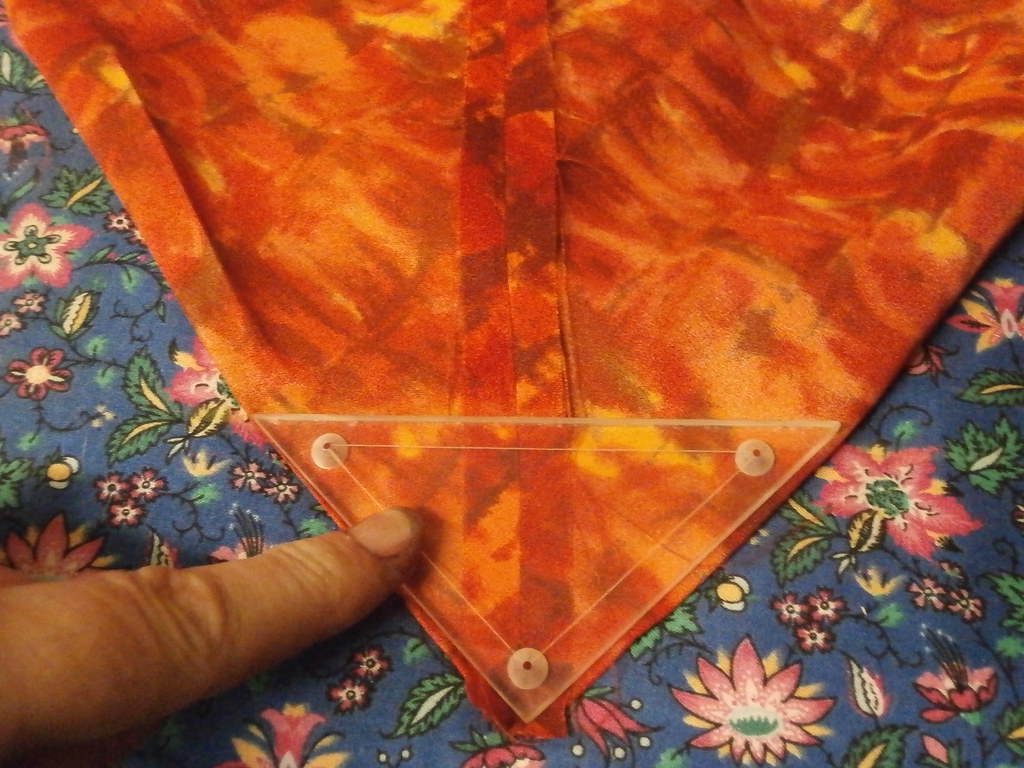
Construct duck bills for the base in the same way as for the outer bag.
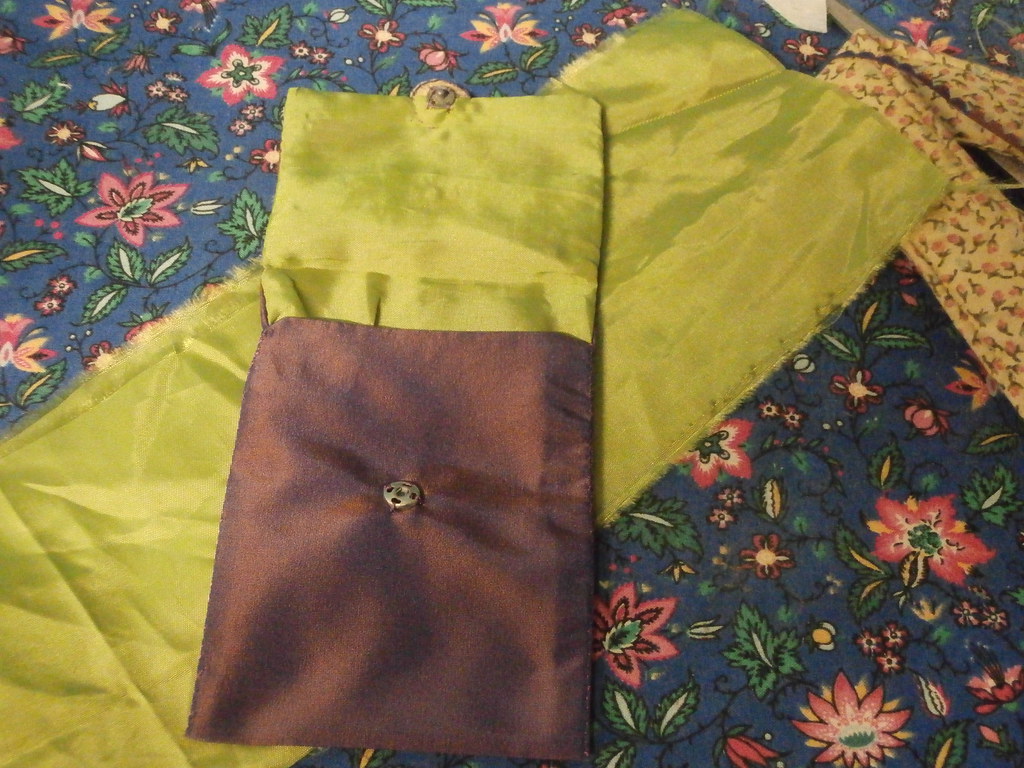
Construct a pocket

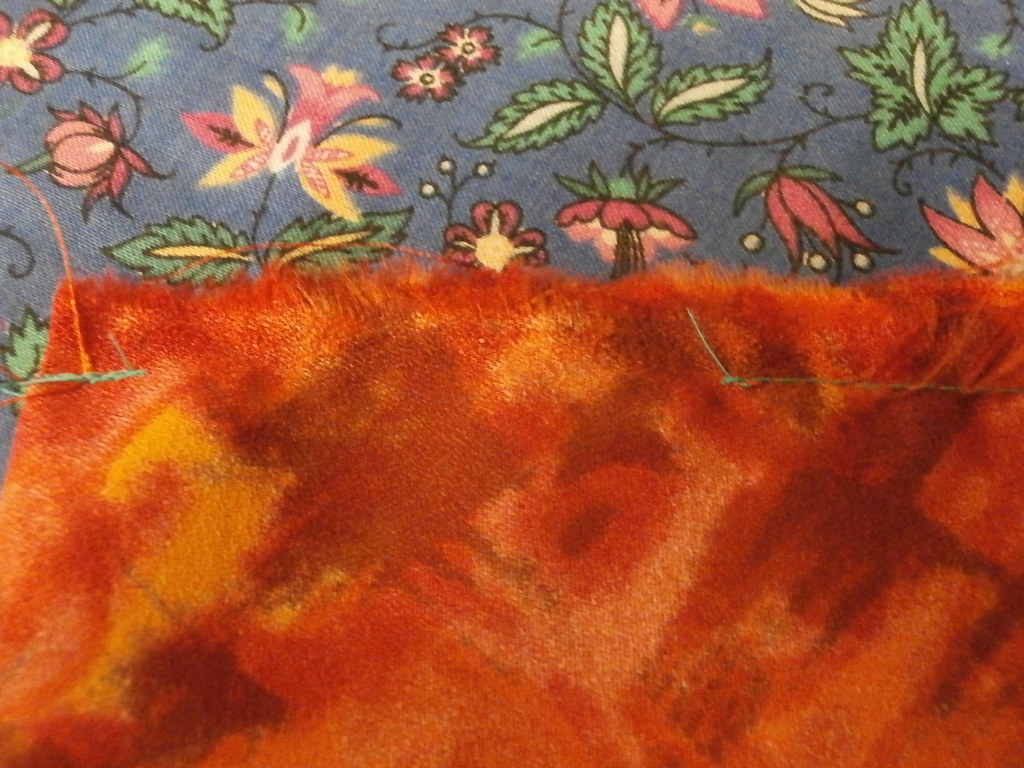
Decide on the size pocket you want. Cut a piece of fabric twice as large or two pieces of the size, both need to have seam allowance added.
With the pocket pieces right sides facing, stitch together around the perimeter, leaving a 2-3 inch opening
Reinforce the beginning and end of the stitching around the opening by backstitching.
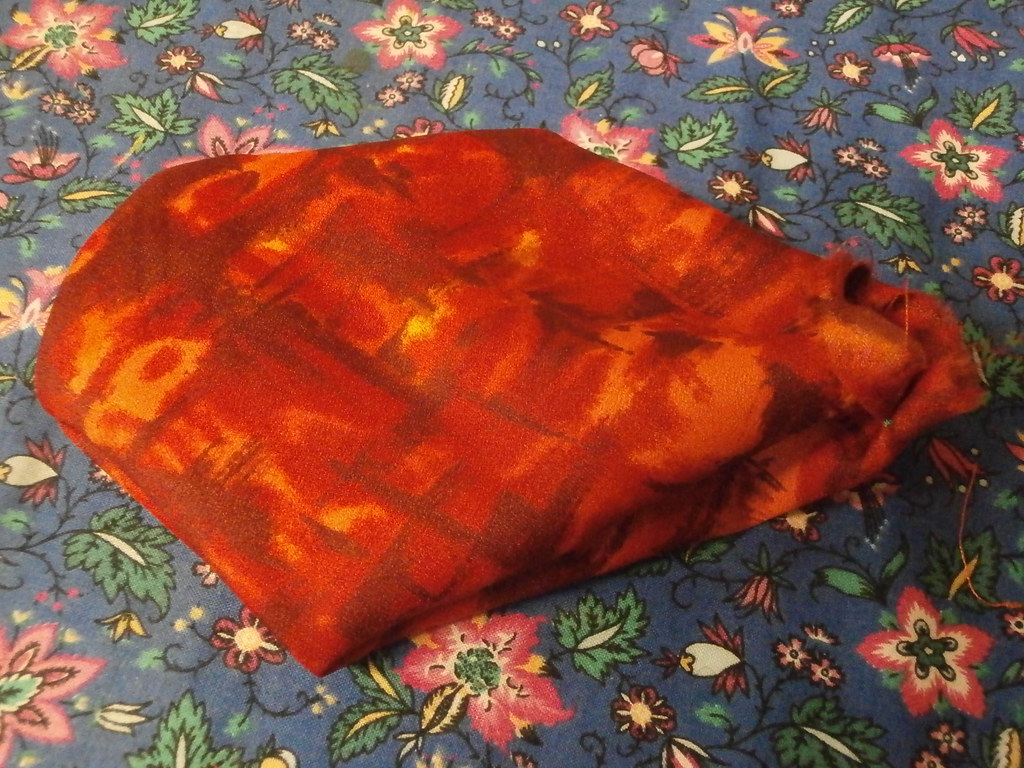
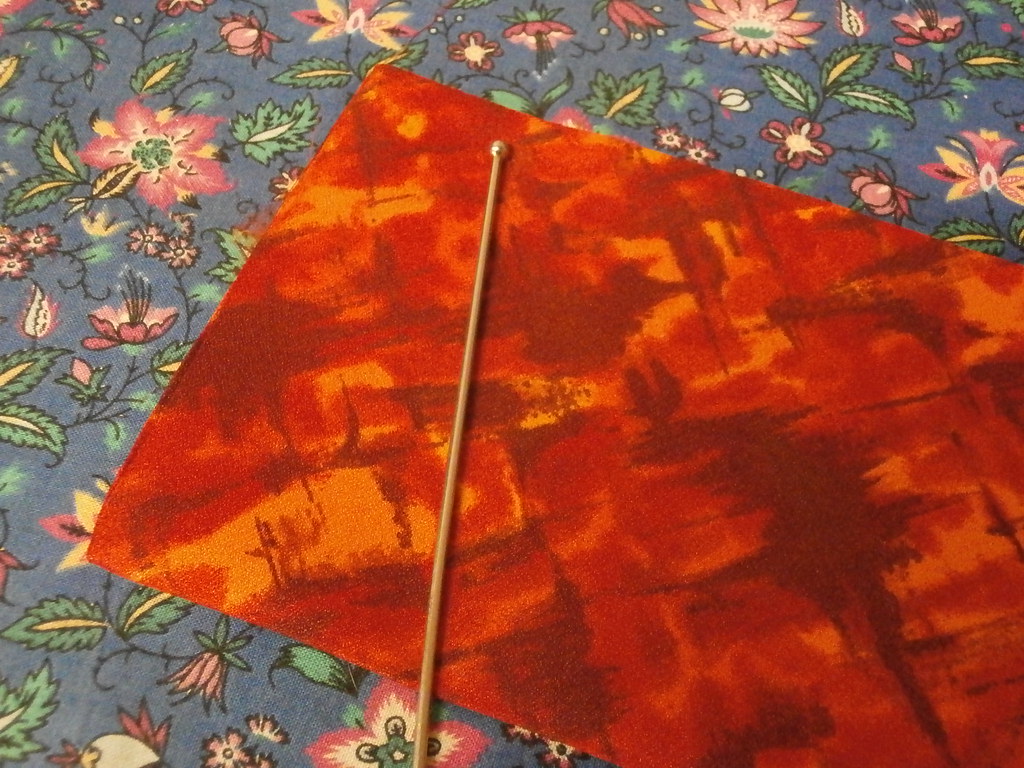
Turn the pocket out and use a turning tool if you wish, to push the seams and corners out. Press and press the opening in at the same time. You will catch it down when you stitch it in place.
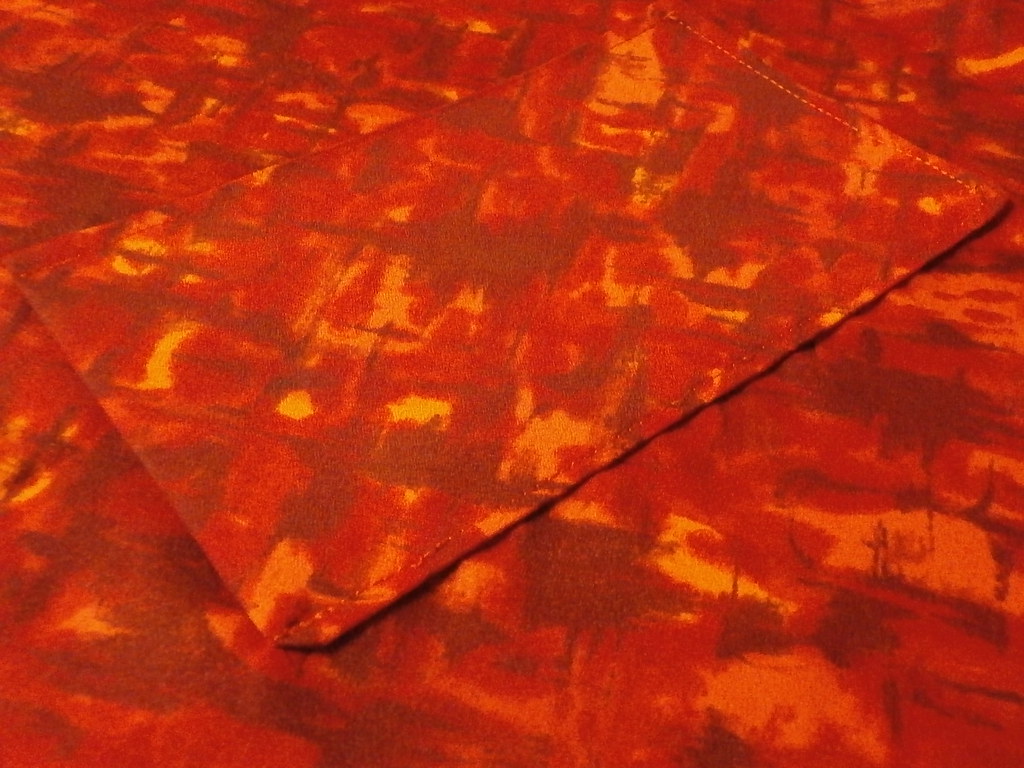
Sew the pocket to the inside/right side of your lining piece. Work out the placement using the lining and outer as a model.
Constructing a tab or flap
You may wish to add a tab or flap to the top of your bag. Decide on a size or shape you like

Or, you could construct a flap, which folds over most of the top of the bag.
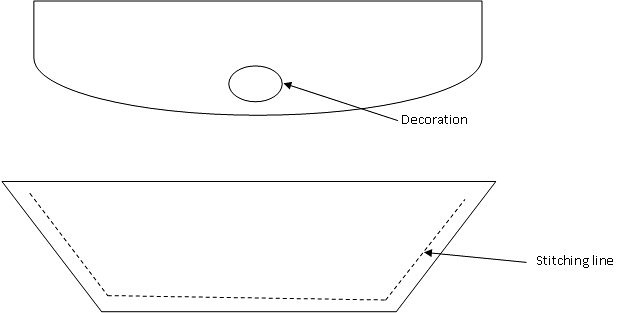
The tab or flap is constructed in the same way as the pocket, however, the top seam is not stitched (see above) and this is where you turn it out. If you are stitching a decorative element onto the tab or flap, stitching it on before doing the seams and turning will hide the back of your stitching.
Putting the bag together
At this stage, you will need
- The outer bag, inside out
- the lining, right side out
- the tab or flap
- handles
First, pin the handles to the inside of the main bag, with the loops inside. Do the same with the tab or flap.
Then place the lining inside and line it up with the raw edge of the main bag.
Pin, replacing the tab and handle pins as you go.
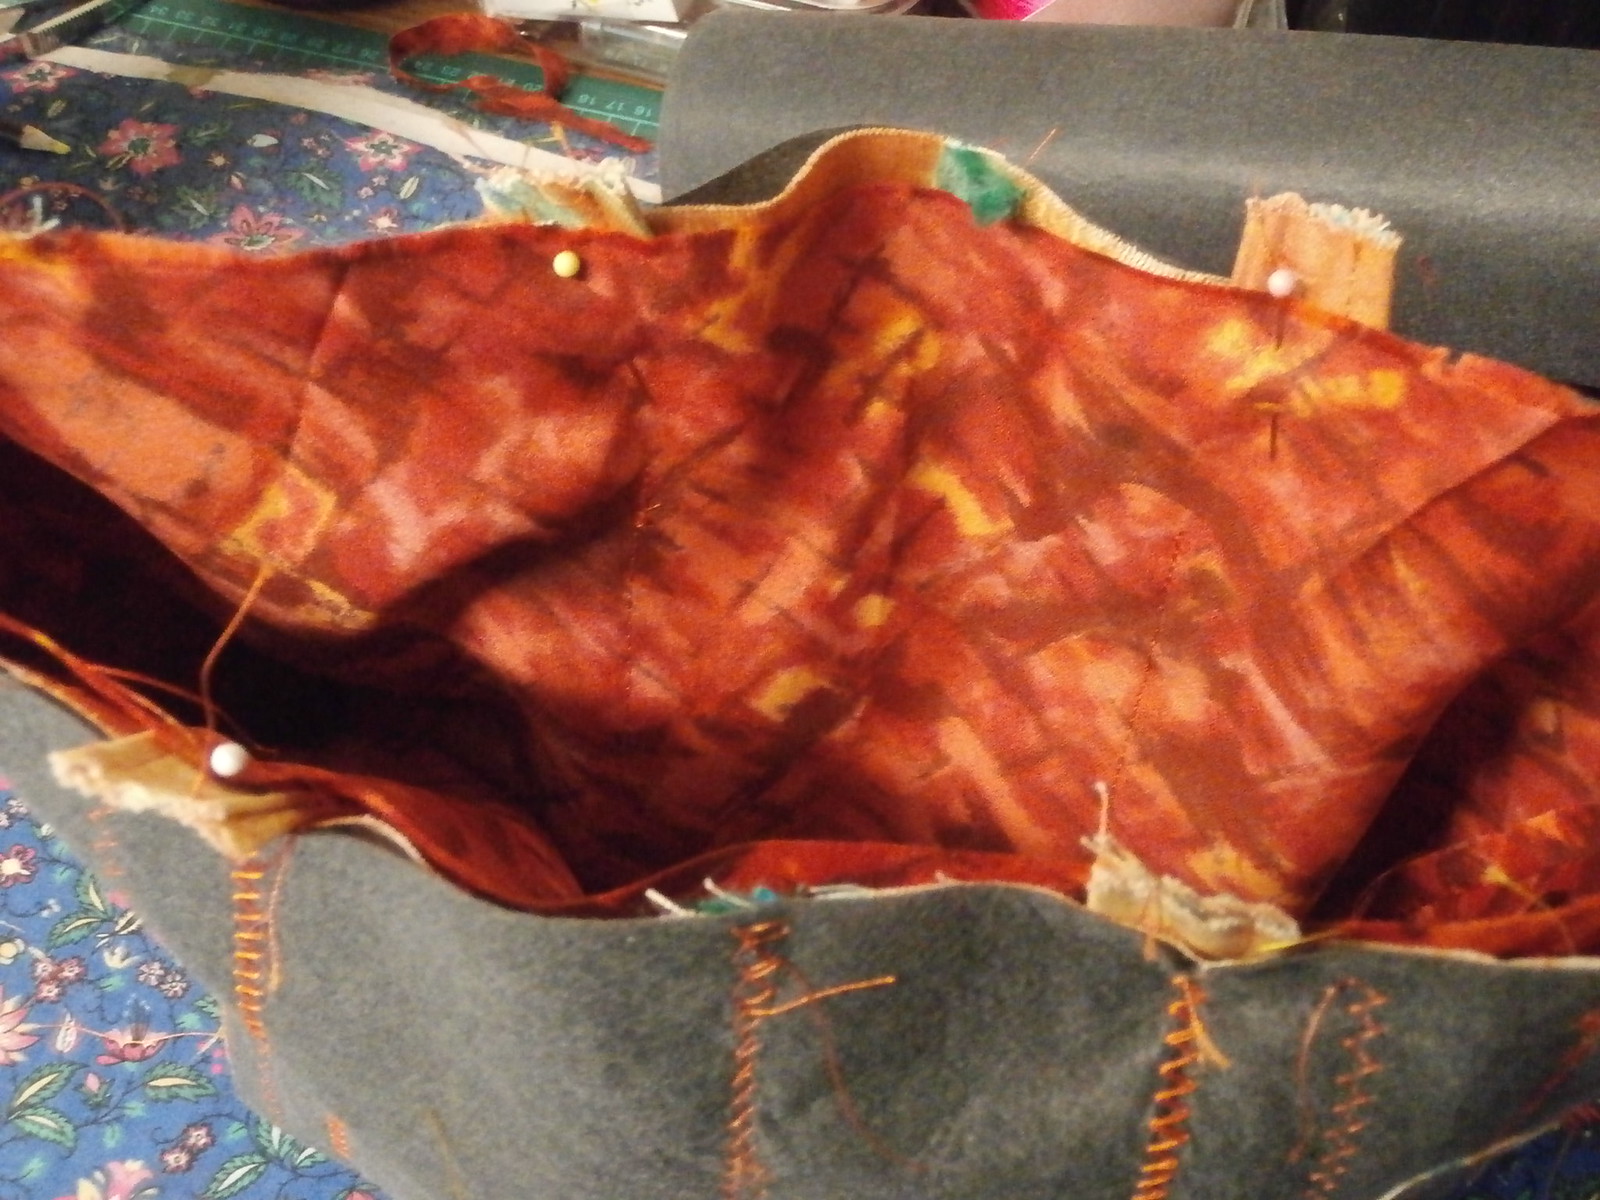
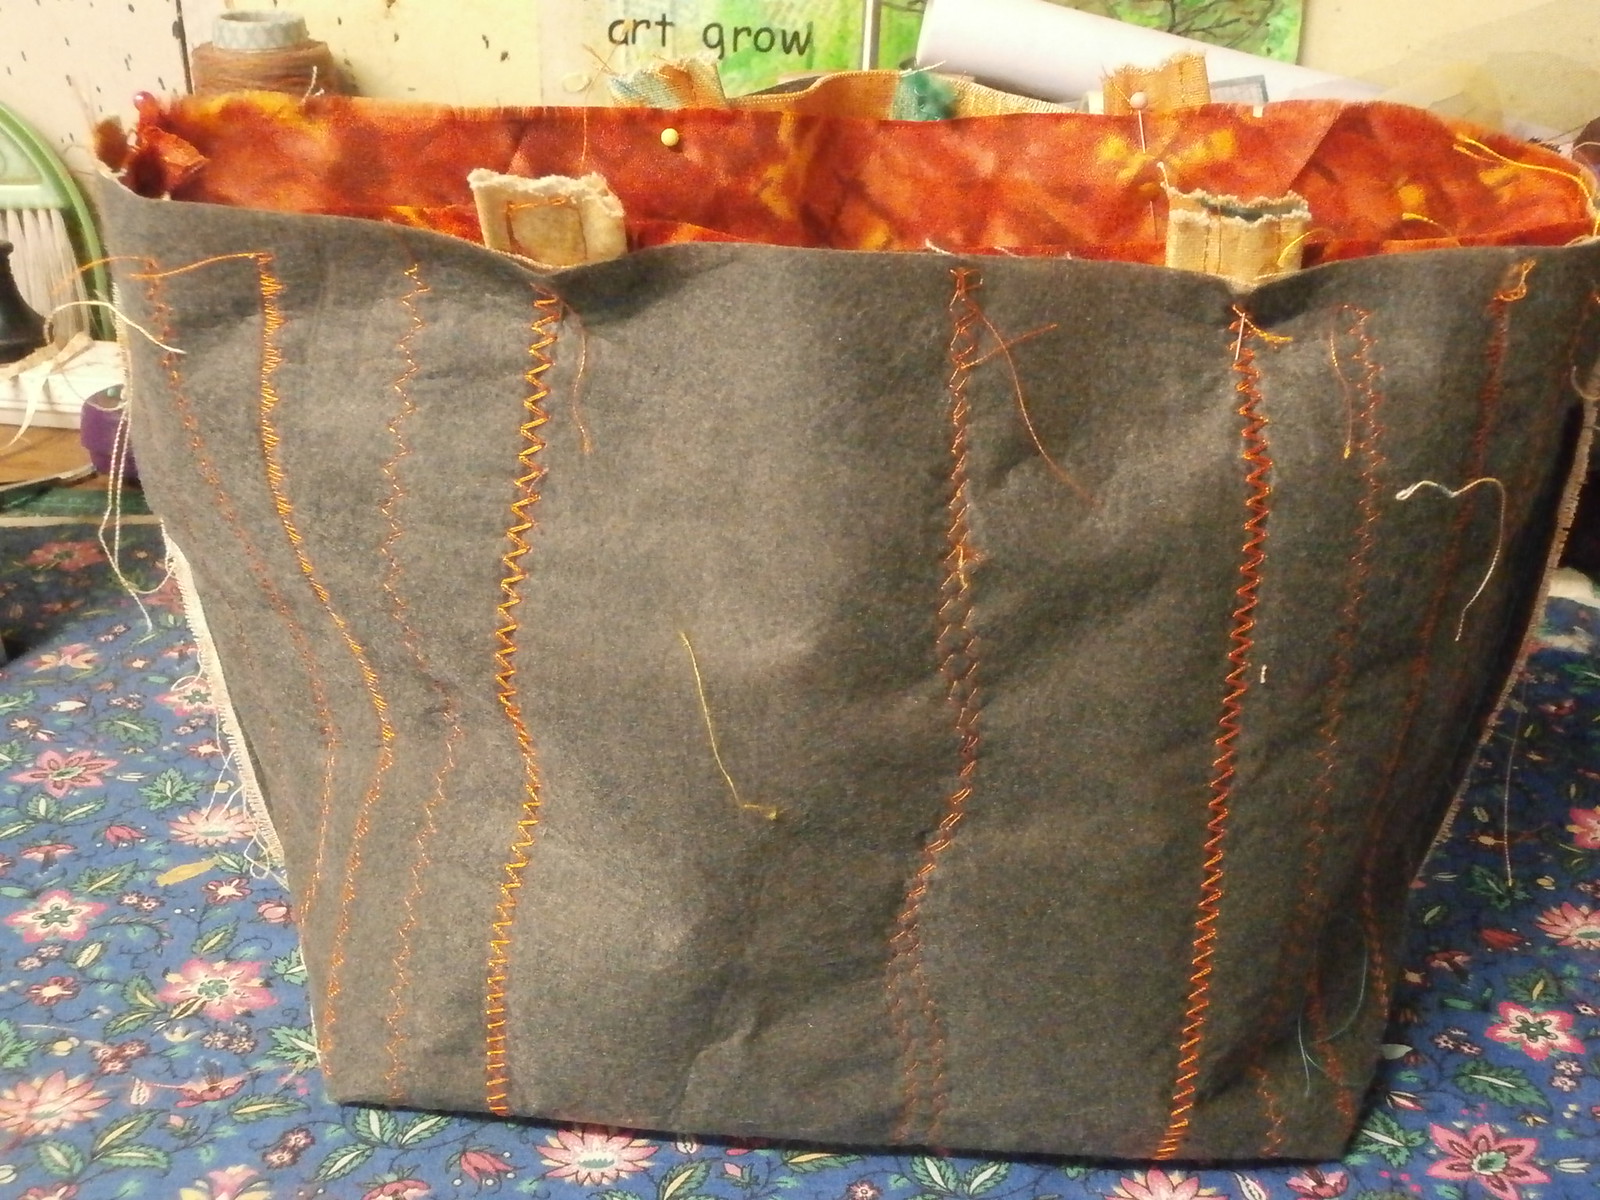
Stitch the top seam, reinforcing the handles and tab by backstitching.
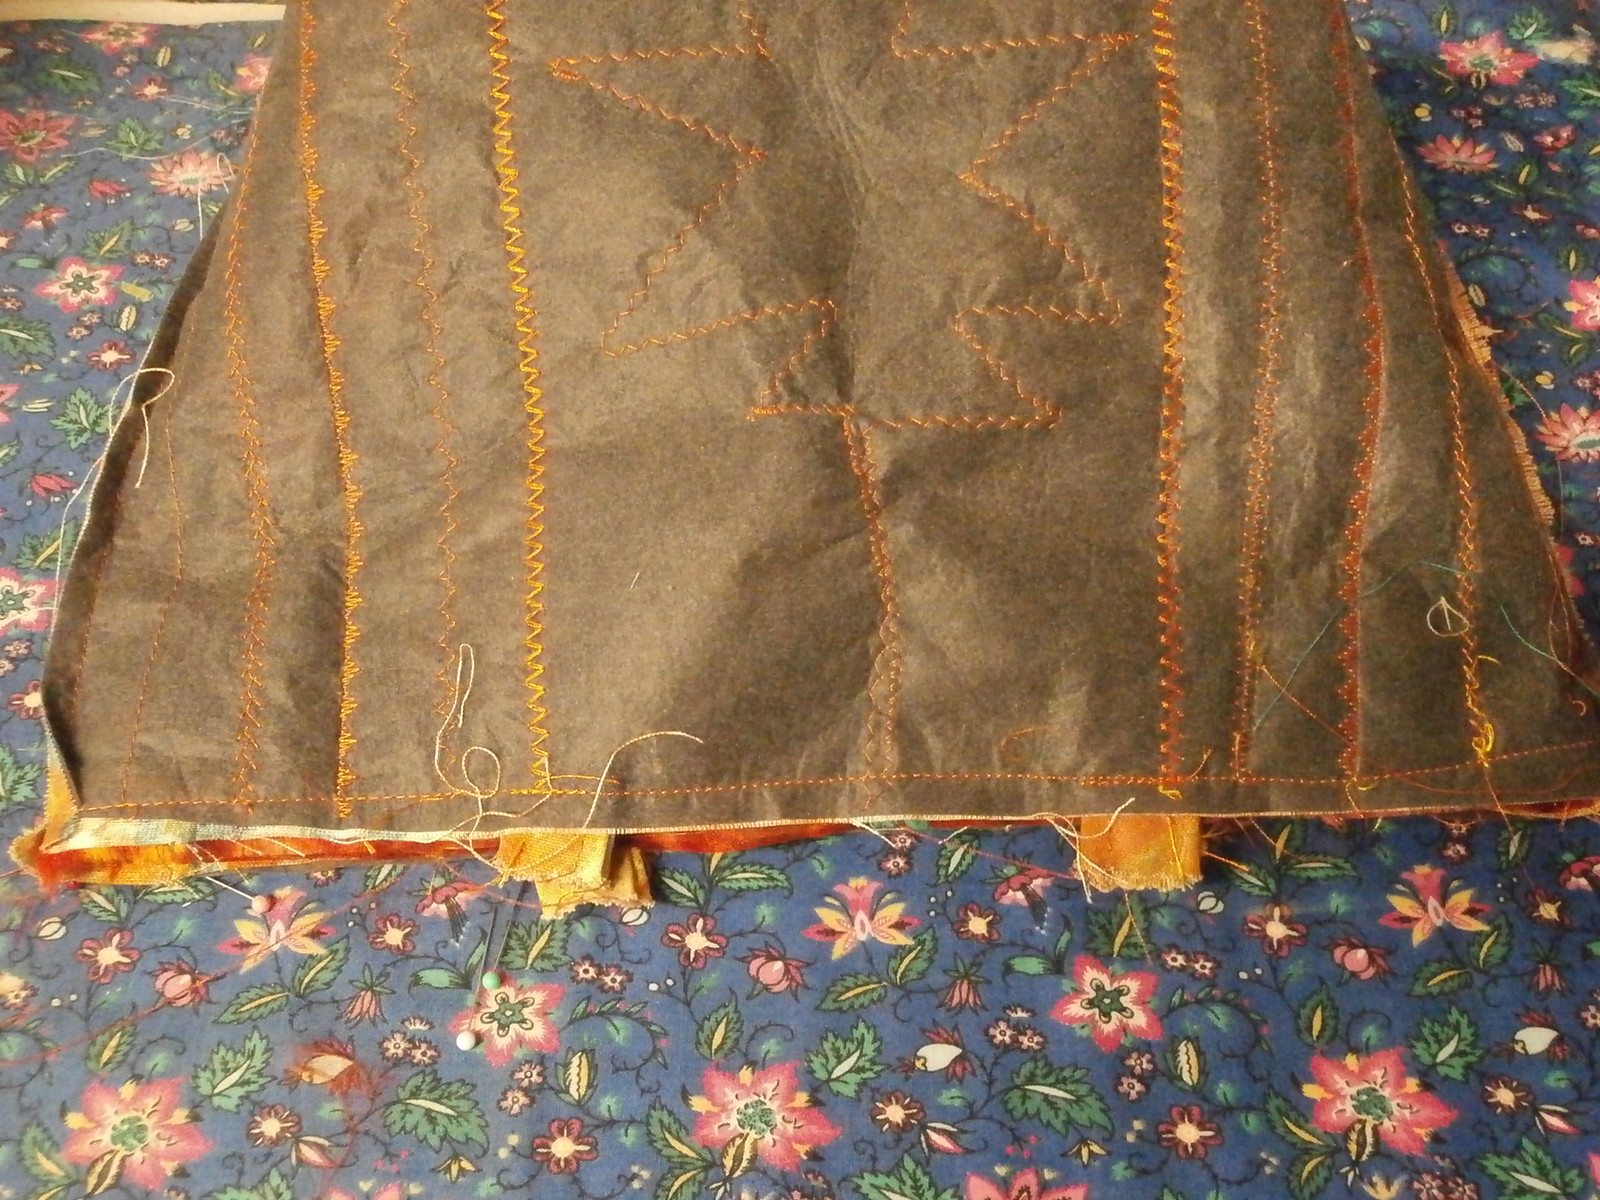

You can now pull the lining out of the bag and turn the whole thing inside out using the opening in the lining you left earlier.
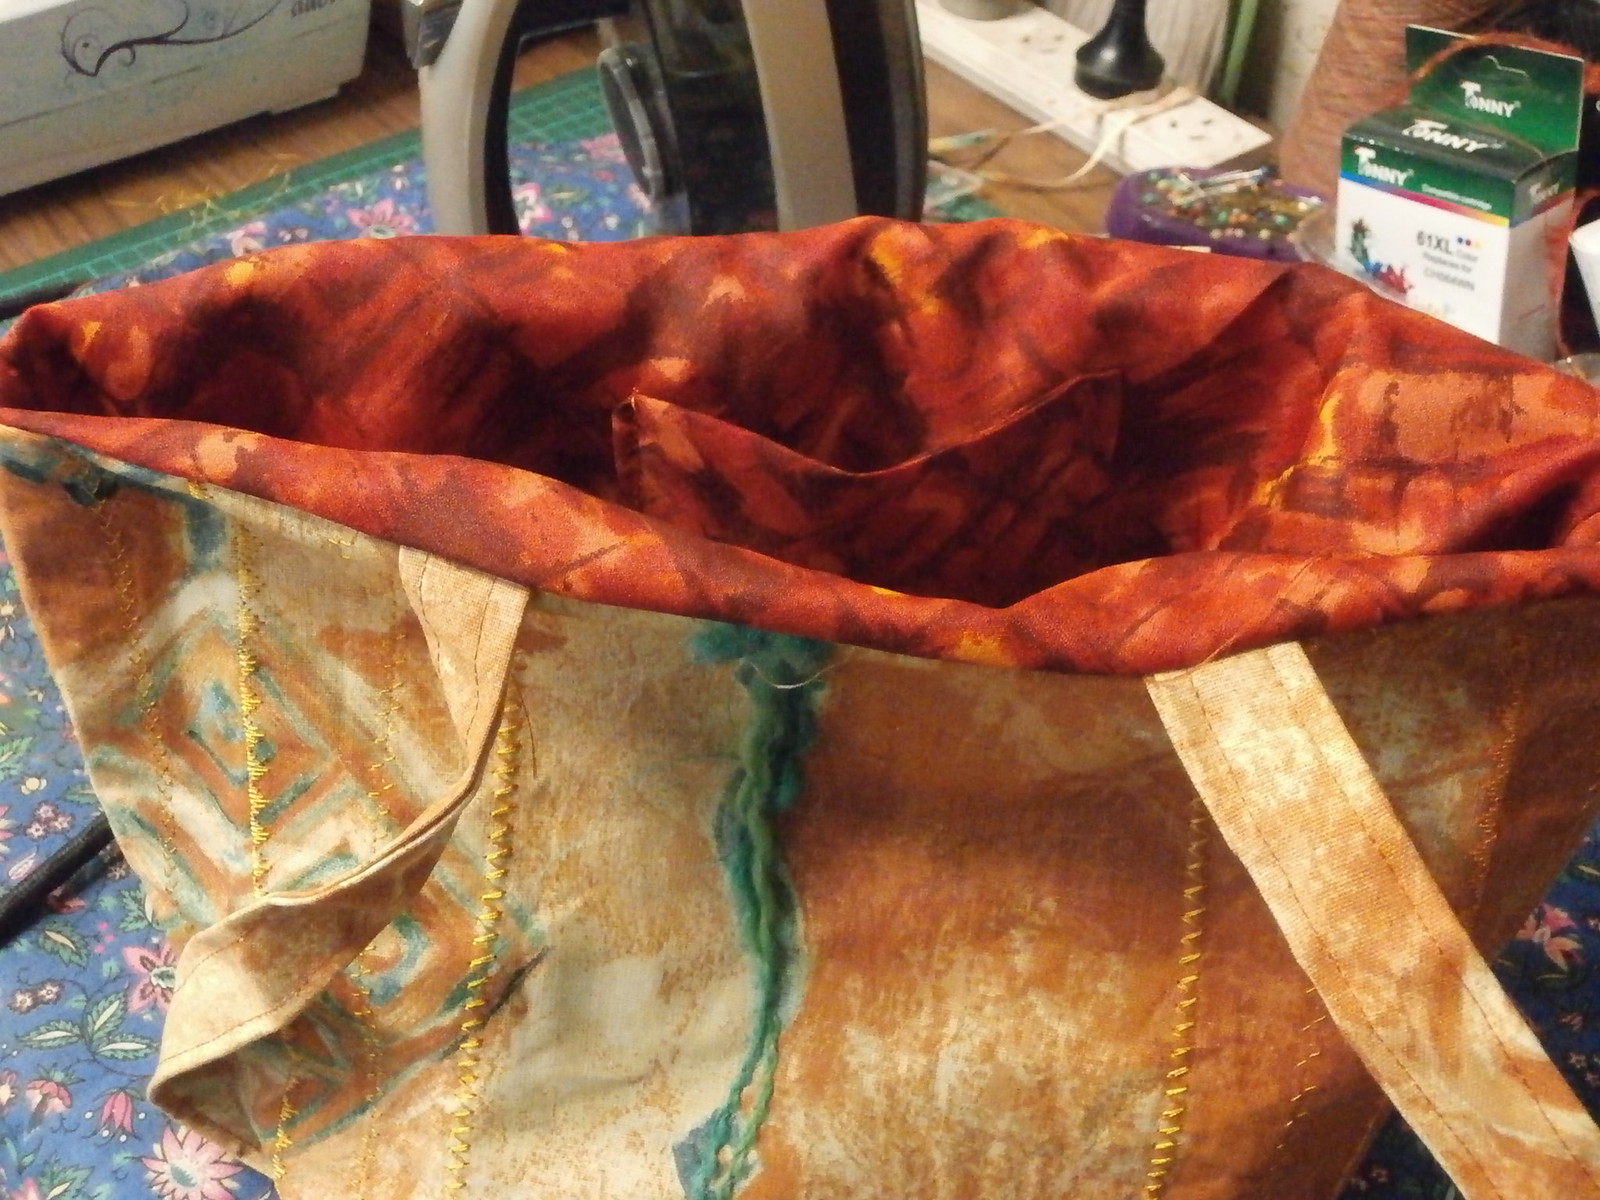
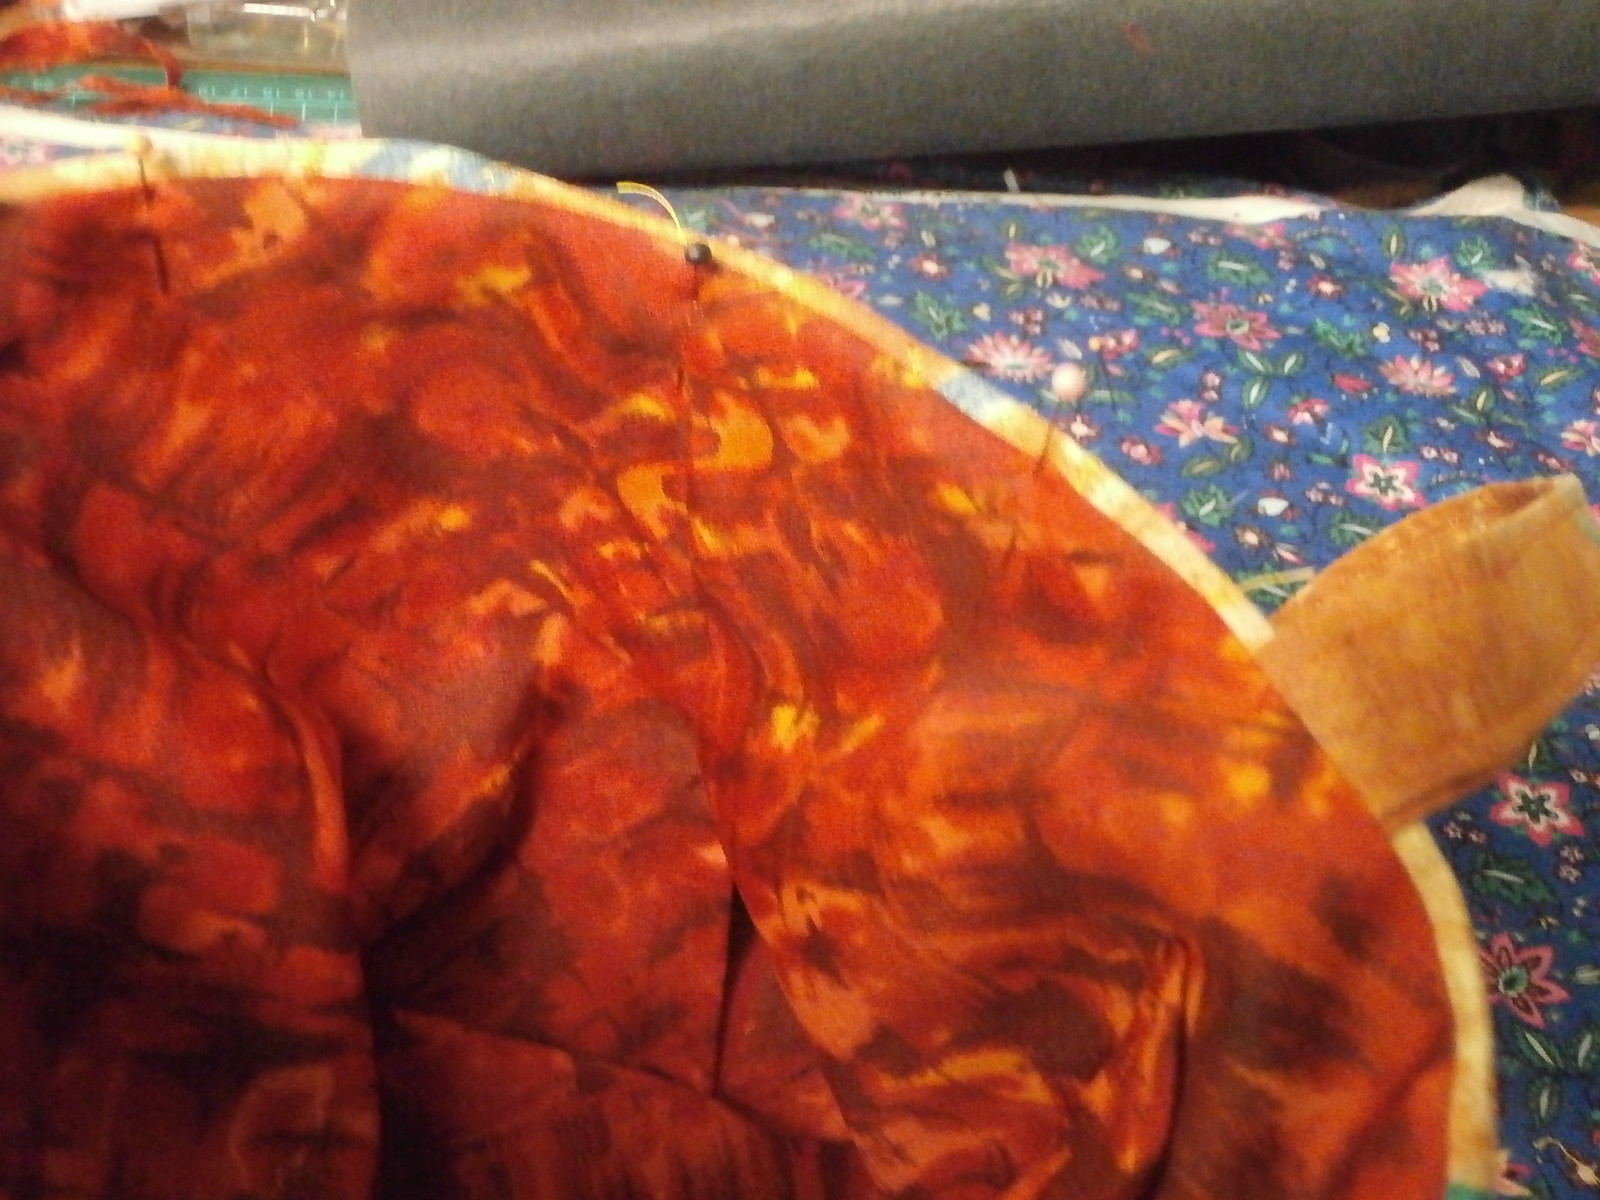
Once you have turned the bag right side out, push the lining back into the bag
Press the top seam and topstitch.
Add press studs to the tab or flap and the front of the bag
To make the bag cinched at the top
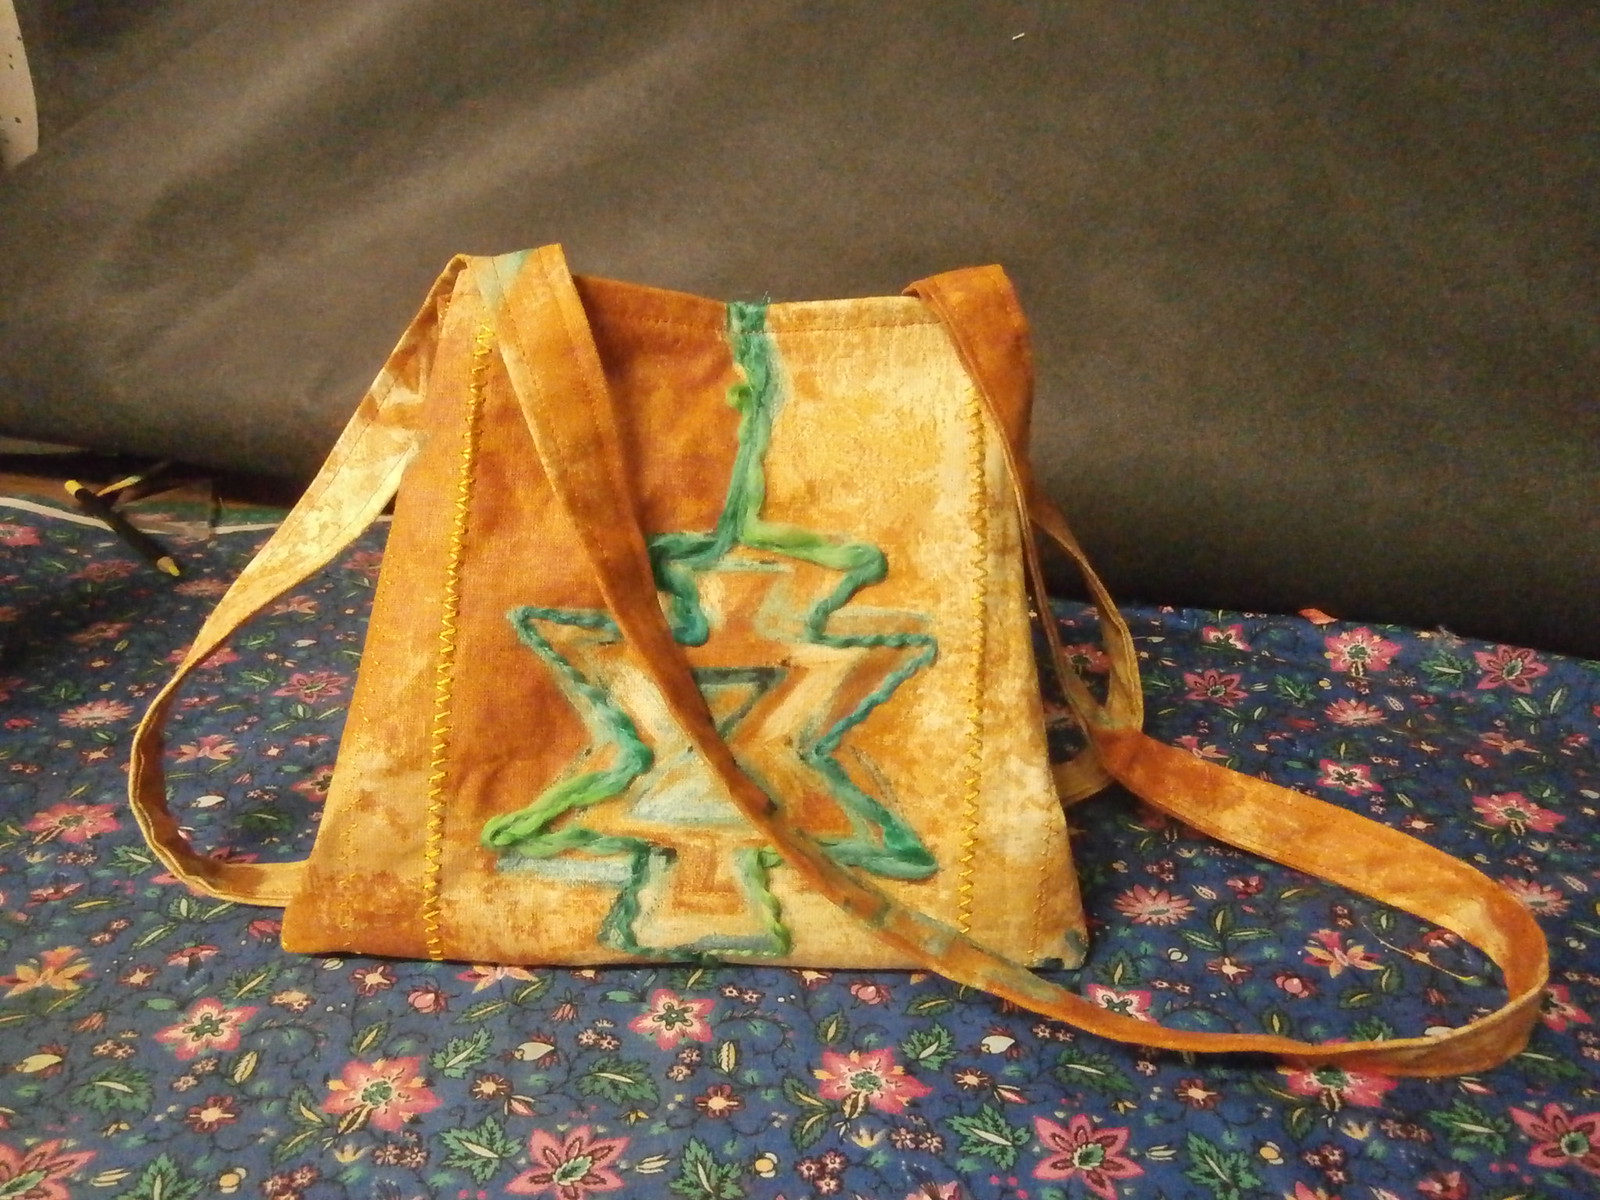
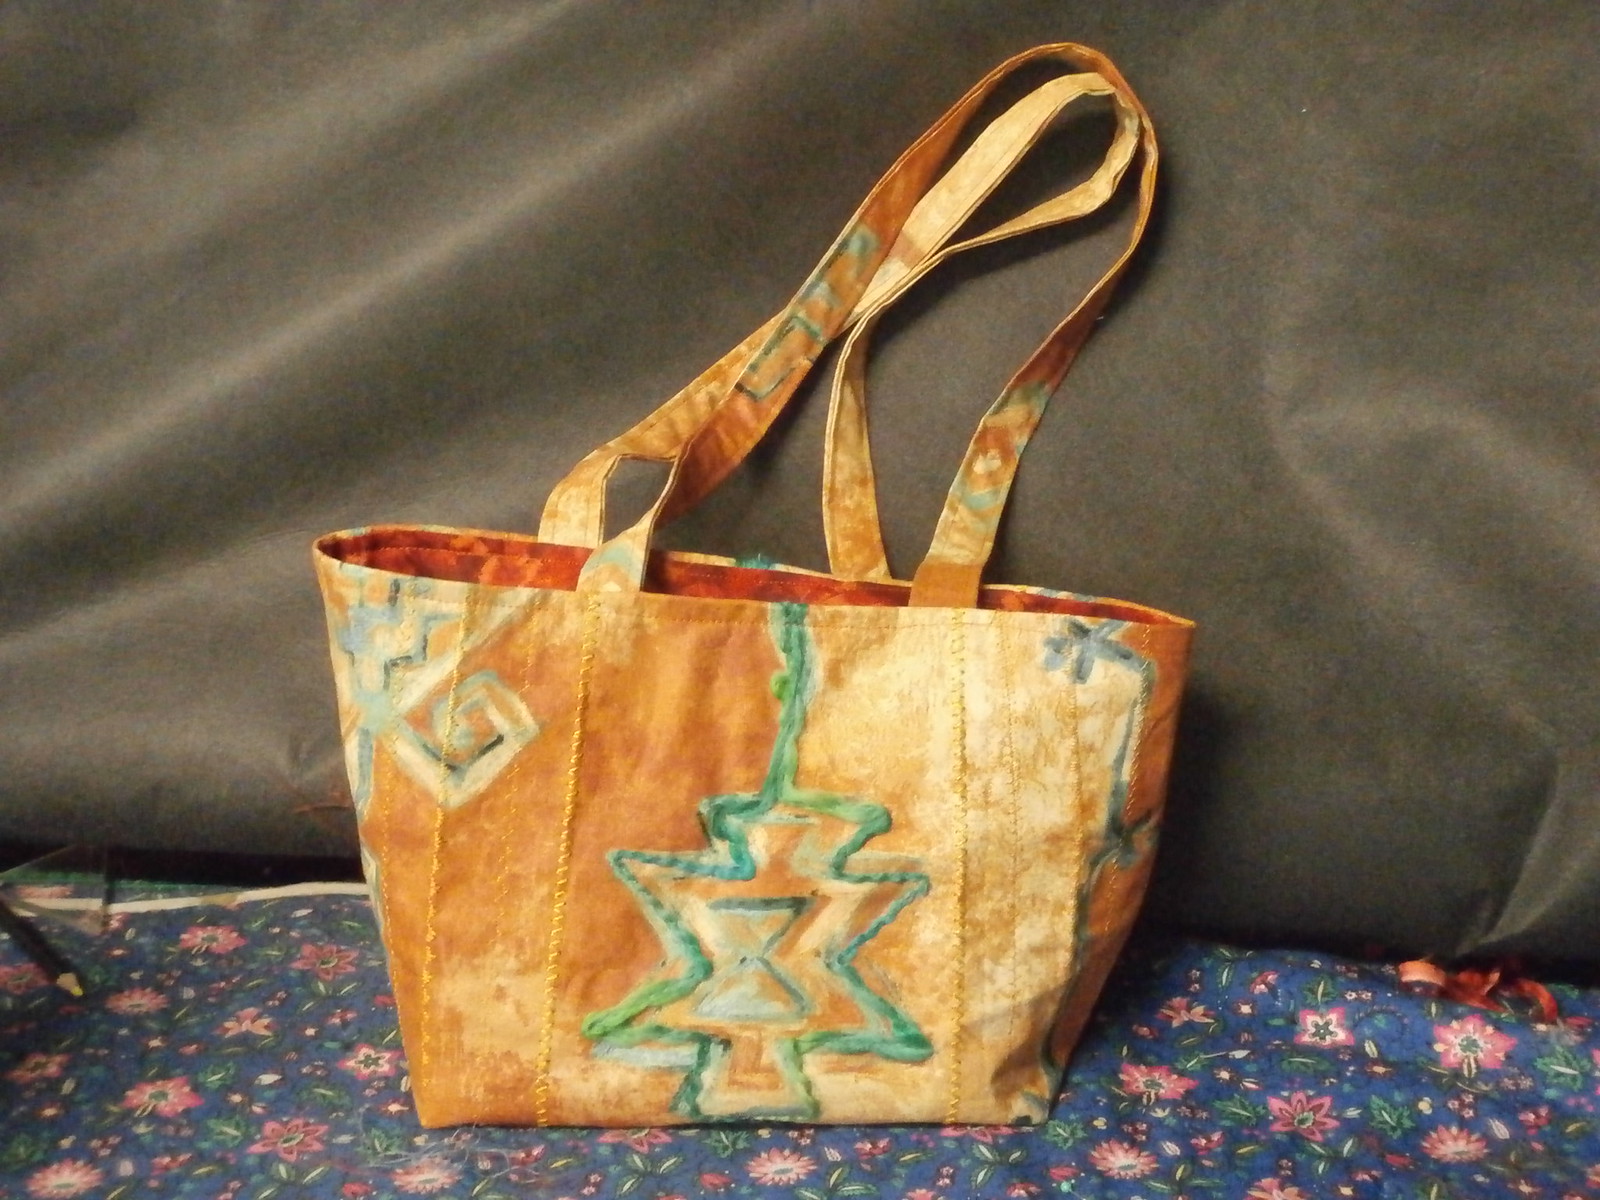
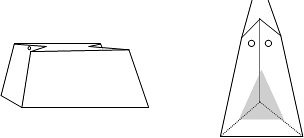
Work out how much you want the bag to cinch, by folding the top seam at the sides until you like how it looks. Mark where you need to add the press studs to hold it in place.
The press studs will go on the sides of the bag at the top.

Enjoy your bag!
This has been an overly long post! I will try and remember to take pictures of student work tomorrow to share with you.
Happy Creating!