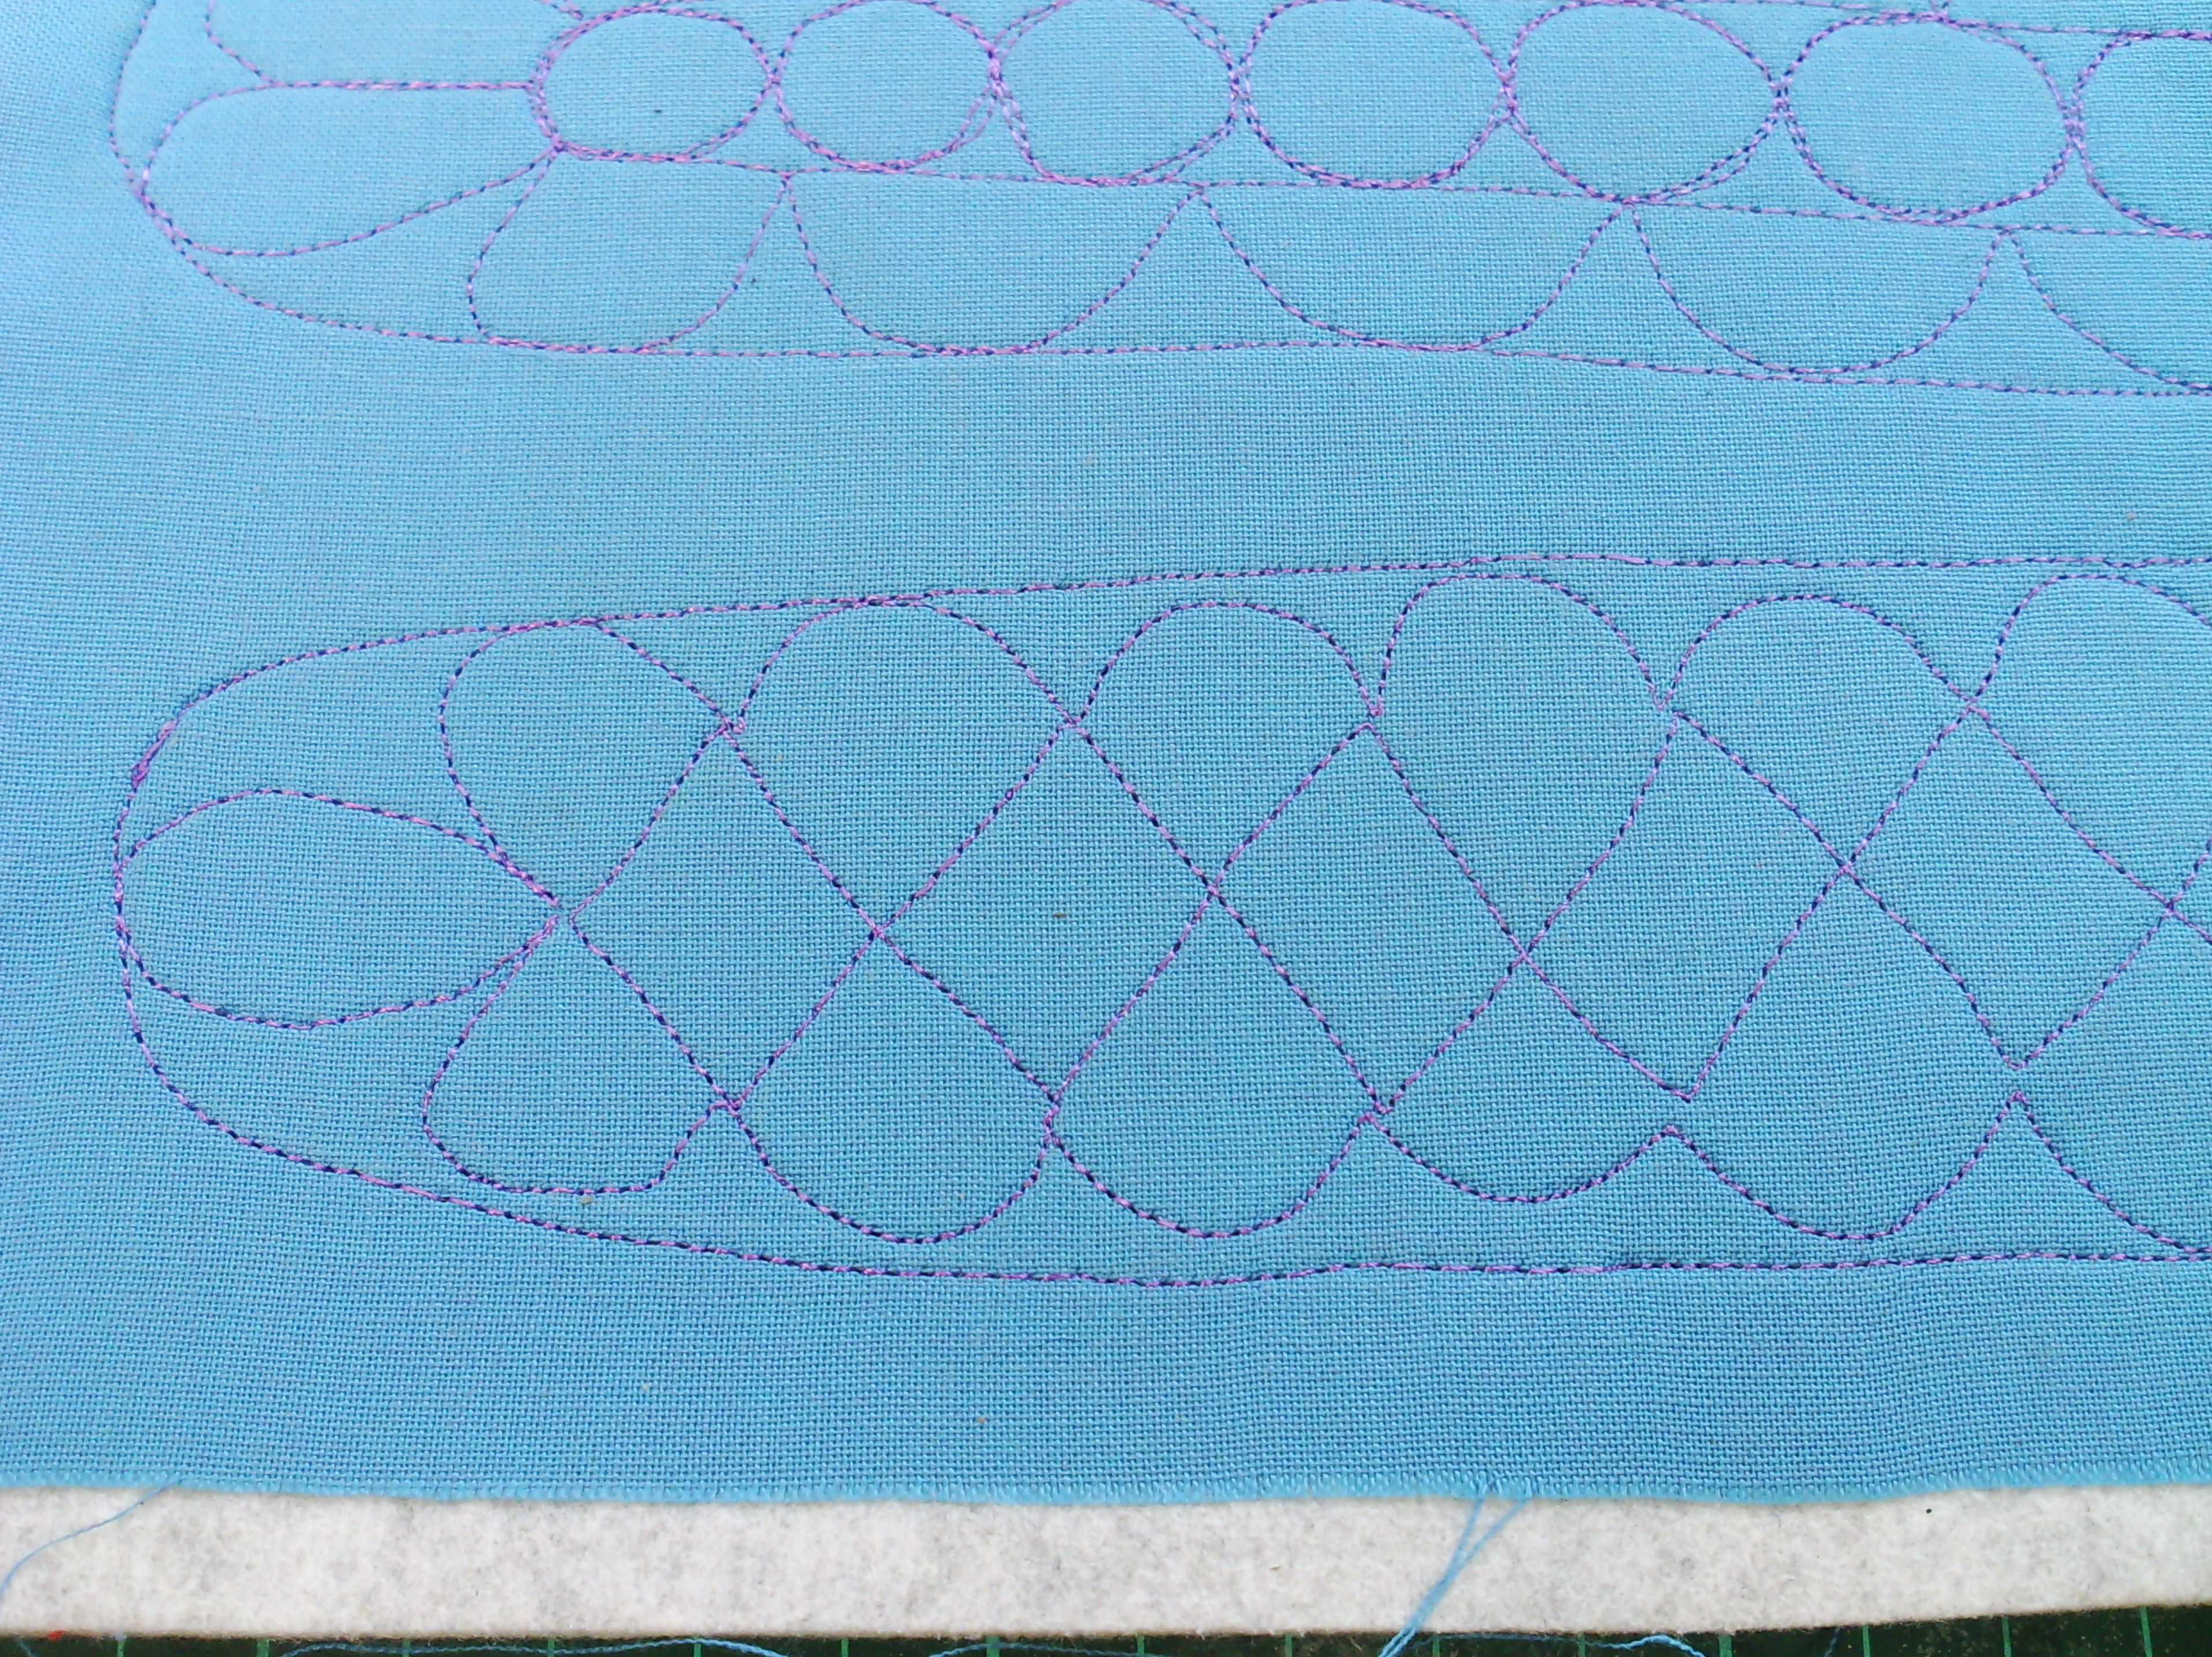
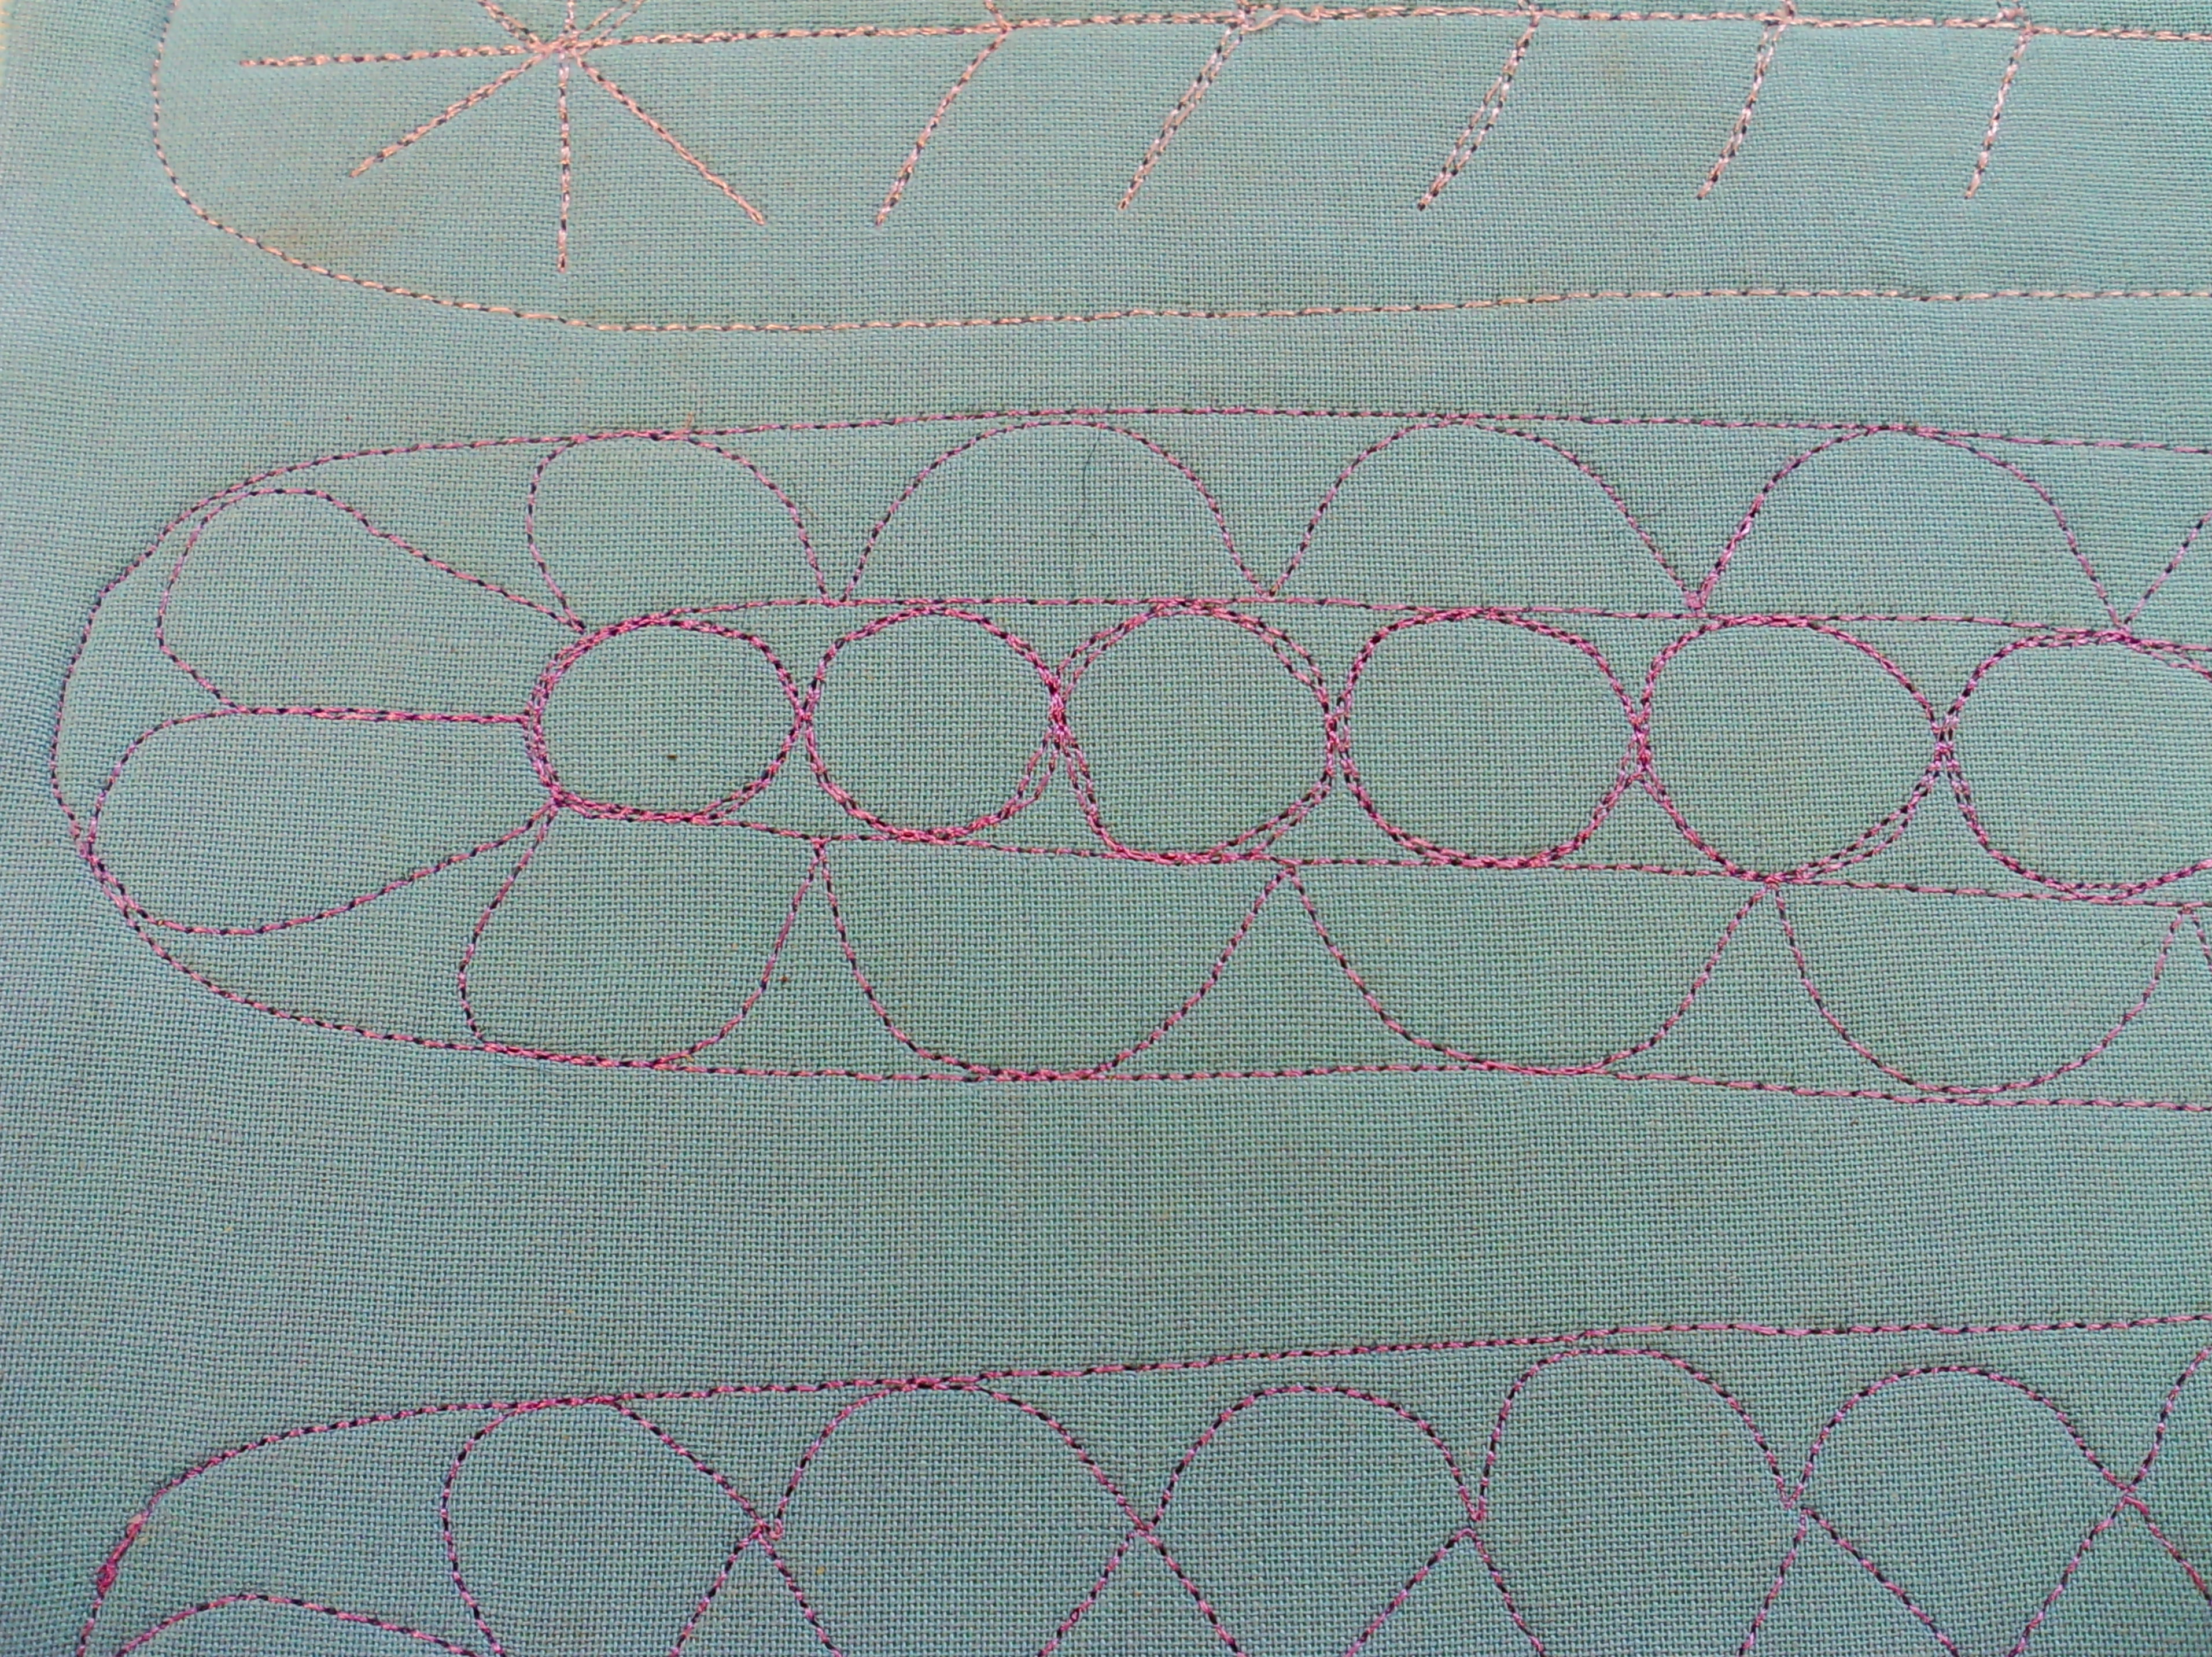
Well, I have been making my feathers, it's an easy quick way to get myself going.
Here are the last two days.
and a couple of closer pictures.
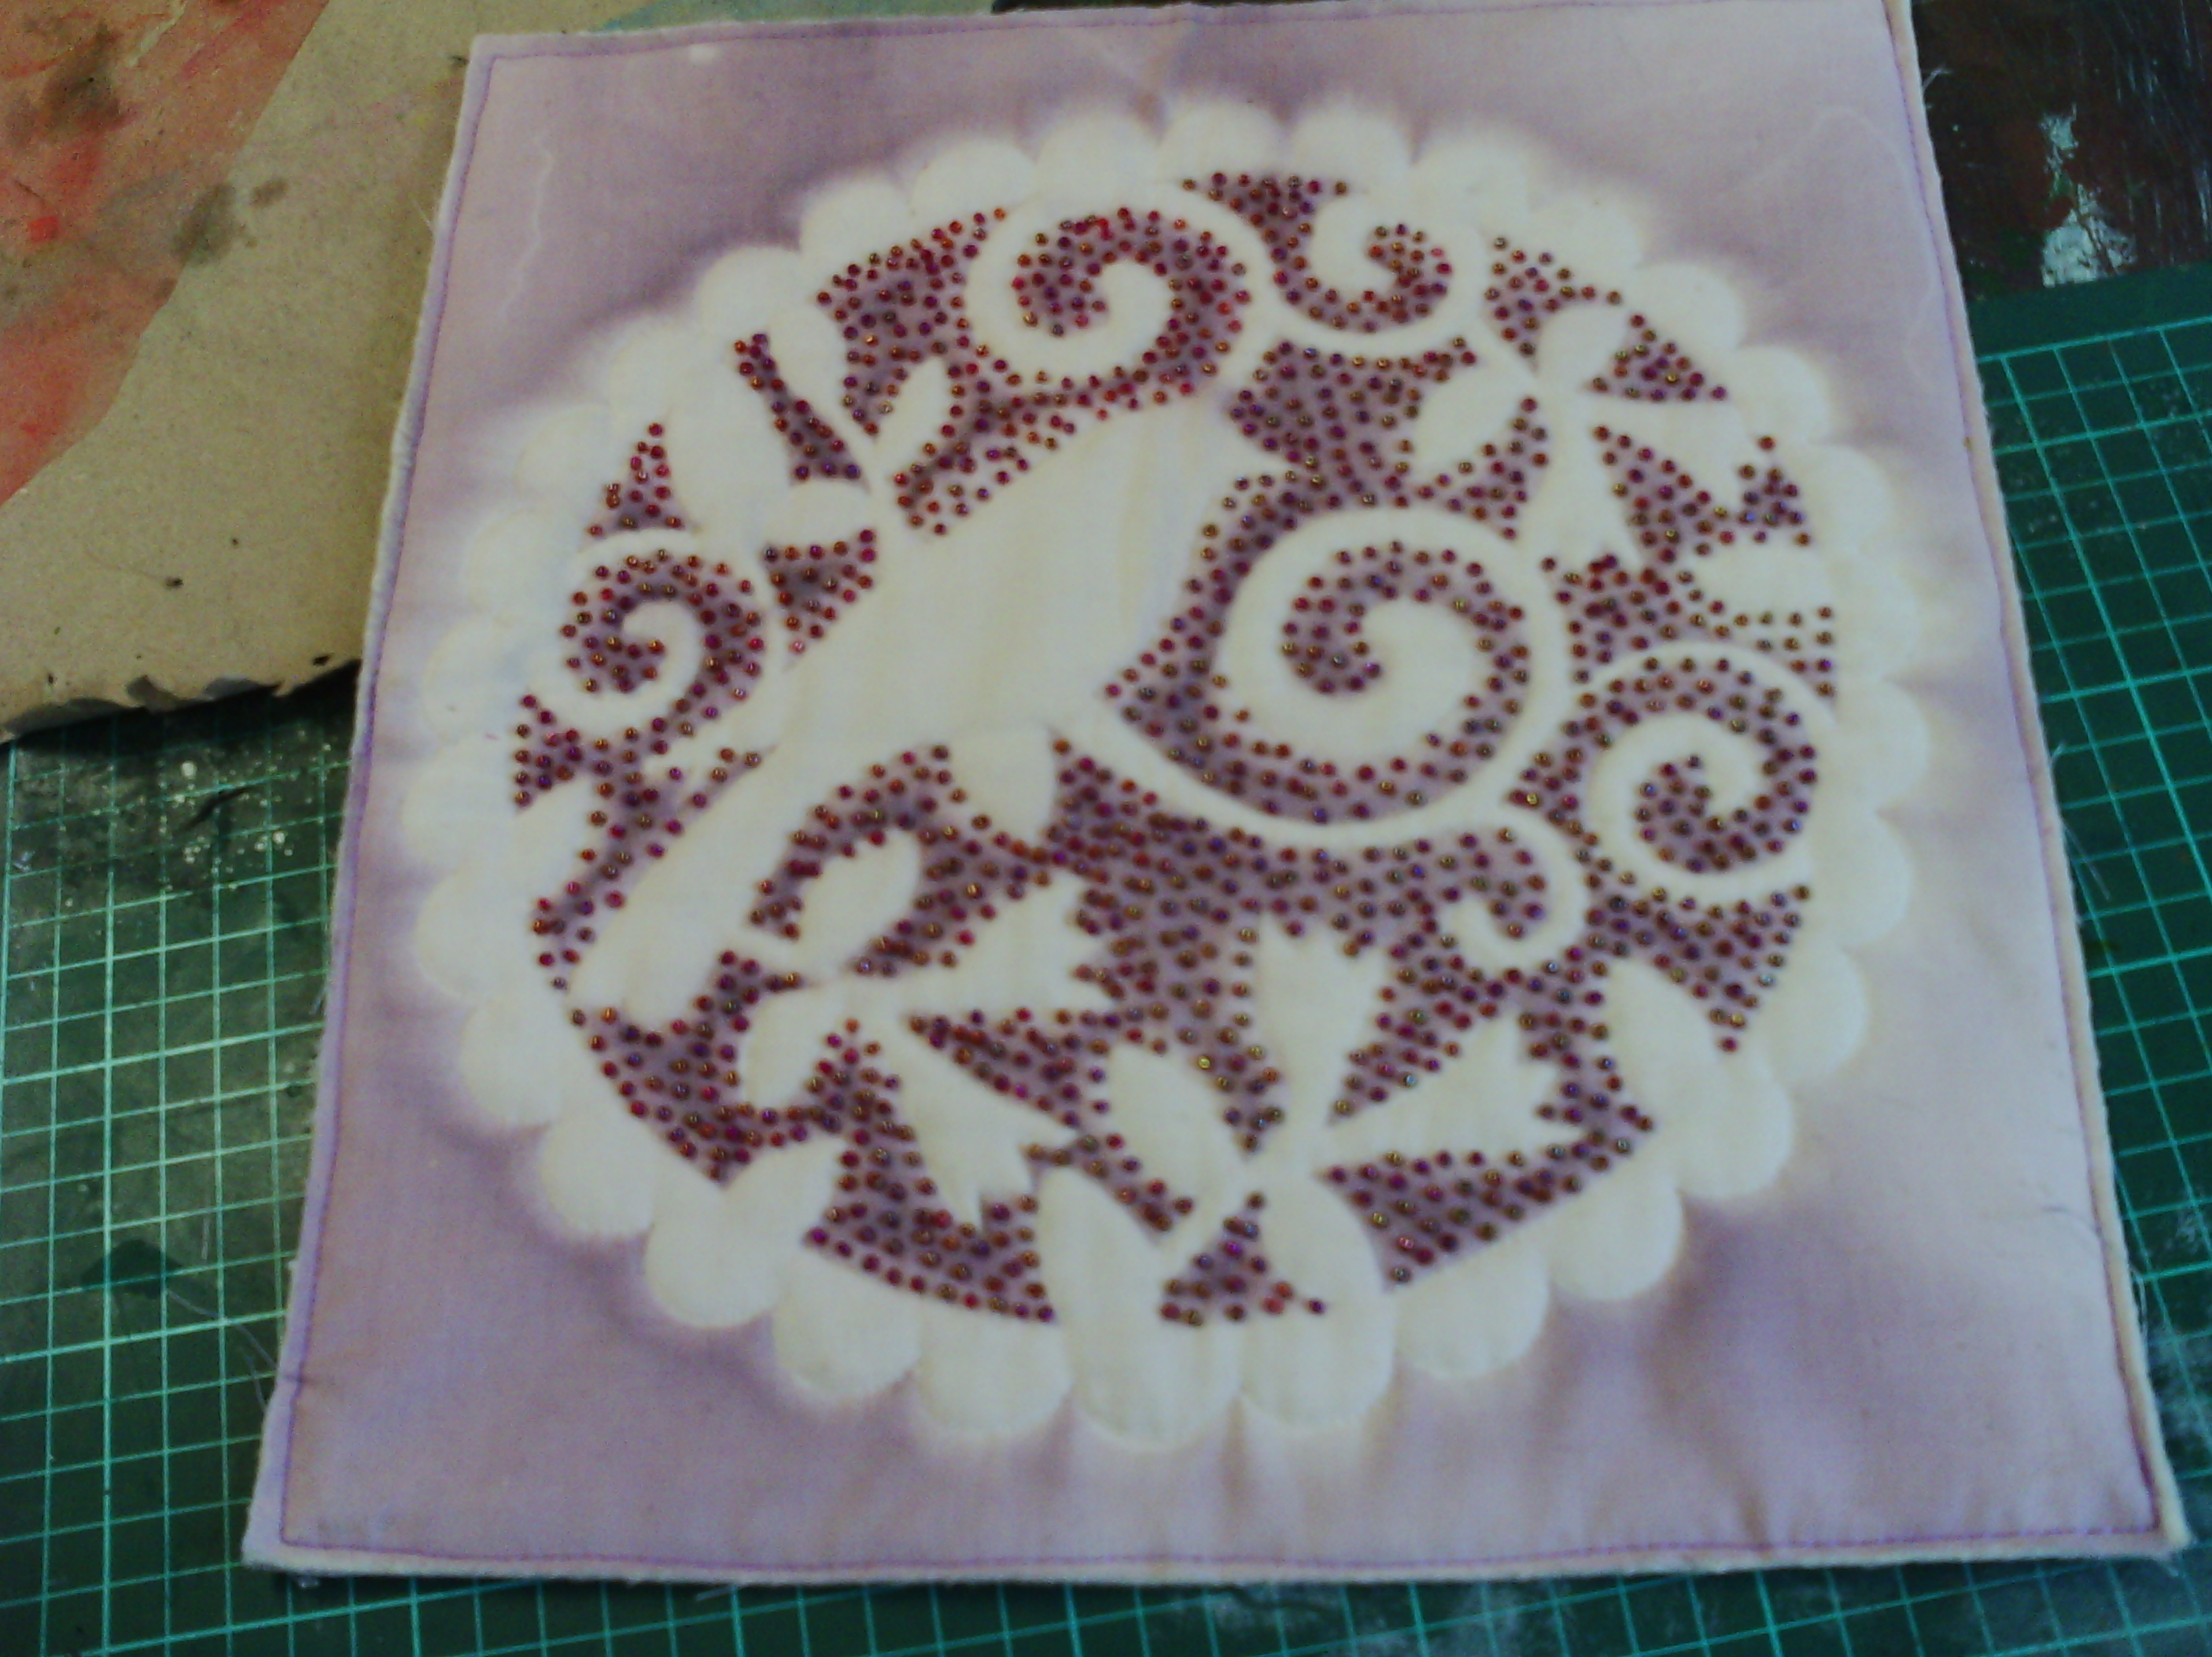
I have also finished a small piece for a friend.
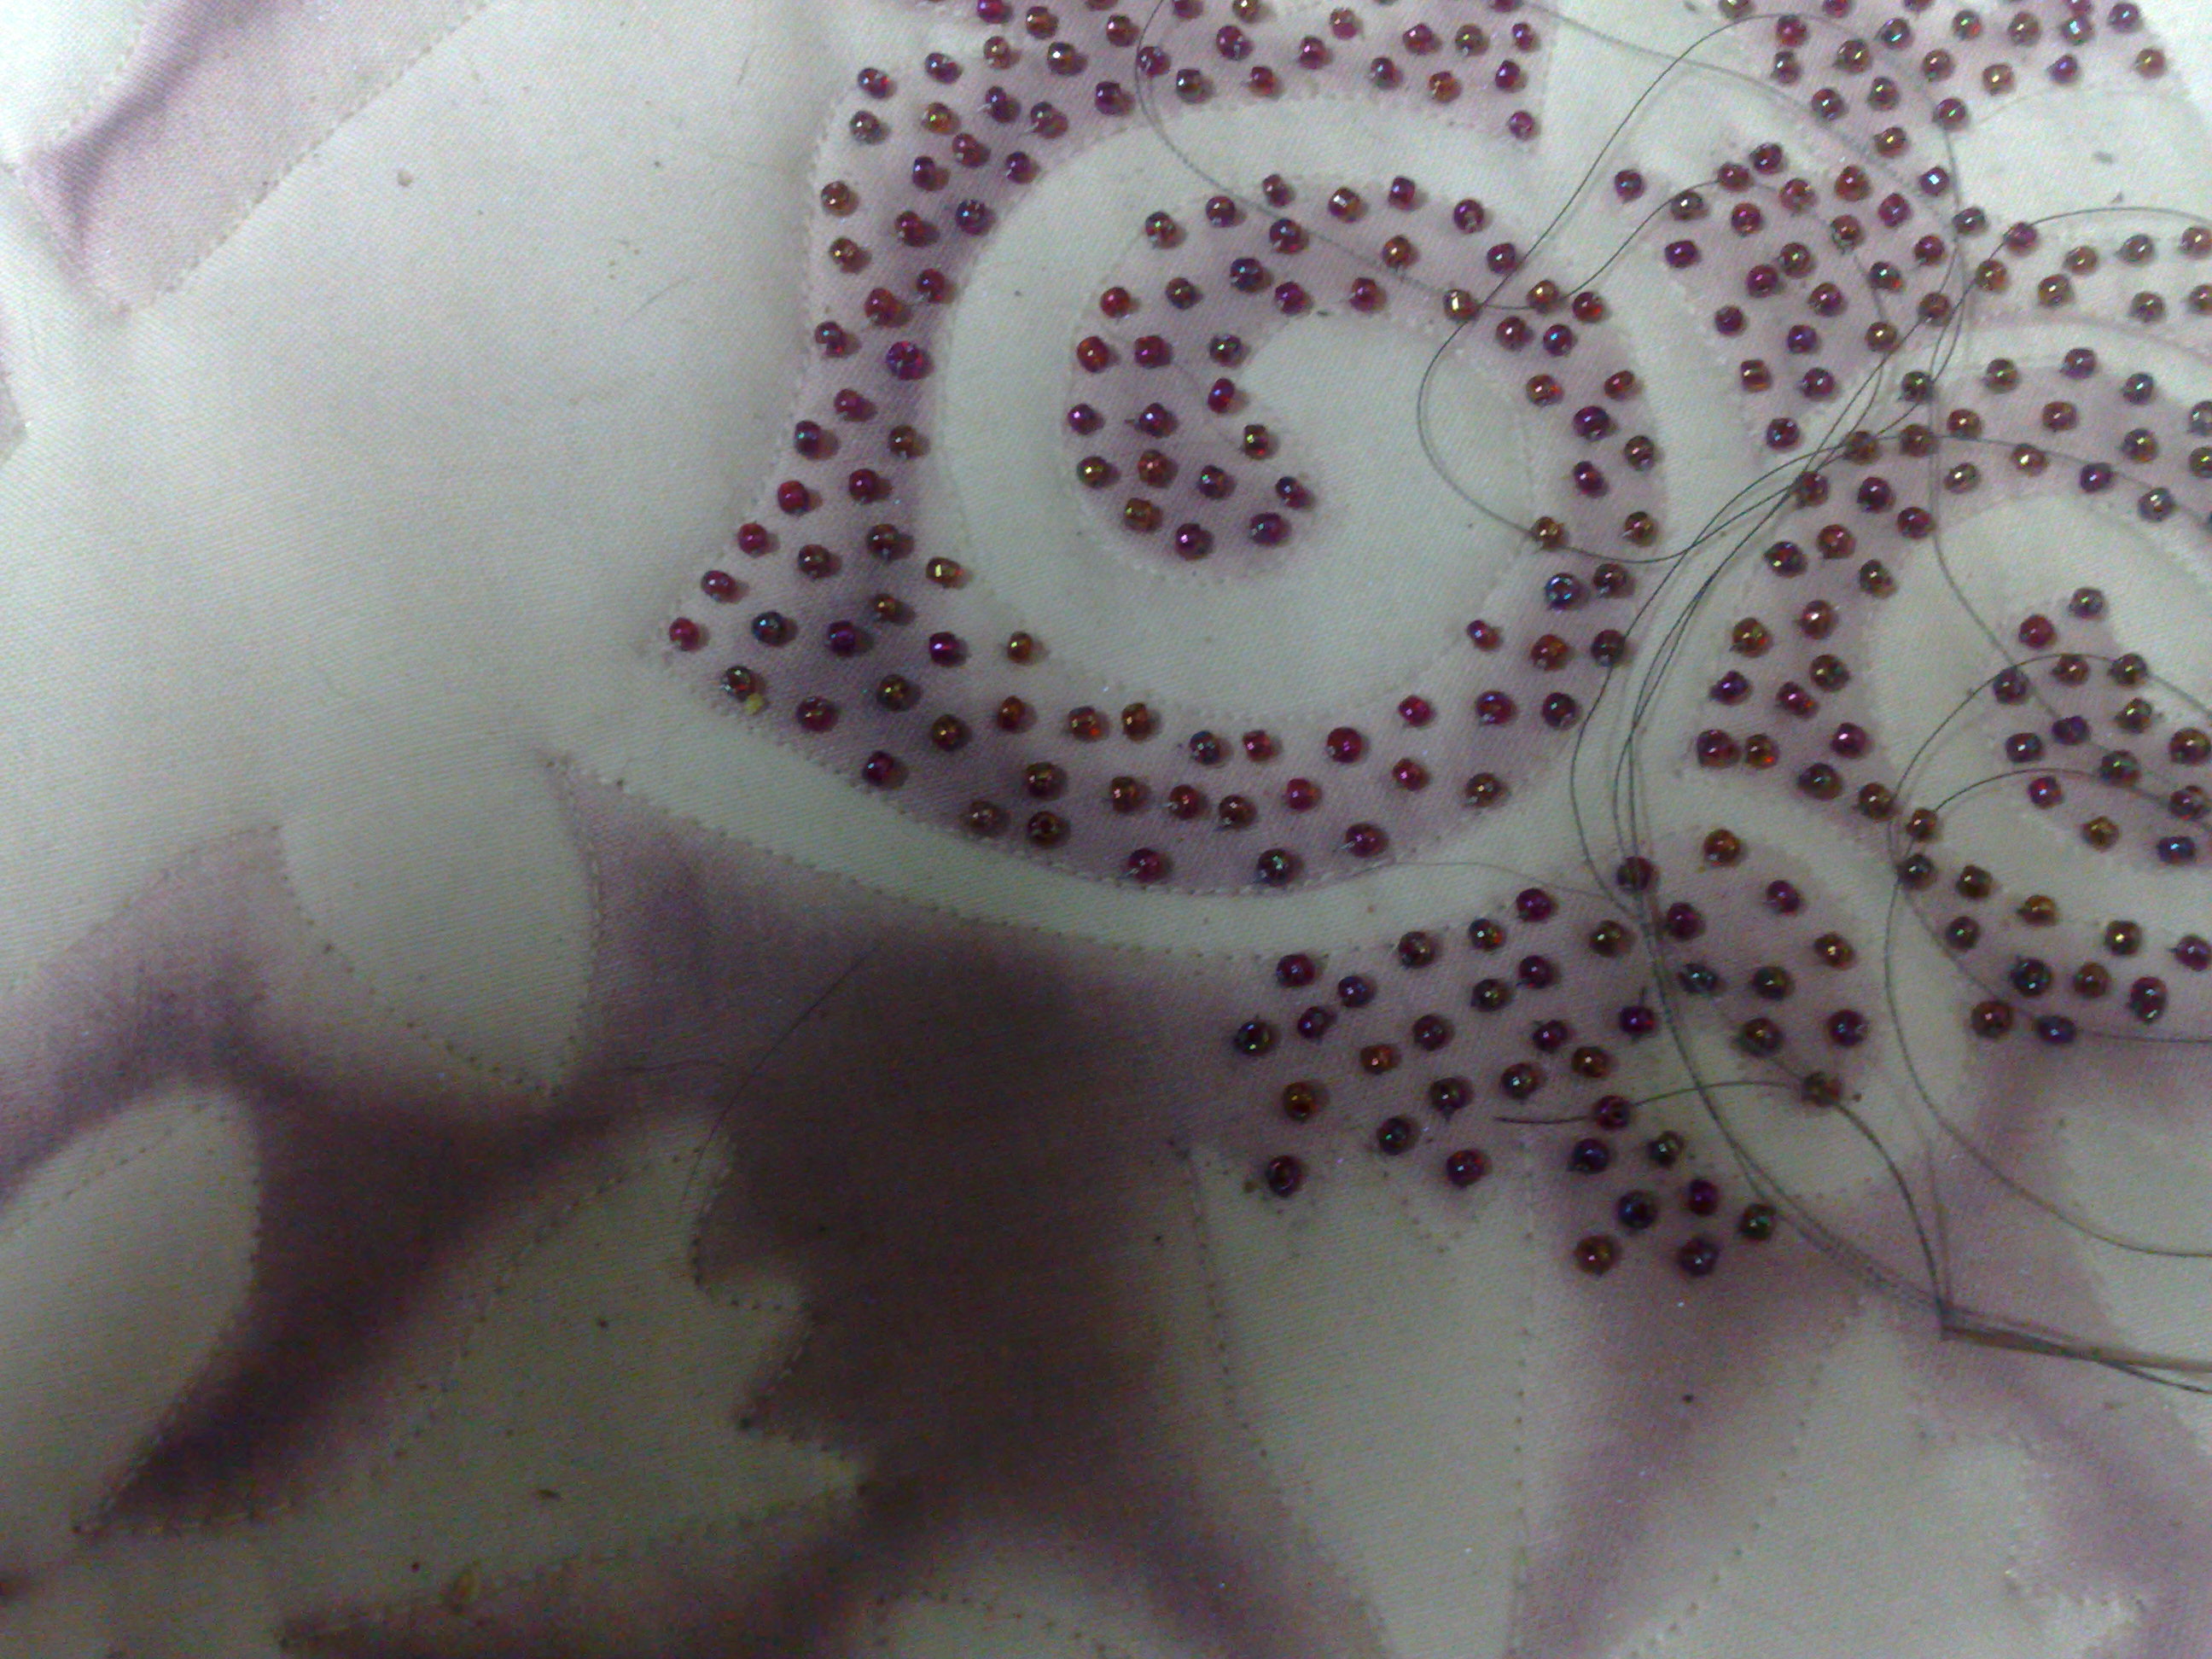
It is a sunprint I did a fair while ago, here. I have beaded all the area between the bird and leaves. It took a fair amount of time. There are about 30 beads per square inch! I have not bound it, but just fastened the edges as she wishes to frame it. But at least now it is finished!
So that's where I am up to at the moment.
Let's create every day!
Showing posts with label sunprinting. Show all posts
Showing posts with label sunprinting. Show all posts
Monday, July 22, 2013
Sunday, March 10, 2013
At least summer is handy for sunprinting
I have been very unproductive of late. I find as I get older, that I tolerate the heat less and less and this year is still a hot one. A lot of my large quilting projects have been put on hold until I can work in my smaller sewing room without raising a sweat. I have a smaller machine for quilting and thread painting out in my studio, where I can regulate the temperature somewhat, so back to small projects.
Last week, I did some sun printing (like I said at least the sun is good for something!).
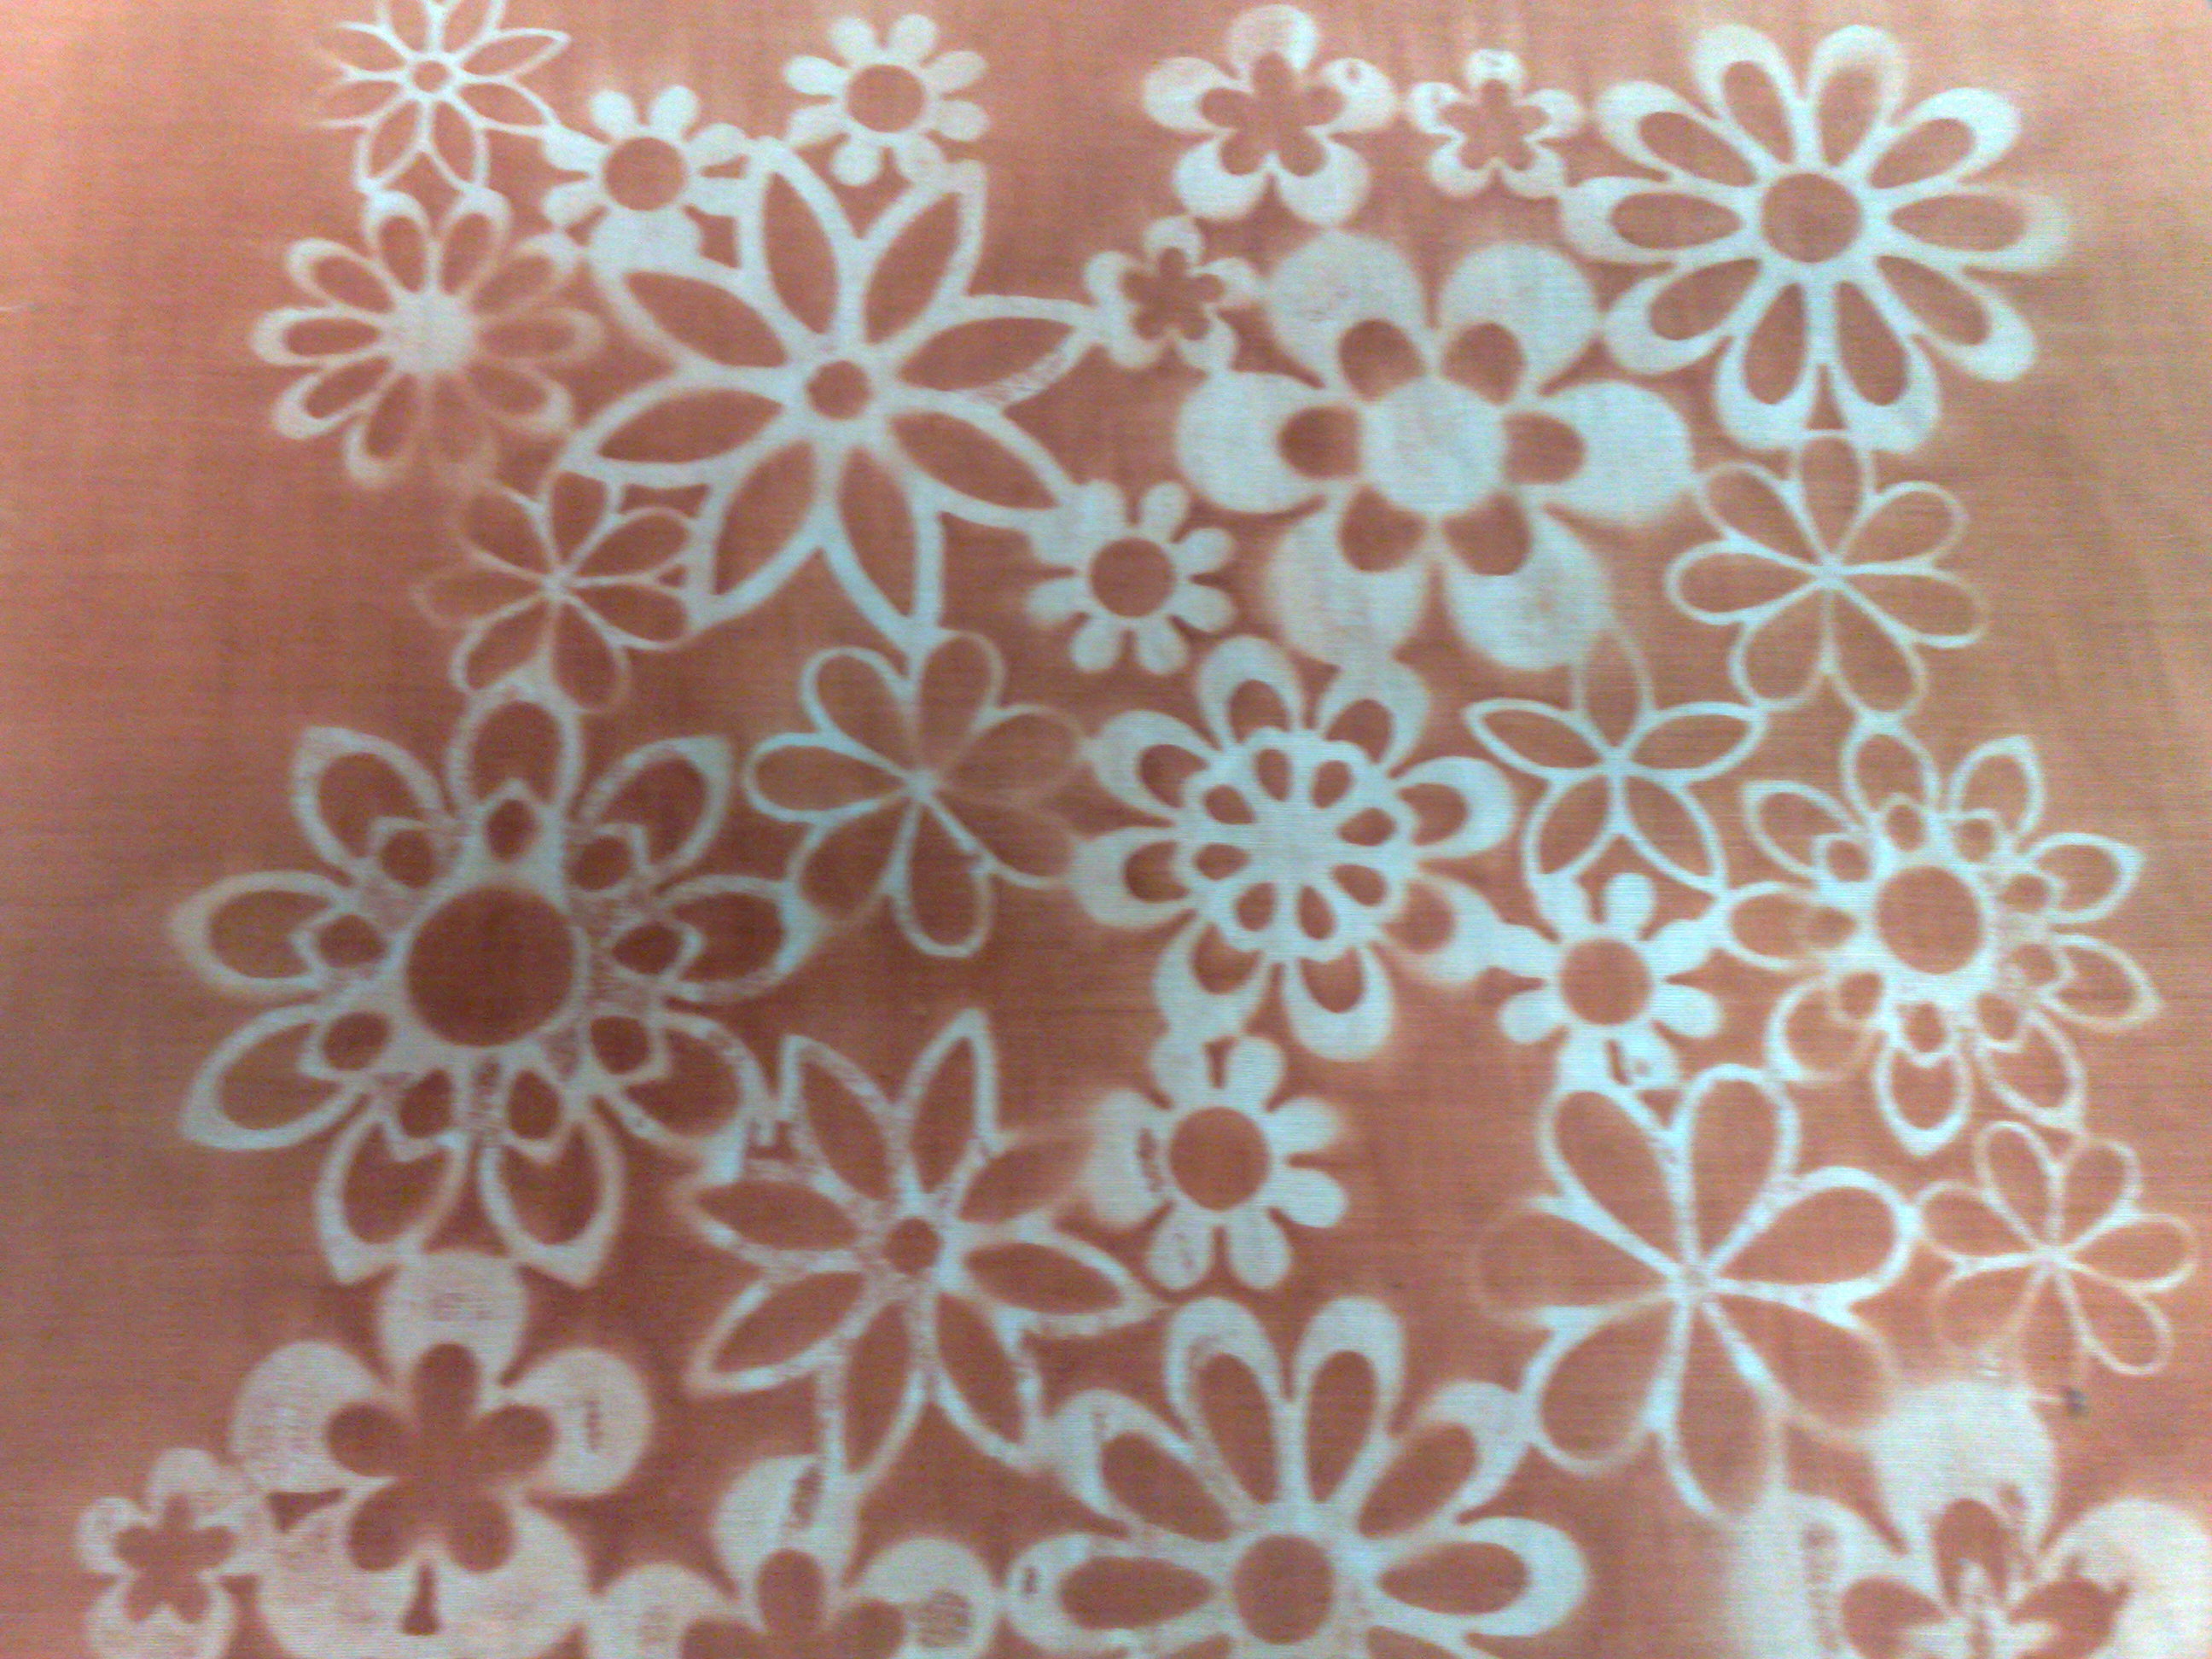
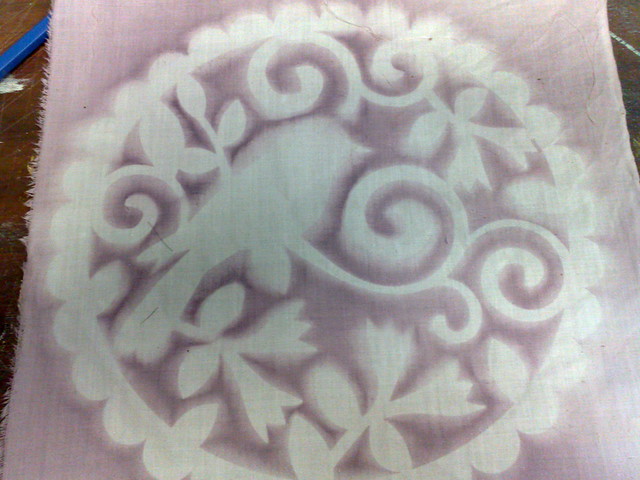
This one was done using setacolour soleil sunpaint. I dampened the fabric, then pressed it flat onto a laminex board that I just happened to have. The water allows the fabric to stick.
Then I painted the whole piece with the paint and a large brush. I placed a stencil from my huge collection over the top and left it to dry. The piece above is the result.
It's a bit of a miracle, really. My hubby says it is not possible and doesn't make sense, but I have seen lots of paint effects related to this, like making fabric for water ripples by gently pleating as it dries.
With this one I used an ordinary setacolour metallic. In some places, where the stencil did not sit flat, there is not a very defined line, but I liked this one and immediately had to play with it.
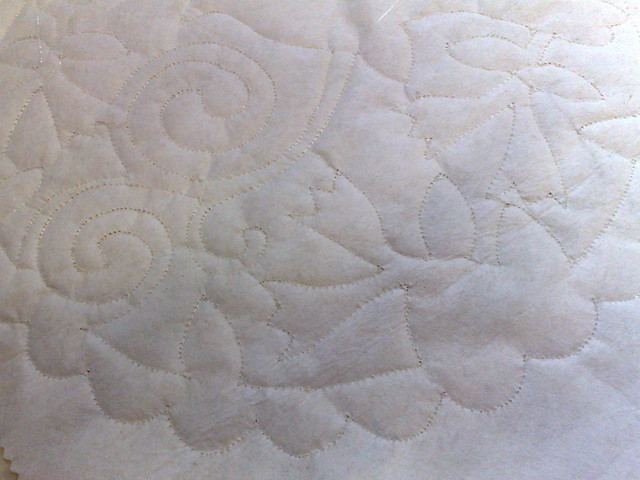
I sandwiched the fabric with batting and stabiliser, then quilted around the edges of the design with white thread.
Here is the back. The quilting is more obvious here.
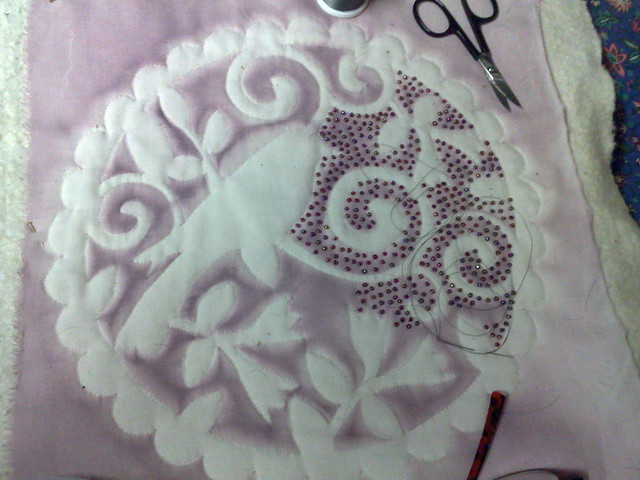
I am now in the process of beading over all the painted areas, which will take me a while!
Here's where I am up to at present. I have already had an expression of interest in purchasing this one! How great is that!
Anyhow, that's how things are going at present. I will try and keep my blog more up to date from now on.
Subscribe to:
Posts (Atom)


