If you follow my blog, you will remember the copper and paper collage with a sprig of leaves a few days ago, and how I liked the little woven detail at the base of the plant.
I have used this to make some little embellishments for one of my needlefelted pieces that was waiting for inspiration.
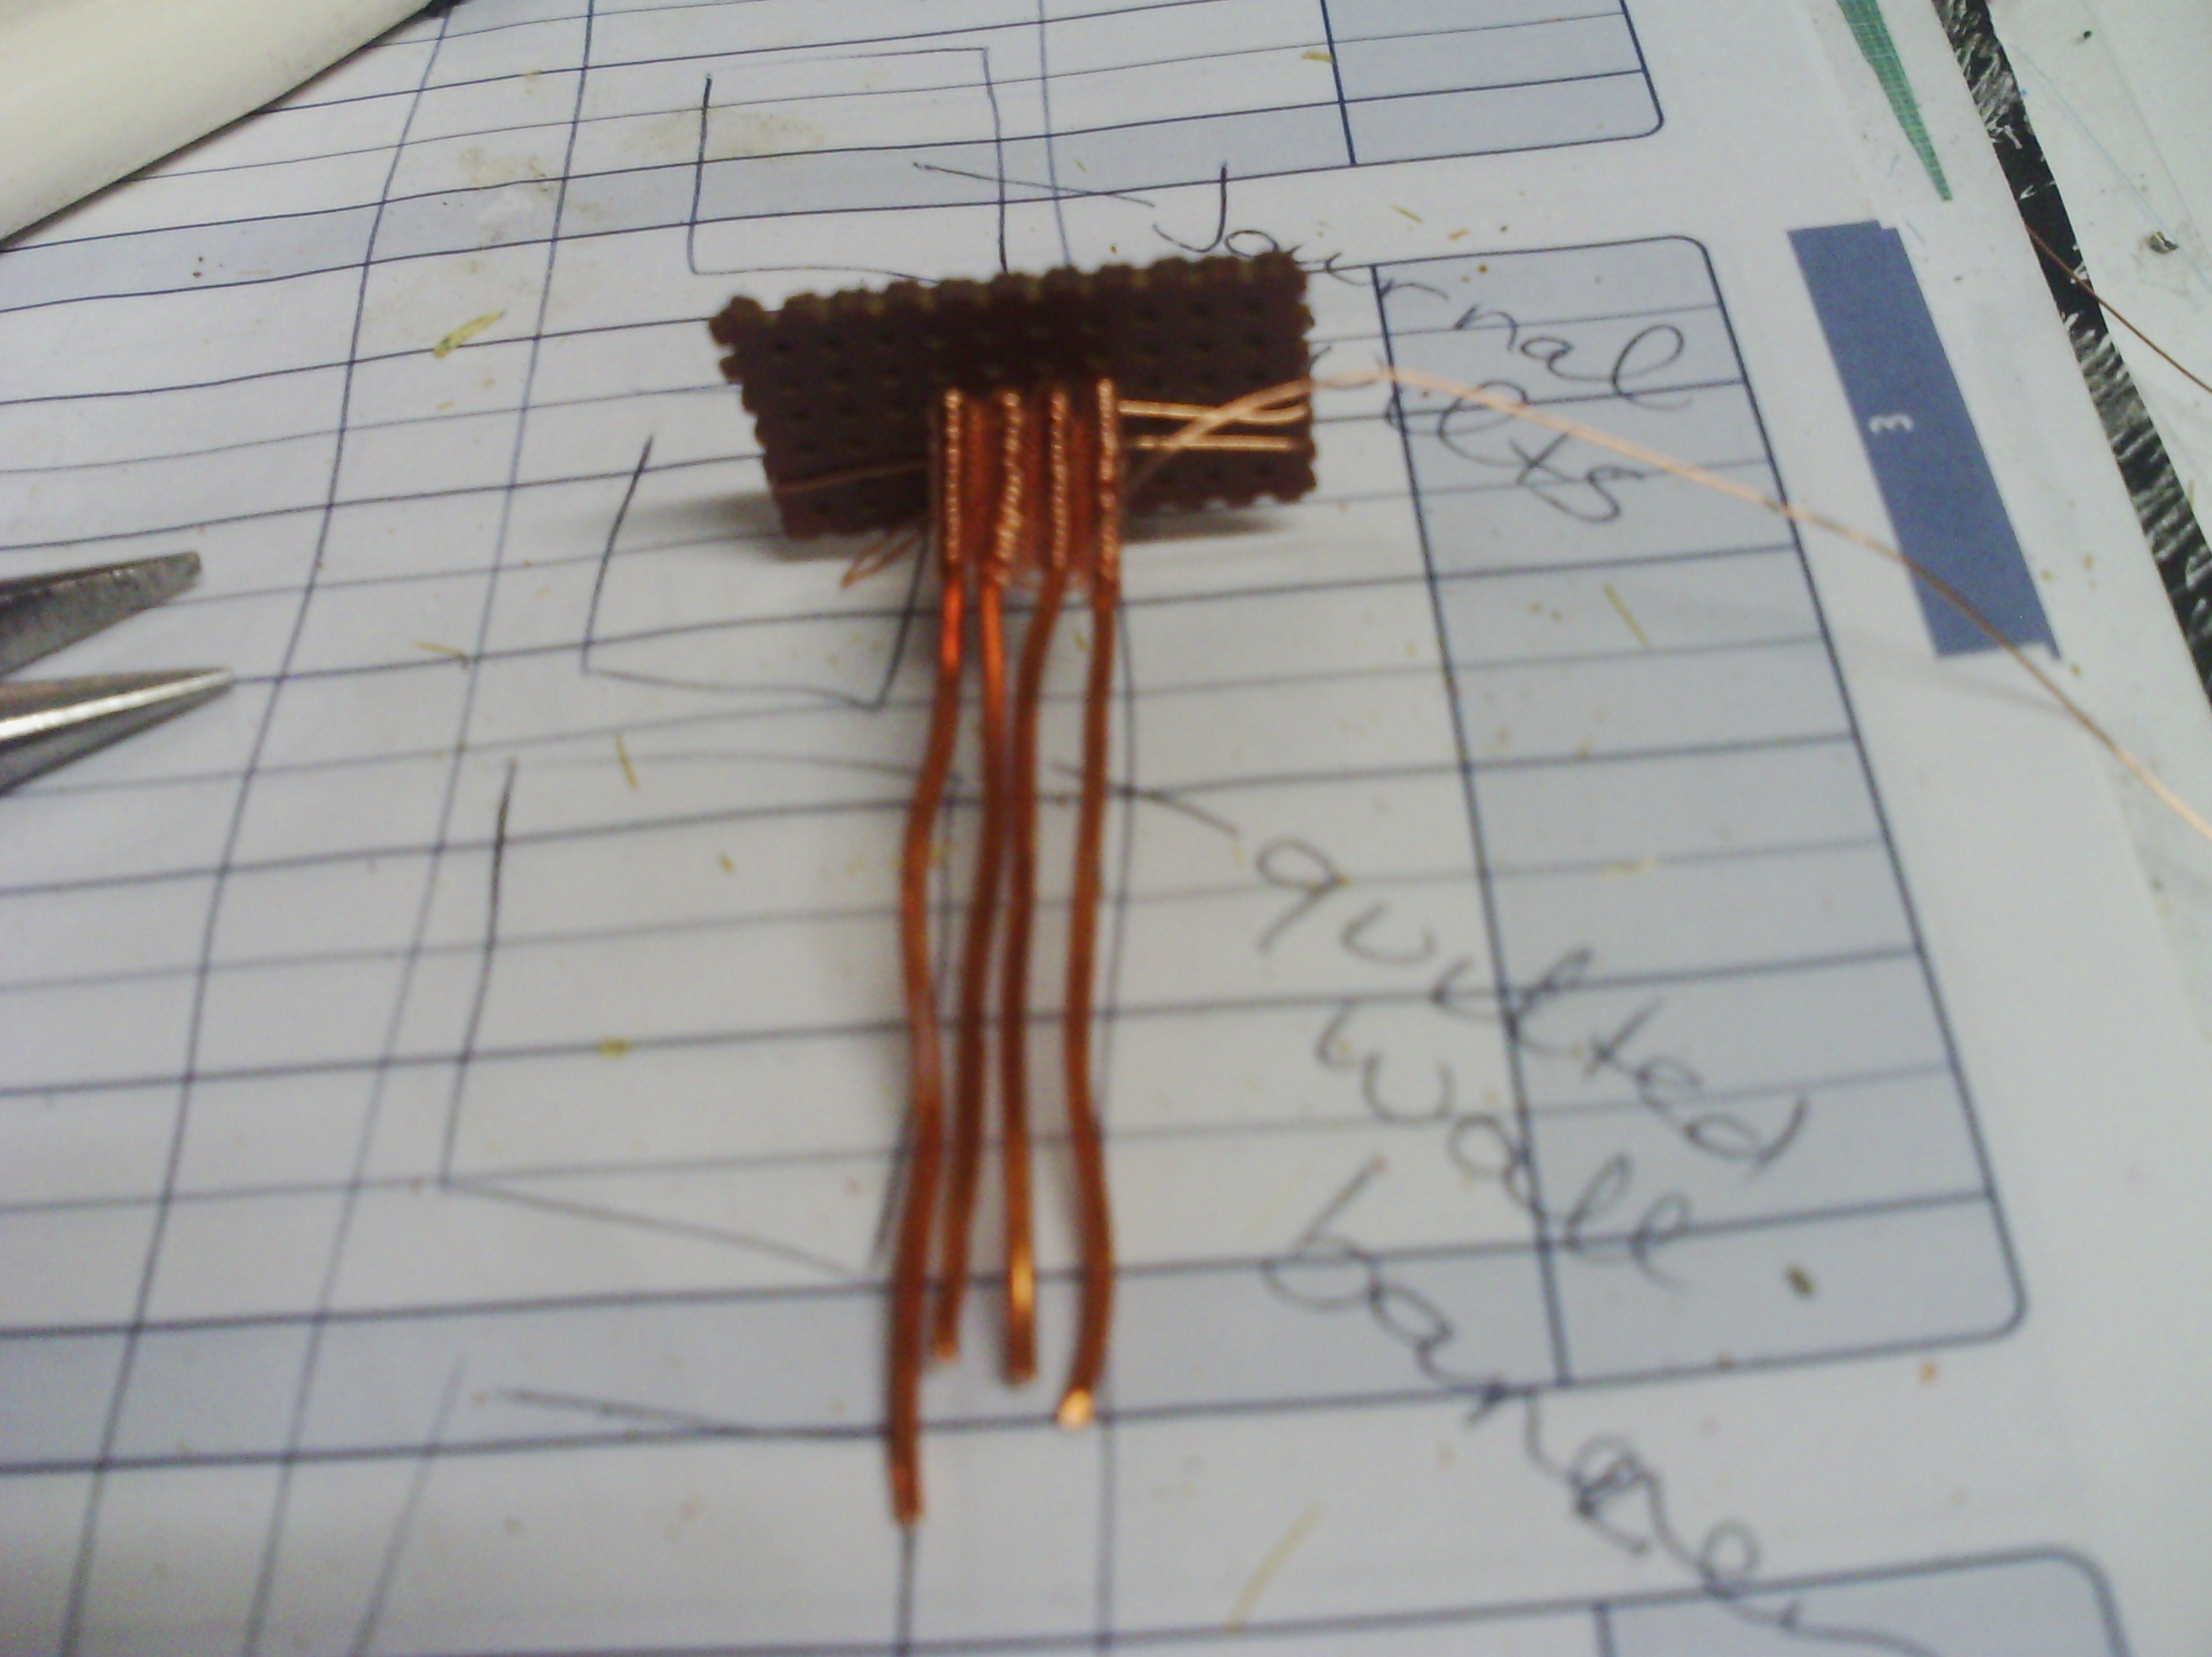
You can see here I have used a piece of a computer as a jig, to hold the four thick pieces of wire whilst I am weaving them with some fine wire. You could probably use some plastic canvas in the same way.
Here is one of the finished little embellishments placed on the needlefelted piece.
And here is the finished piece with the little embellishments stitched on. I am afraid it is slightly too long for the scanner, so the bottom is cut off I really need to think about this when making small pieces. Also it is a bit crooked, but that is just me placing it on the scanner.
I am quite pleased with how this one is turning out.
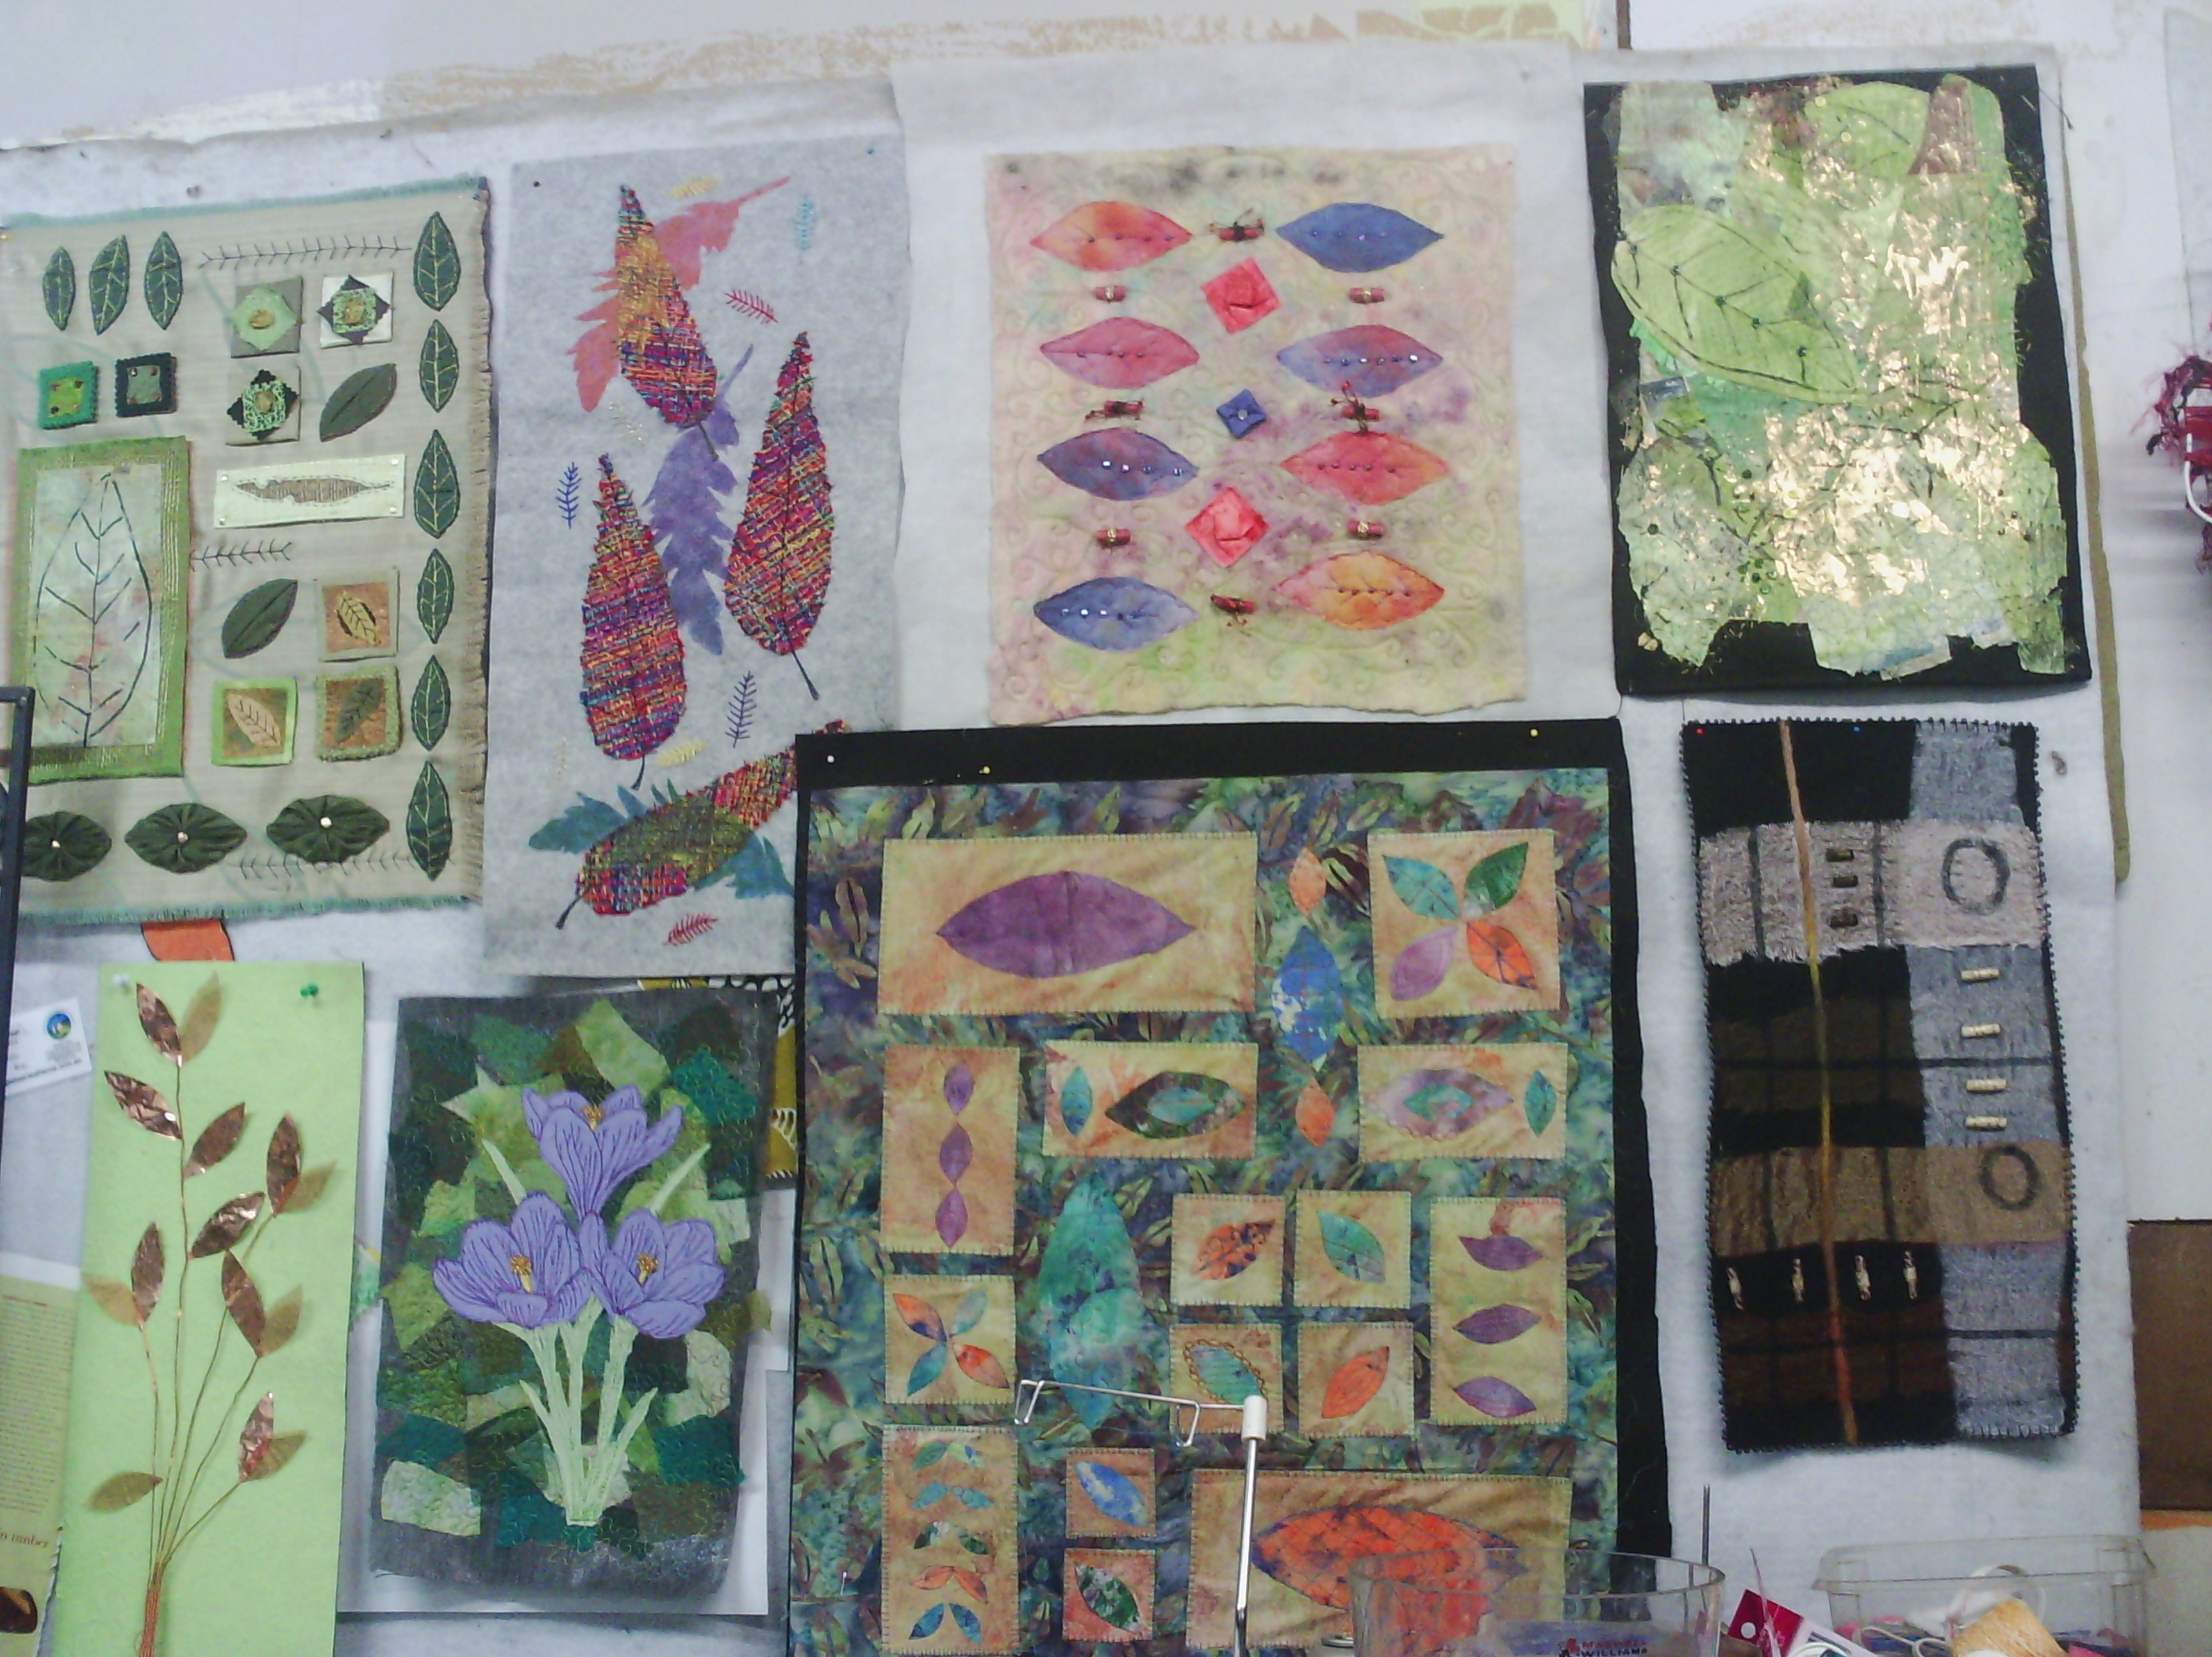
I have really done a fair bit of work during December and I thought you might like a look at my design wall at present.
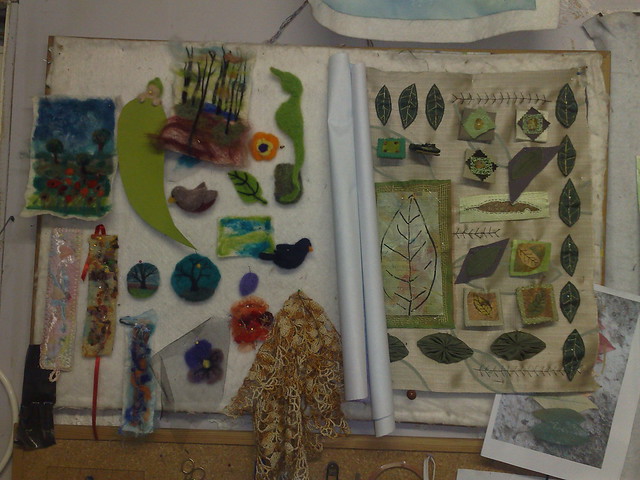
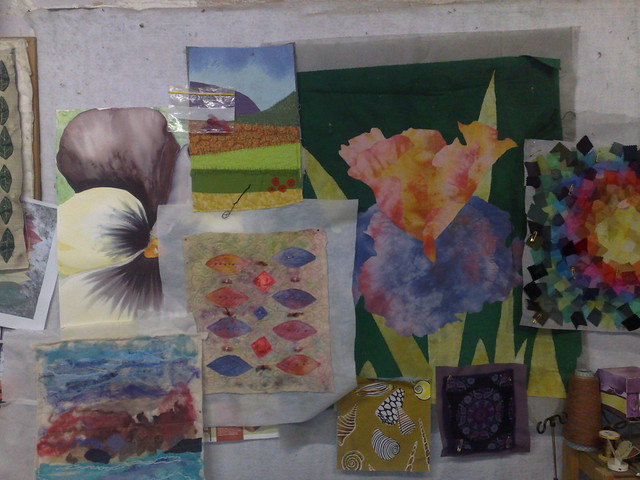
These two pictures overlap, so as usual I couldn't fit it all in. I like walking out into my studio each day and looking at what I have achieved. It is extremely satisfying.
Happy creating!
Showing posts with label design wall. Show all posts
Showing posts with label design wall. Show all posts
Sunday, December 29, 2013
Monday, April 29, 2013
on the design wall
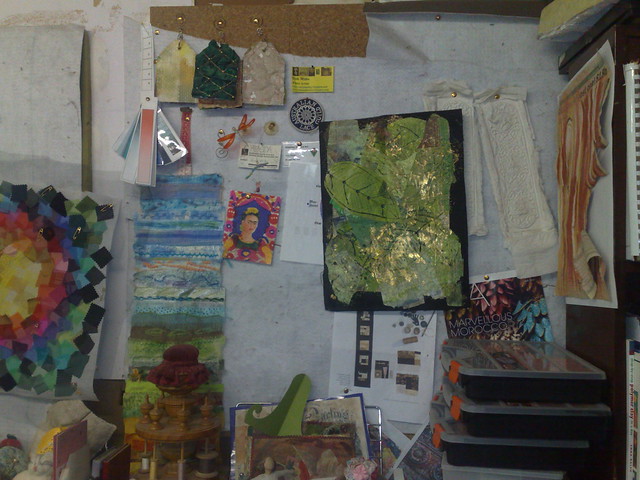
Today I'm giving you a peek at my design wall.
In this first section, are a lot of little needlefelted items I am working on and a collage that just needs sewing down.
This second section is above my thread painting machine. The pansy is a watercolour I did last week, then the top landscape is a raw edge applique that I am adding poppies to. Below it is another leaf collage that is finished, but not yet mounted. Below the pansy is a needlefelted landscape that I am free machining over to use in ipod cases. The iris is a large raw edge applique that I am thread sketching on and below it are two little free machine practice pieces that will probably become journal quilts. On the right is the collage I showed yesterday.
In this third section are a lot of bit and bobs. The long skinny bit next to the collage from yesterday is mt current stitch sampler and the gold and green piece is a painted newspaper collage that has been foiled. It is finished, but I need to put a new backing on it. The two white things behind it are paper casts that I am still deciding what to do with. The tags at the top are fabric manipulation samples and the rest are just bits that I put up to remind me of stuff, lol.
As you can see, it is a large design wall, about twelve feet long, but I still wish for more, especially when
I am working on large pieces. It tends to change a lot, depending on what I'm working on.
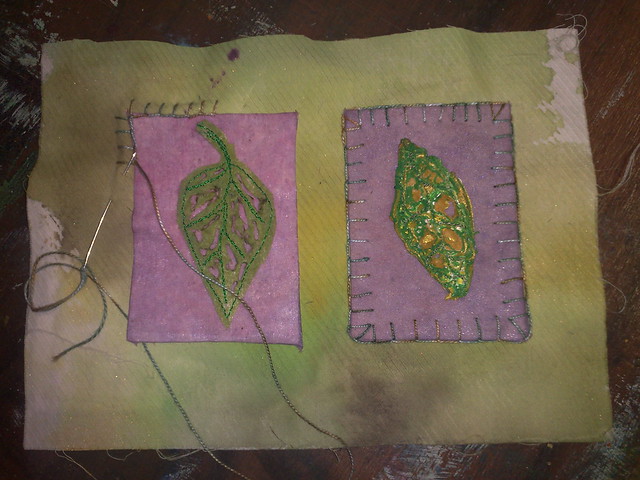
Also, I have started my first page for the fabric book I am making.
I found that the pages are just the right size for two ATCs, and since I still have a lot of ATC bits and pieces, I think I will try and use them. The background is a piece of handpainted fabric and the two
atcs are covered in painted chiffon. The leaf on the left is heat distressed lutradur and the one on the right is tyvek. I an blanket stitching them down and when I have finished two, then I will sandwich them onto the felt and bind them in as one page. One down, 25 to go!
happy creating!
Wednesday, November 16, 2011
Snow Gums
For my WIP Wednesday, I am showing you the first steps of a new large landscape I have been mulling over for a while.
In this case, I did not have a sketch or photo to work from, the idea had just been in my head for a while. I started by placing a large 1400 by 900mm (about 50 by 36 in) sheet of lutradur up on my design wall.
The lutradur is lightweight and a pale green colour. I get it by the roll from the hardware where it is sold as weed mat. I have recently started using this under my free machined work because it gives it body without bulk, so I don't need to use a hoop or add batting to do free motion work. It is very similar to light lutradur and becomes softer with use, especially when you are doing hand work.
You can see above I have drawn a sketch of the tree straight onto the stabiliser. I know this is a difficult picture to read, because of the transparency of the lutradur. Here is a digital sketch of what is drawn on the stabiliser.
Better? At least now you will know what I am talking about. I traced this onto wide format printer paper with coloured markers as my pattern.
Above, I have the pattern folded and some tracing paper ready.
Of course we all know that when the moment comes to begin a new project, the perfect fabric is nowhere to be found.
I could not find any sky fabric which I really wanted to use in this piece, so I took some mid blue fabric and painted it with decolourant!
Here it is before the decolourant dried.
After ironing, looking good!
after washing out the decolourant.
And after the final iron. This is pretty close to what I wanted, except perhaps a little blue still (this fabric did not go all the way to white - even with steam) This gives me an opportunity to add more white with thread later.
So now I was ready to start putting up the sky. I do try to start from the distance if I can, but since I am pinning my pieces not fusing or glueing this time (to allow more ease in the thread painting), I can easily add extras in at any stage.
Here I am tracing the sky areas of my pattern. you can see that I don't worry too much about accuracy here as the layers will all overlap. The arrows I have drawn outside the piece are to remind me of this overlap.
Next, I take my tracing and pin it to my sky fabric. Then rough cut out the pieces with at least an inch extra.
Here are two of the rough cut pieces. Remember, the arrows mean overlap. No arrows means an edge of the whole. In this case, the top.
Next, I trim the tracings back to the line. ONLY the tracings, not the fabric.
This is the reason why. I trace around the shape onto the fabric with an iron-off pen. This is to help me place the overlapping layer correctly later.
Then I simply place these pieces onto my foundation in the correct place ready for the next fabric, which will be all the hills in the distance.
That was a lot of writing, for something that really took a short time. Needless to say it might be a few weeks before you see the next step in this sequence.
Just to finish off on a high note, here are a few photos of a very friendly King Parrot I had a chat with this afternoon.
Hello there, you don't mind if I just have a nibble?
If I promise only to eat weeds, would that be OK?
Of course, with all these weeds, I might have to stay a while...
No, No, I was not casting nasturtiums on your gardening skills!
Oh well, it was a lovely chat and I must visit again soon. bye.
As you can see we had a lovely talk and it wasn't until I had gotten about a foot from him/her that he/she felt the need to depart.
I'll be seeing you
Vicki
Friday, July 1, 2011
Celebrate design - 2
The next steps in my process.
These pages show some thumbnails of my ideas regarding the theme.
Some are more detailed than others, and you can see that I go back and make changes. I decided that the two in the middle with the double ended arrow could be merged into one idea. sometimes I need to add notes, as in the bottom thumbnail, to remind me about what is in these quick sketches or what they symbolise.
This thumbnail was developed a little more with some calculations and extra notes.
Whilst this last thumbnail is more detailed in the notes added. Allof the diagrams are just that. They are sketchy notes that may become work. From these, hurried sketches, I create mock-ups in photoshop which I print out full size and put on my Design board for a while.
As I am walking past them each day, I make mental notes of additions to make, of how to do certain parts and alterarions to make. Here are five mock ups. Some are a printouts of only one layer of the piece, some are just line drawings, and some are just photo collages. All have had changes made to them since this photo and there are a few more of them now.
At this stage, I might take only one of them to the final stage, or I might take them all and add a few more.
This is only a design process and changes will happen at other stages as well, so the final work might actually bear little resemblance to my initial mock up. And of course, the photo mock ups have no texture or dimension. They are just flat pictures, so changes may occur when they metamorphosize into textiles.
Remember everything in your sketchbook does not have to become a finished piece of work. They are just ideas that you are playing with.
Tuesday, February 8, 2011
back on track again
After a very busy week with our big "do" on Sunday, I am finally back working, although I have to be away for a few days (thurs/fri). As You can see from my design wall below, I have a few things on the go-
On the left, is a large raw edge flower which with be thread painted.
In the centre at top is a print of one of my paintings which is on muslin, ready to TP
Below that is a fish, painted on japara, which I will TP to go in a quilt for my fisherman brother
Top right is a needlepoint I am doing by machine TP (of course)
Below that is a poppy TP project by Richard Box from an old needlework magazine
Bottom right is a fabric collage of a rose, which I am making up as I go along, which of course, will be ...thread painted.
This will be a TP of a daisy bush. It is from an exercise in Alison Holt's book. I have done it a few times larger, to fit in a particular frame and am still working on the gravel.
This is the first stage of a simple Agapanthus plant which I am working on. The smaller close up is where I am at with the flowers.
These two are samples of foliage following instructions in Alison Holt's book. In the first one, I sewed diagonal lines, but was not very organised about it, so I did it again (second one) On reflection, however, I like the first one better as the second one has too much contrast and appears stripy.
So, that is where I am at.
I am also looking around with my camera for a new landscape scene for a large piece as several people were quite interested in my namatjira on the weekend.
Subscribe to:
Posts (Atom)

